Journey Nodes
There are 4 Nodes to create the Journey:
- Start
- Journey Node
- Decision
- Stop
Start Node
- Click on Start node from the canvas.
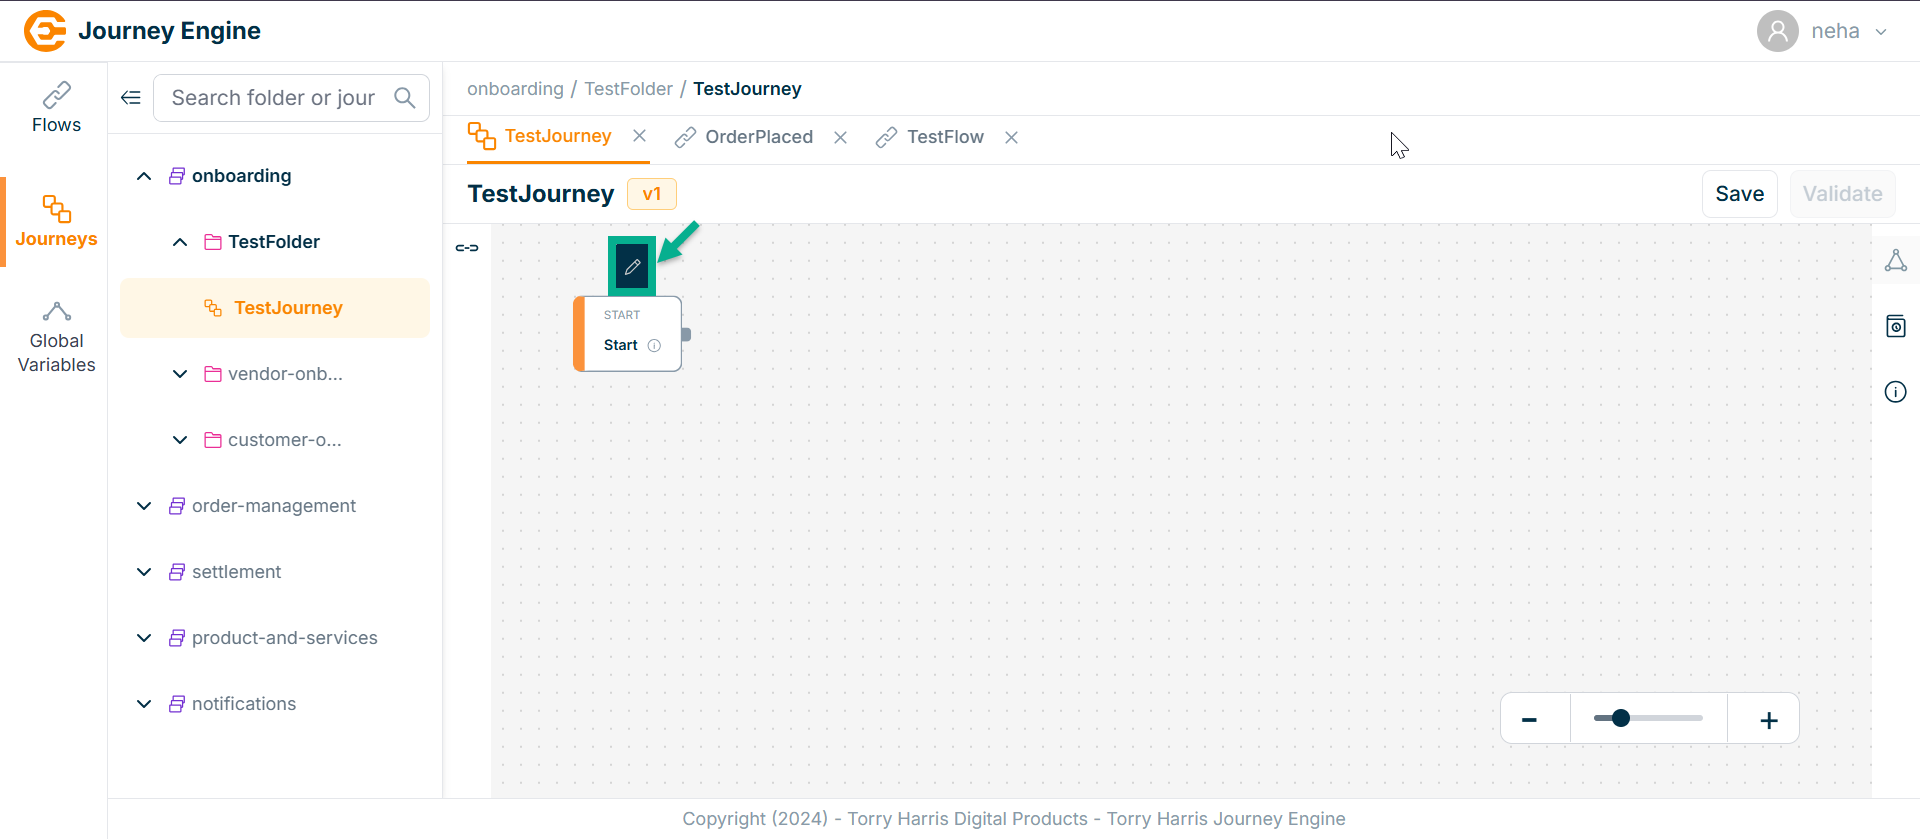
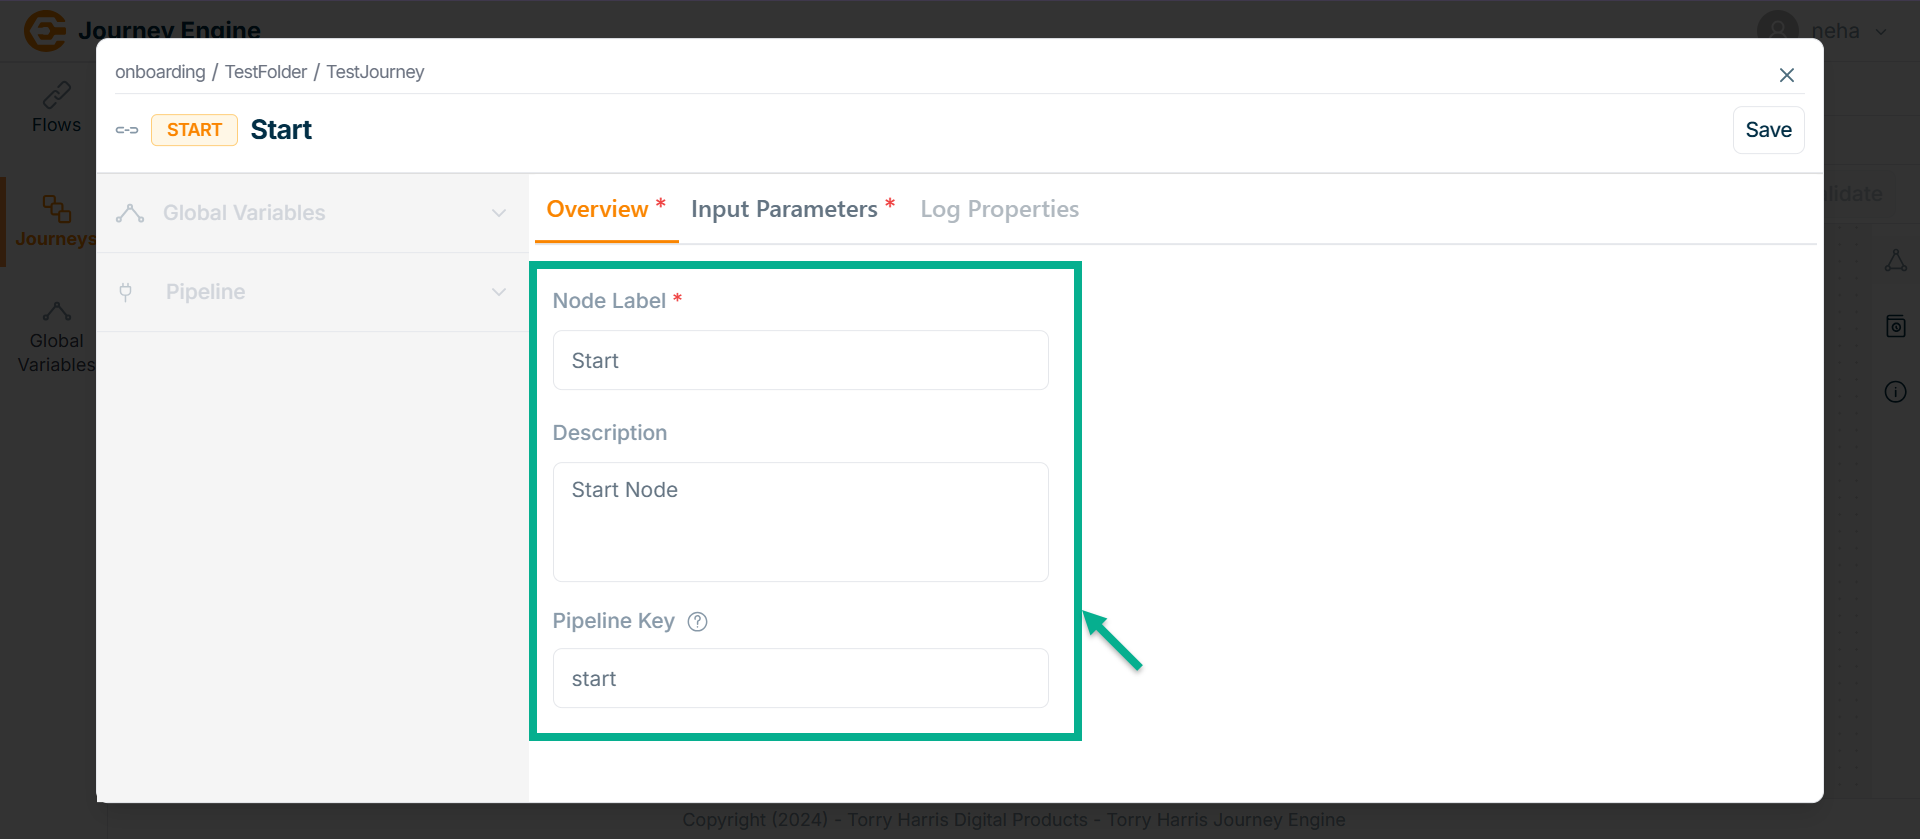
The Start screen apperas as shown below
-
Enter Node Label and Description.
-
Enter Pipeline Key.
-
Click Save.
-
Go to Input Parameter.
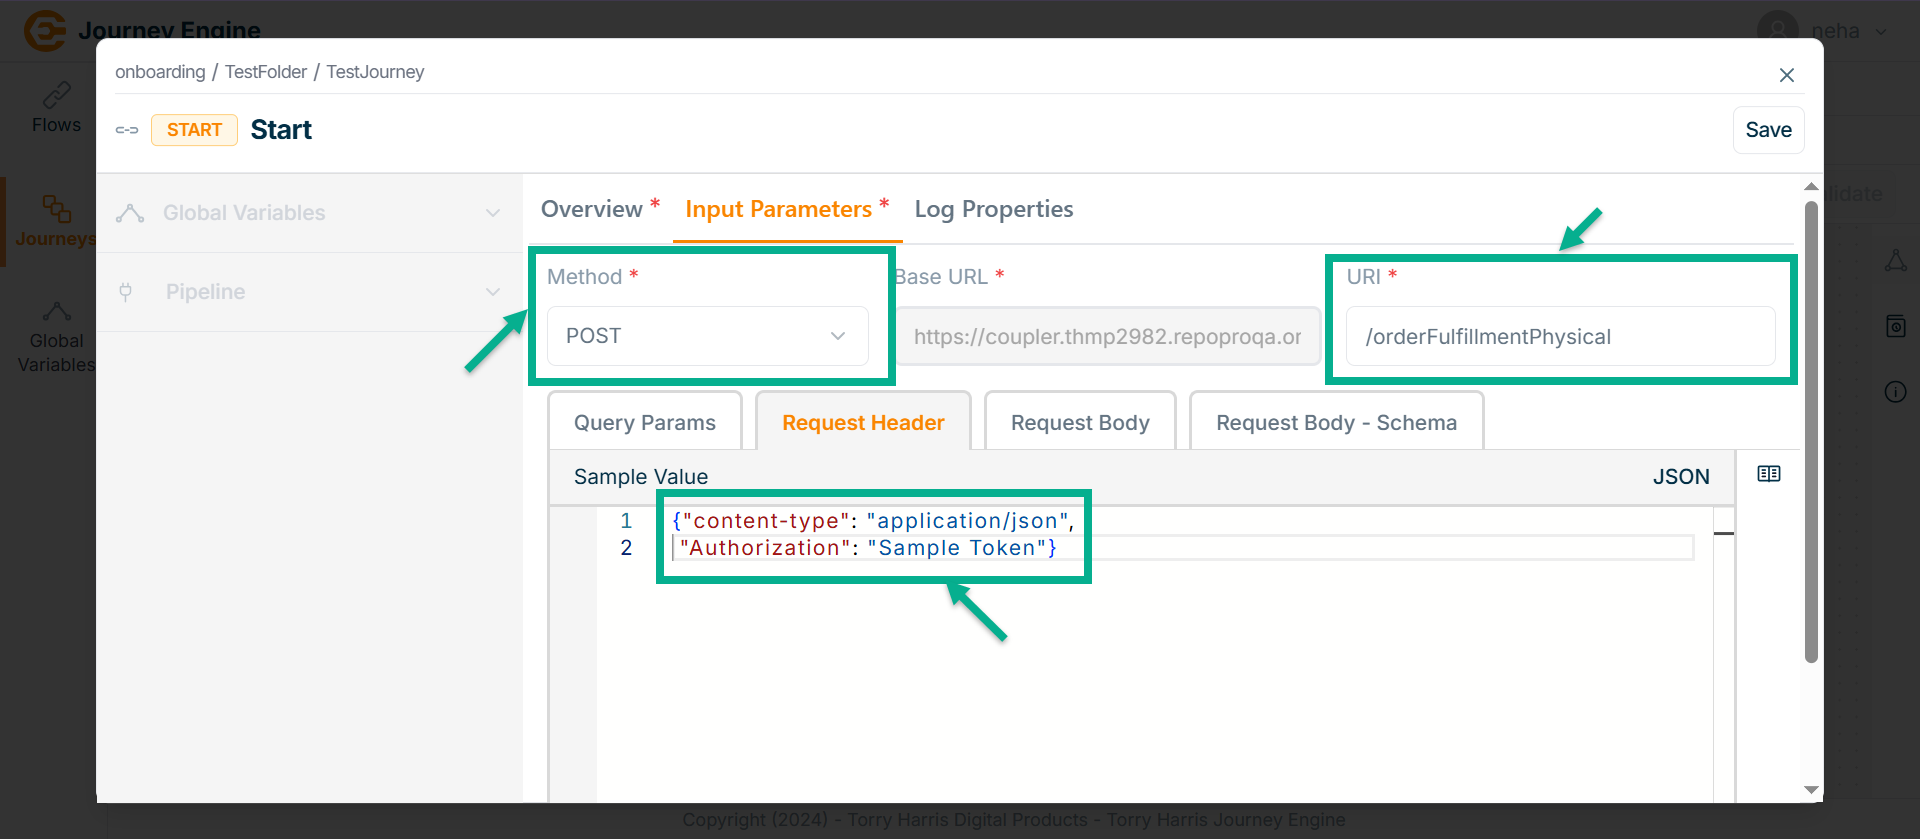
The Input Parameter screen apperas as shown below
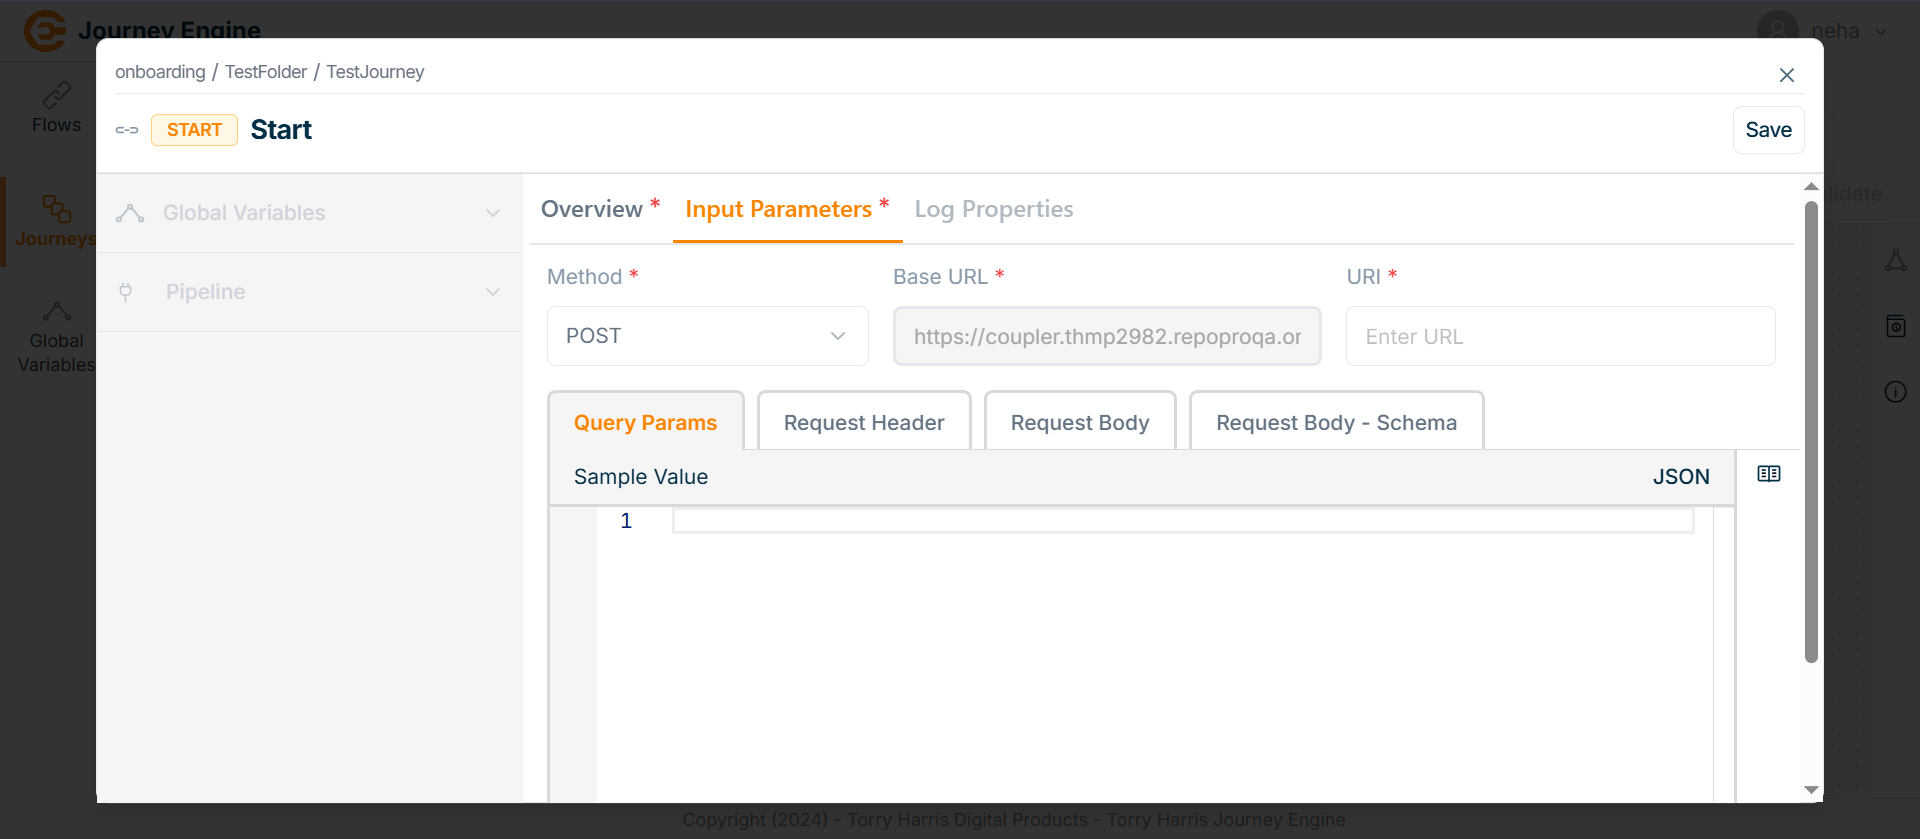
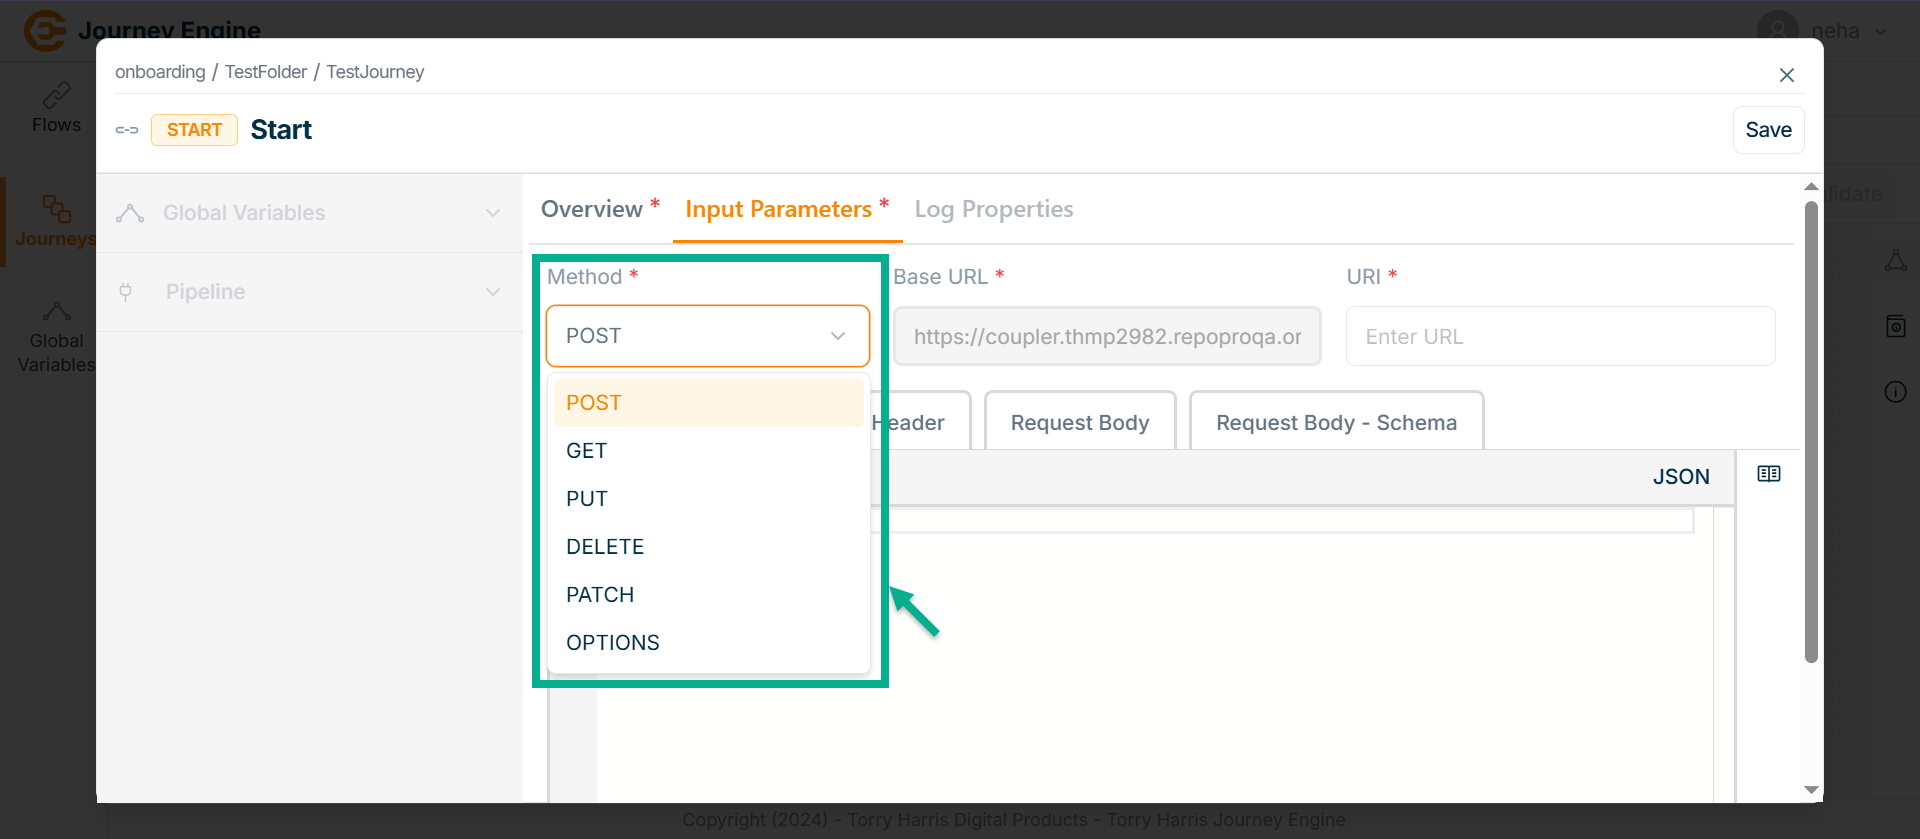
- Click on Methods field.
The Methods dropdown is shown as below.
-
Select the Method.
-
Enter URI.
-
Under Query Params tab enter the value in JSON format if required.
-
Go to Request Header tab.
-
Enter Value in JSON format.
-
Go to Request Body tab.
-
Enter Value in JSON format.

- Go to Request Body - Schema tab.
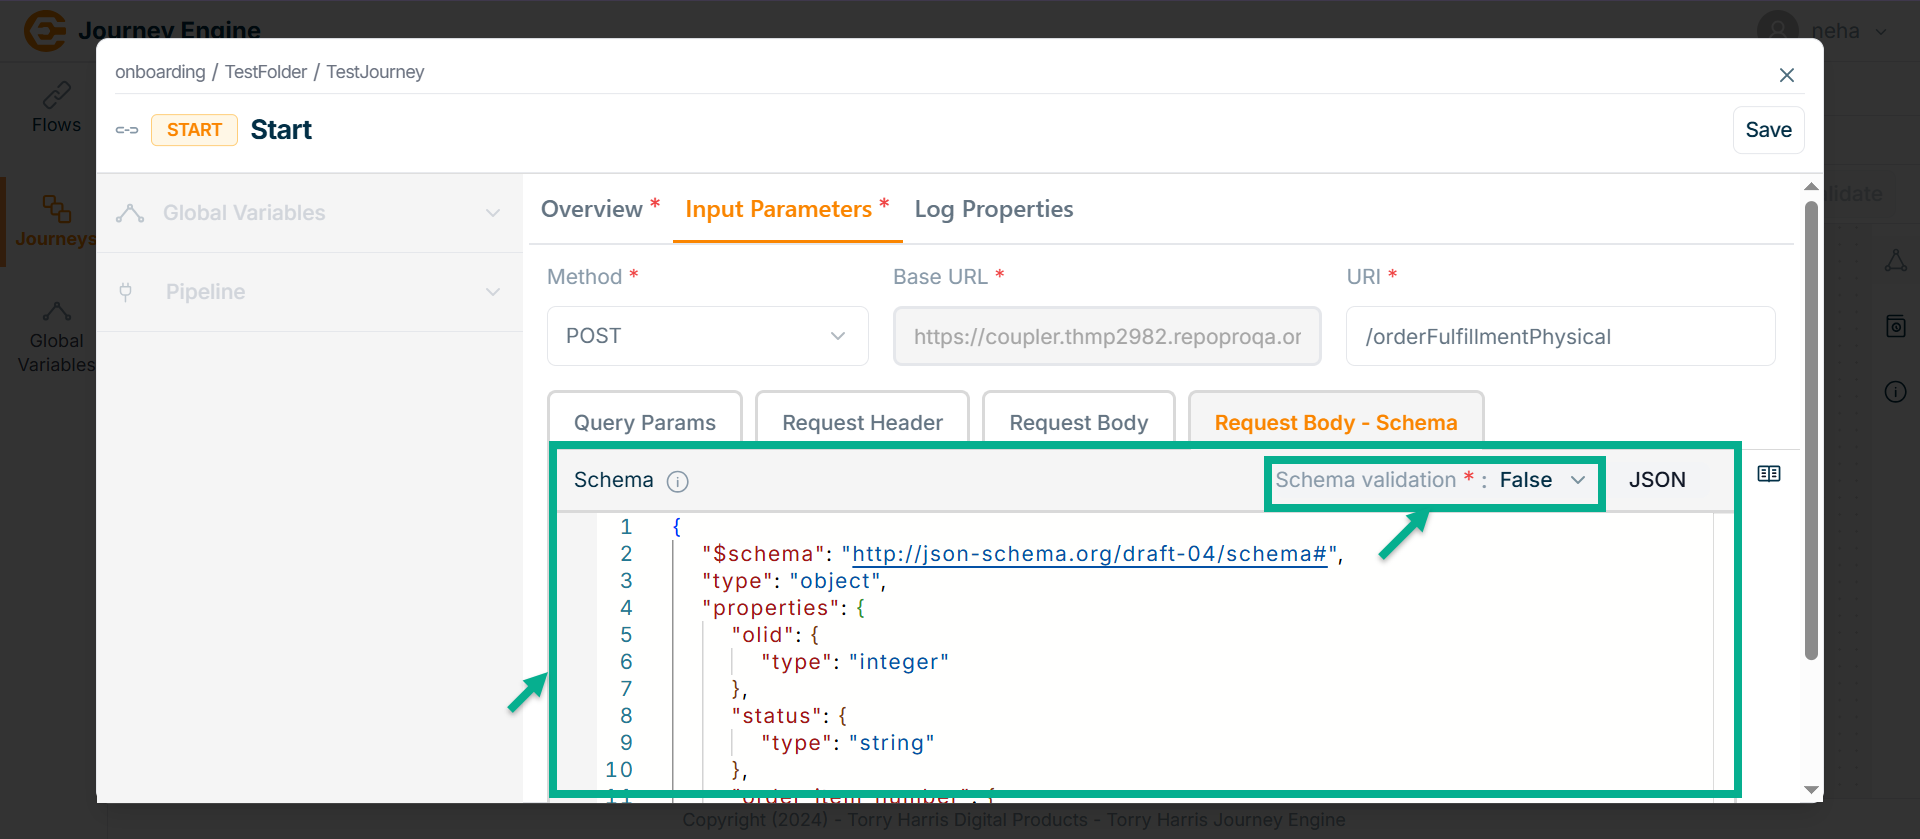
-
Select the Schema validation as True or False indicating whether the schema is valid or not.
-
Click on Save.
-
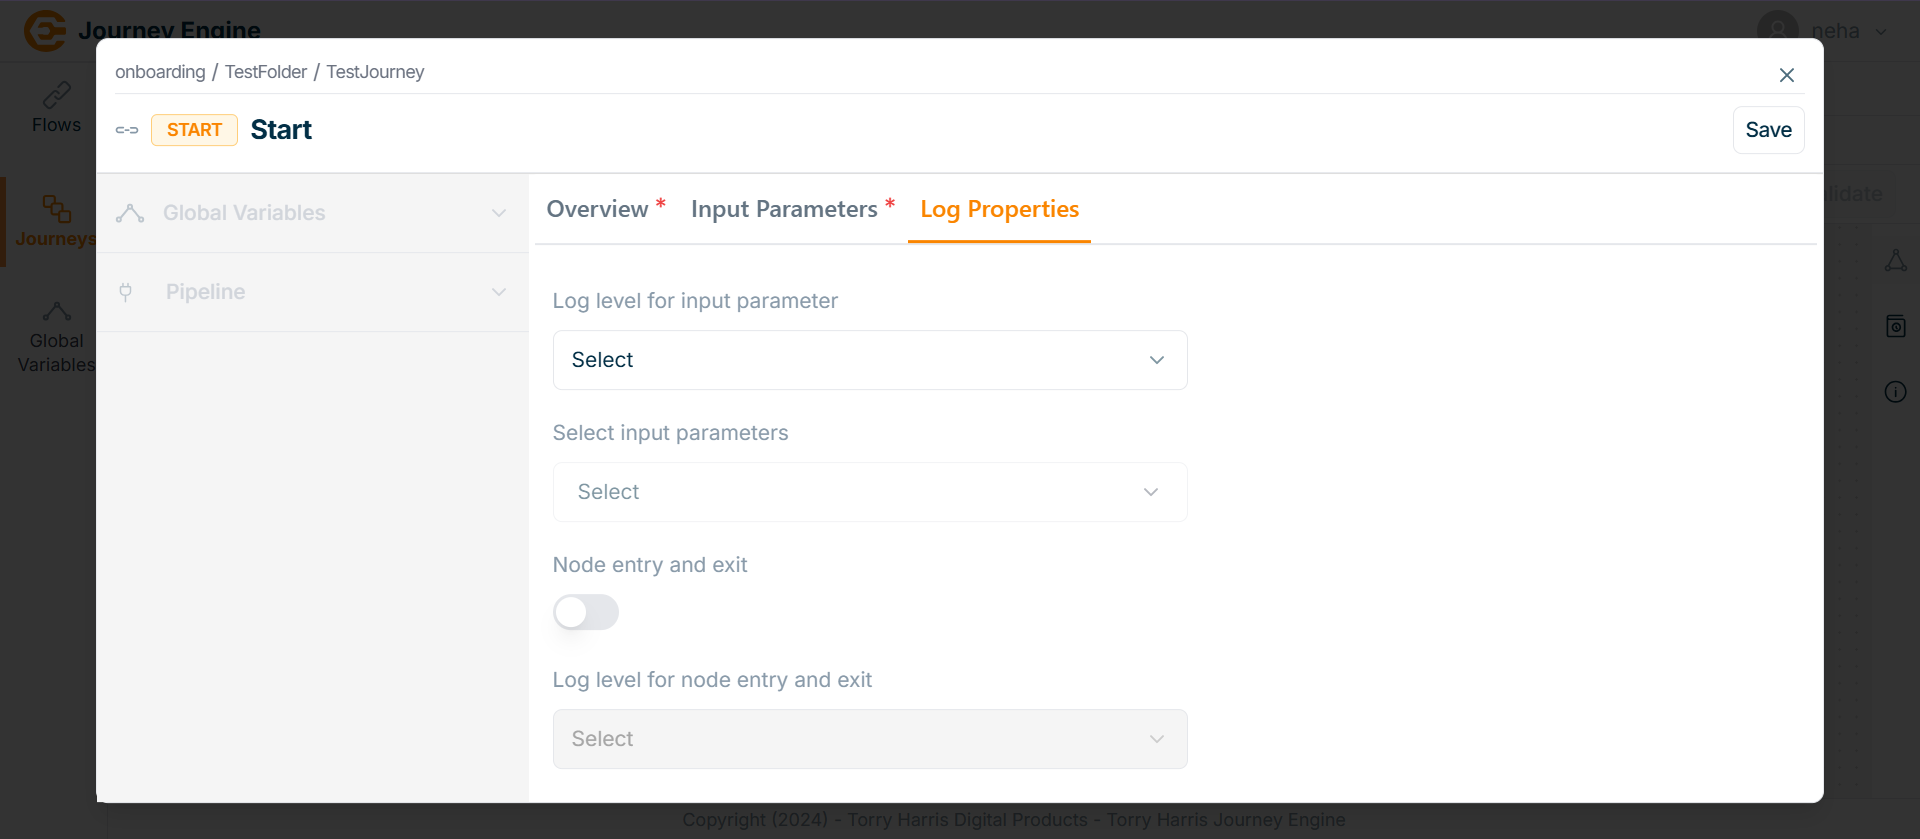
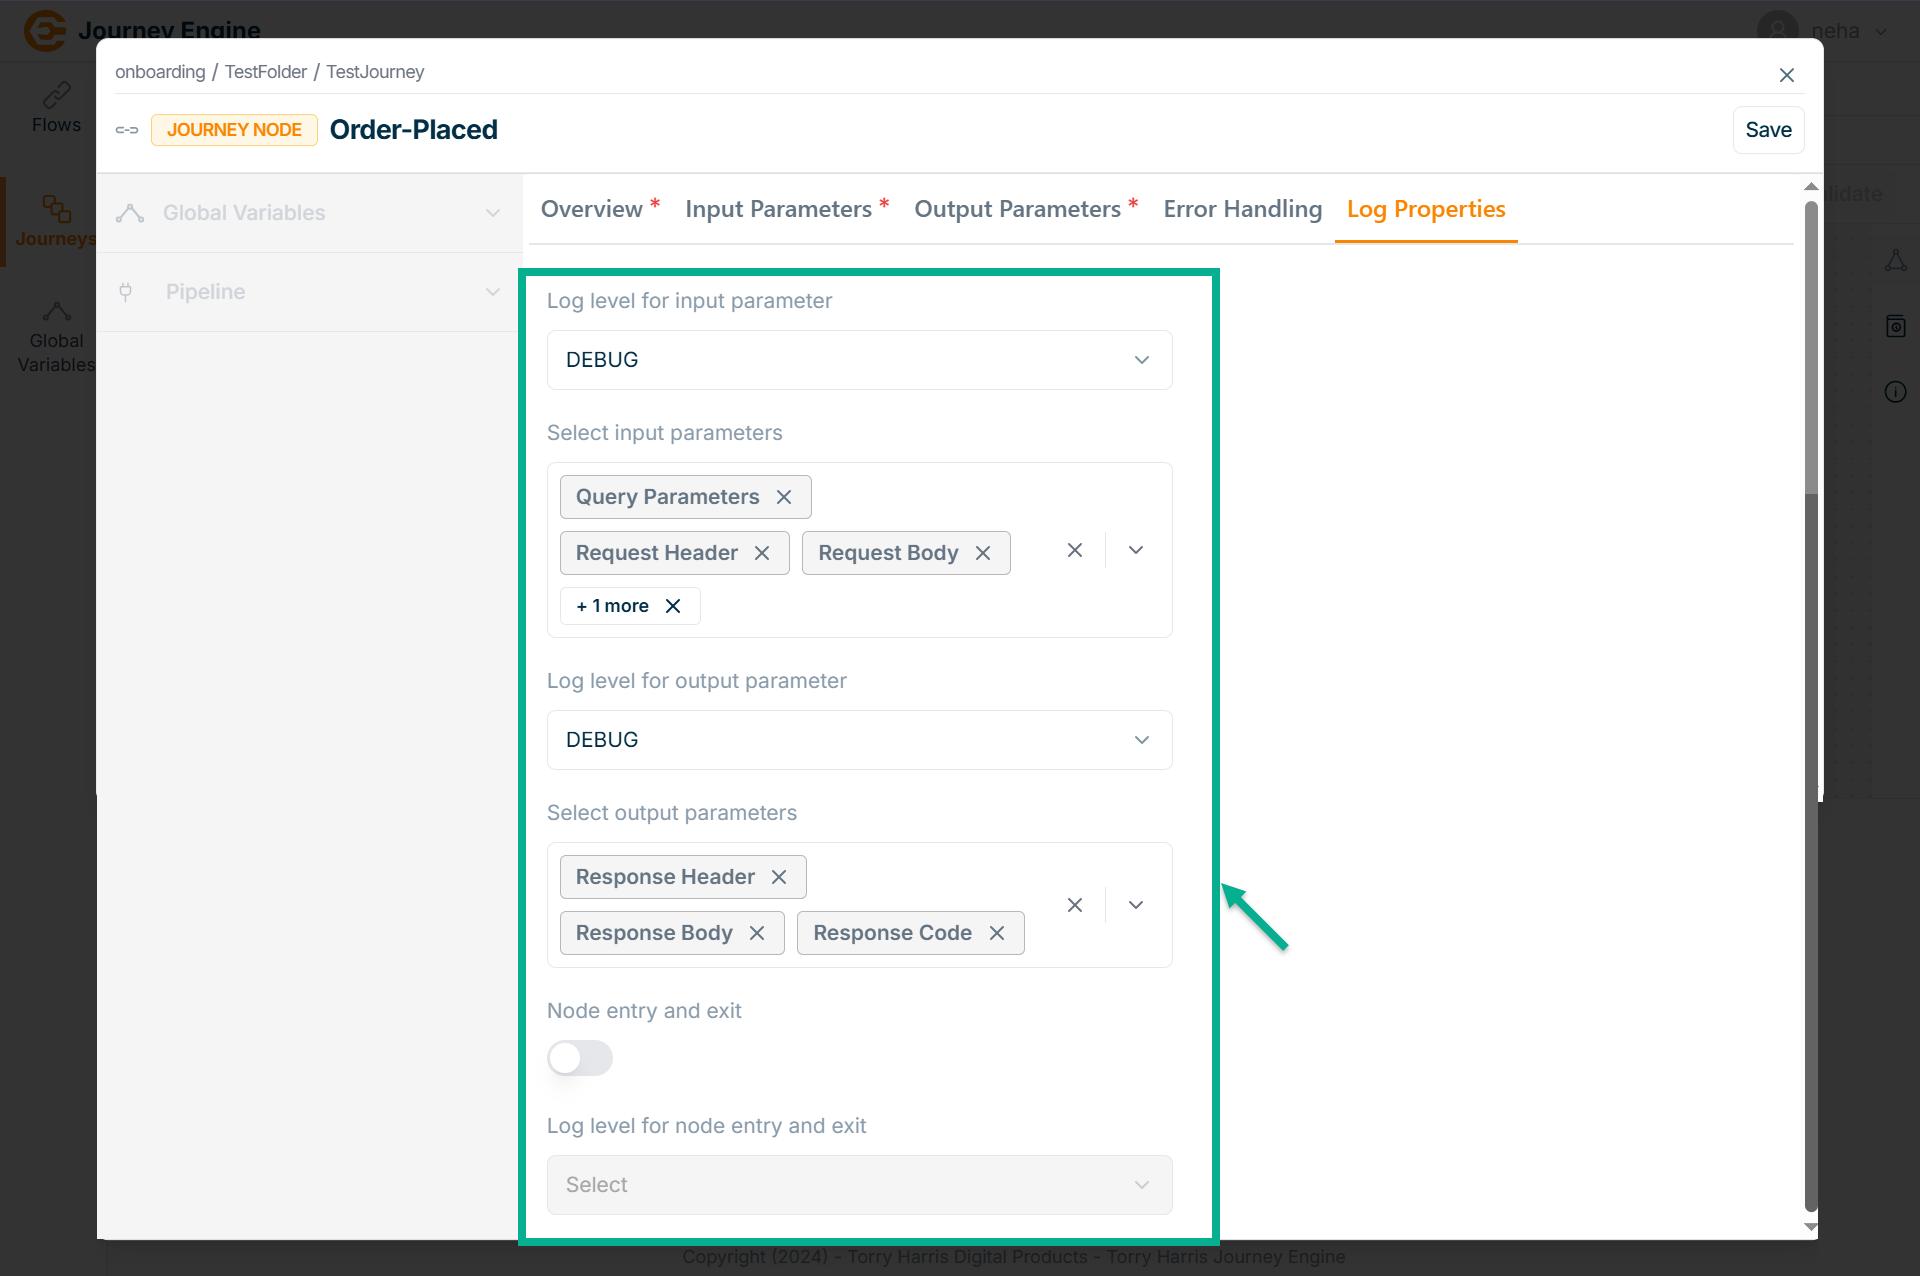
Go to Log Properties.
The Log Properties screen apperas as shown below.
- Click on Log level for input parameter dropdown.
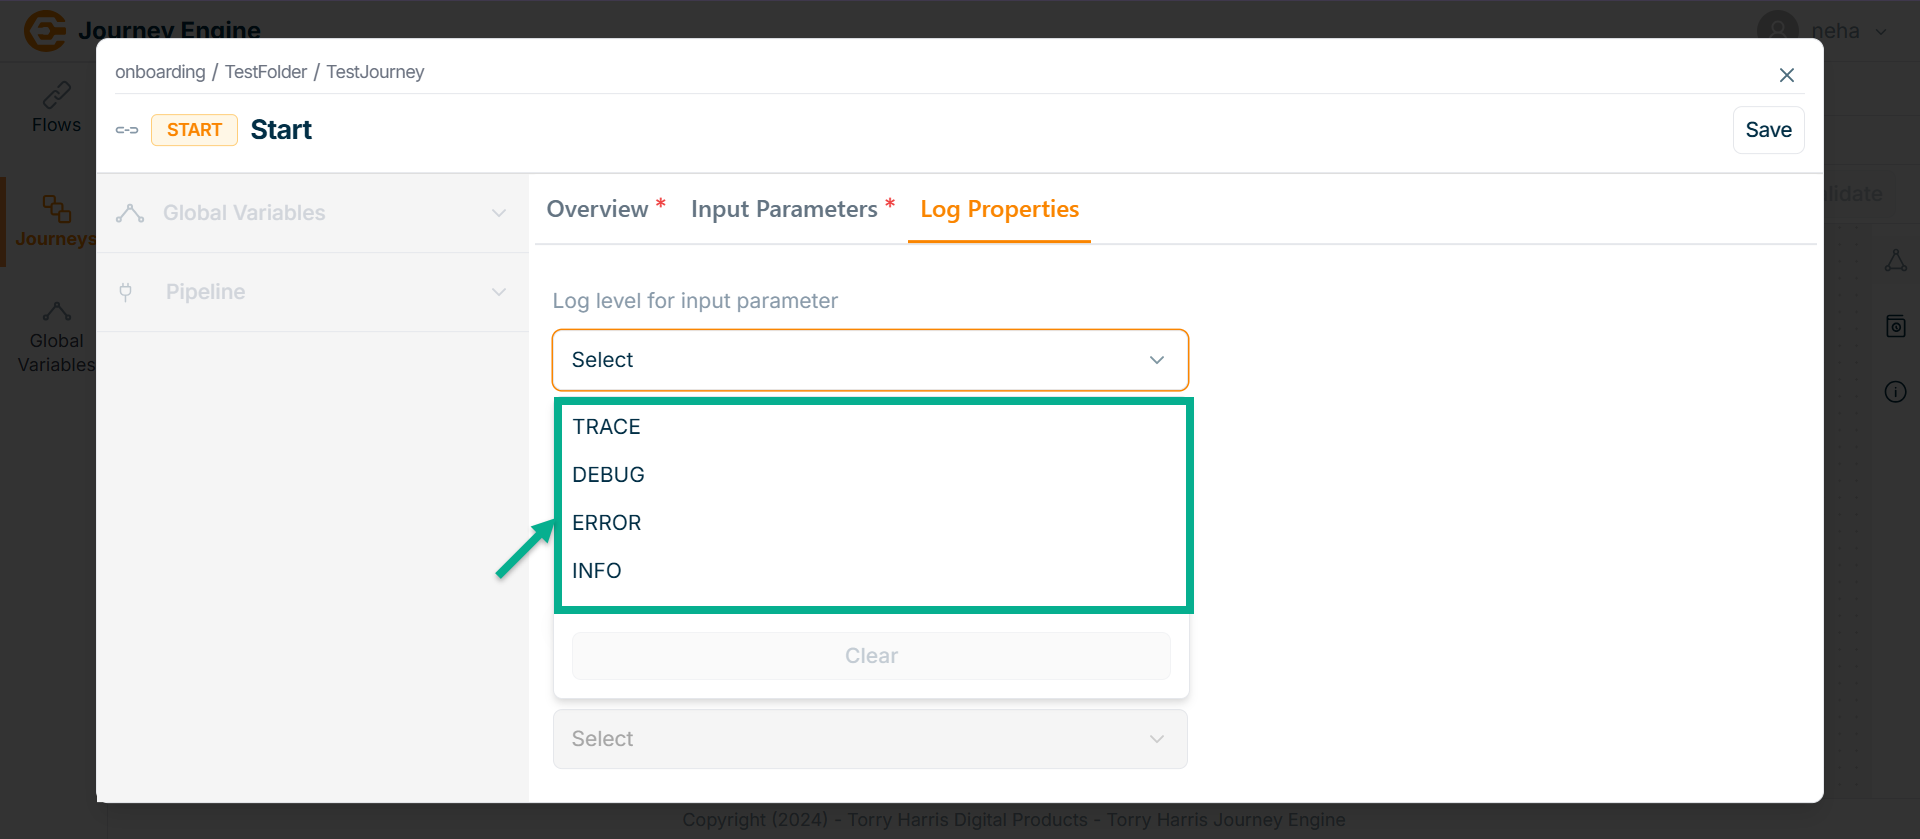
-
Select as DEBUG.
-
Click on Select input parameters dropdown.
The dropdown appears as shown in the below screen.
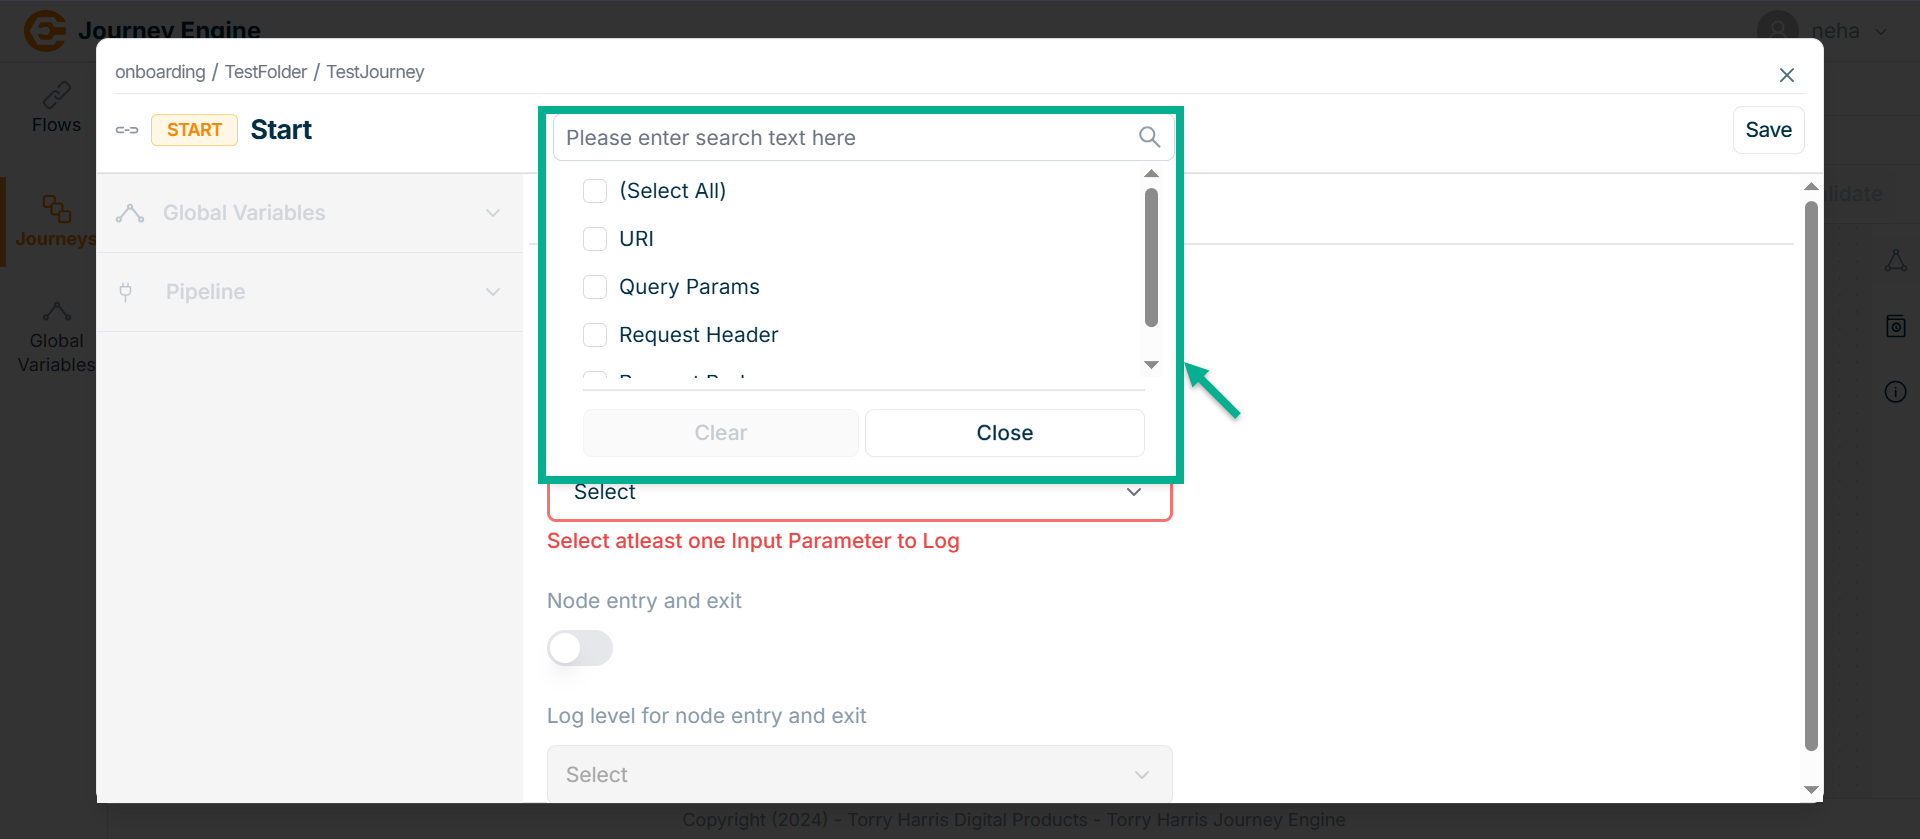
-
Select the Input Parameter to Log.
-
Enable the Node entry and exit.

-
Click on Log level for node entry and exit dropdown.
-
Select as DEBUG.
-
Click Save.
-
Click on Close button to close the HTTP Listener Node.
Journey Node
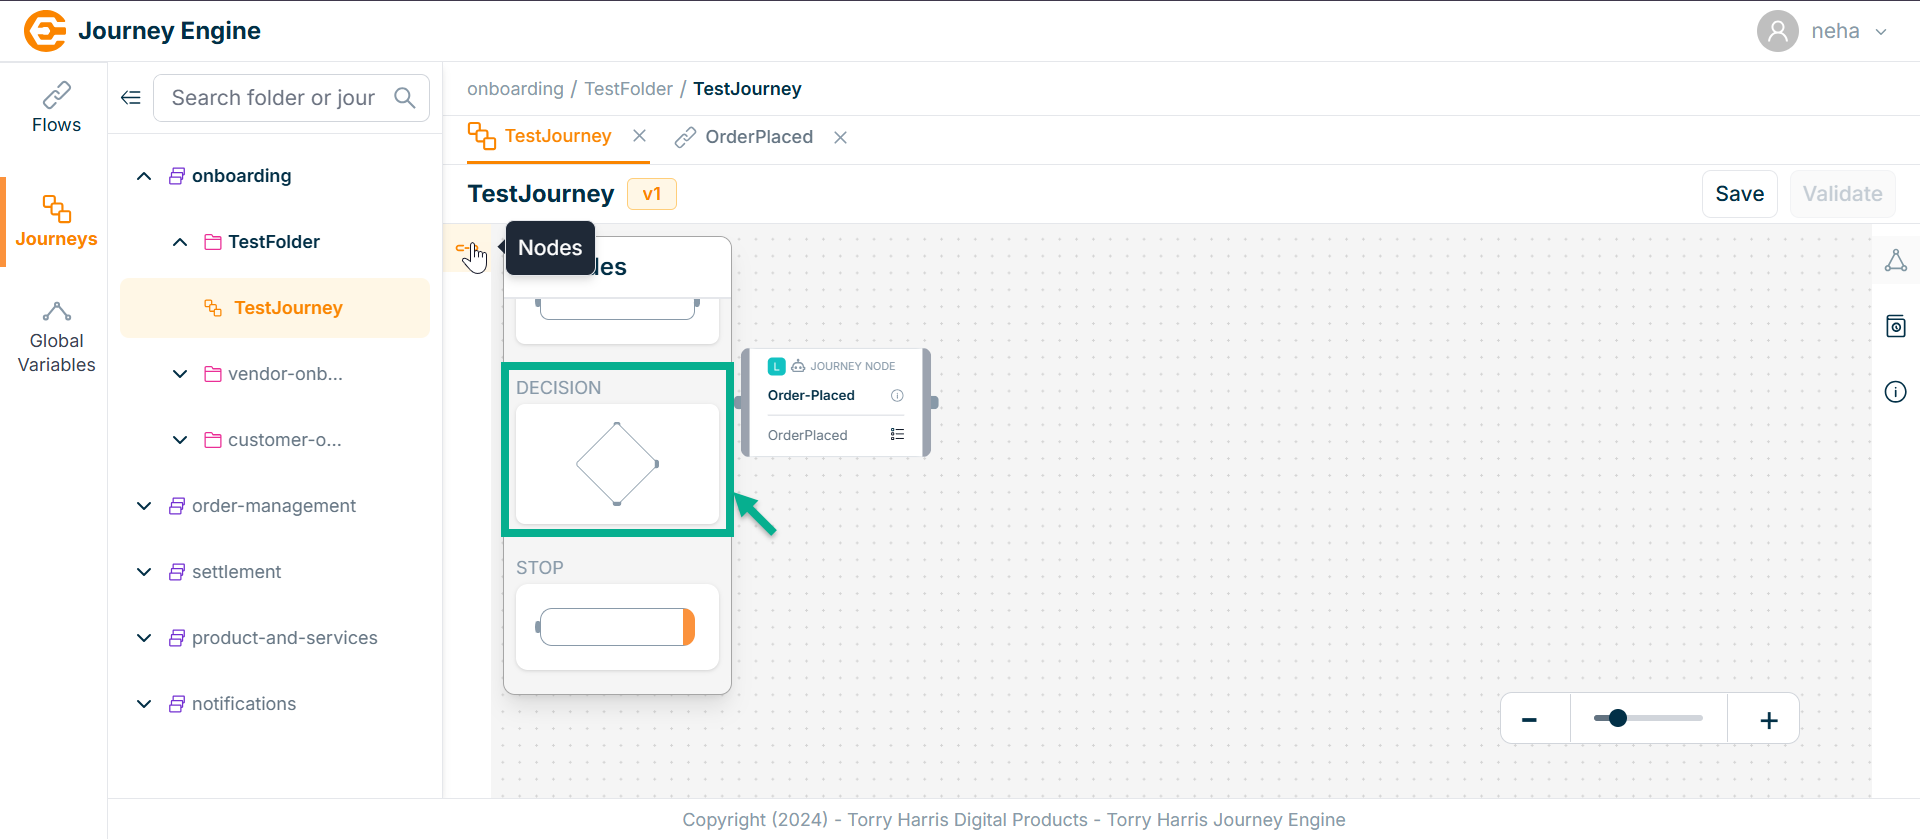
- Click on Nodes icon.
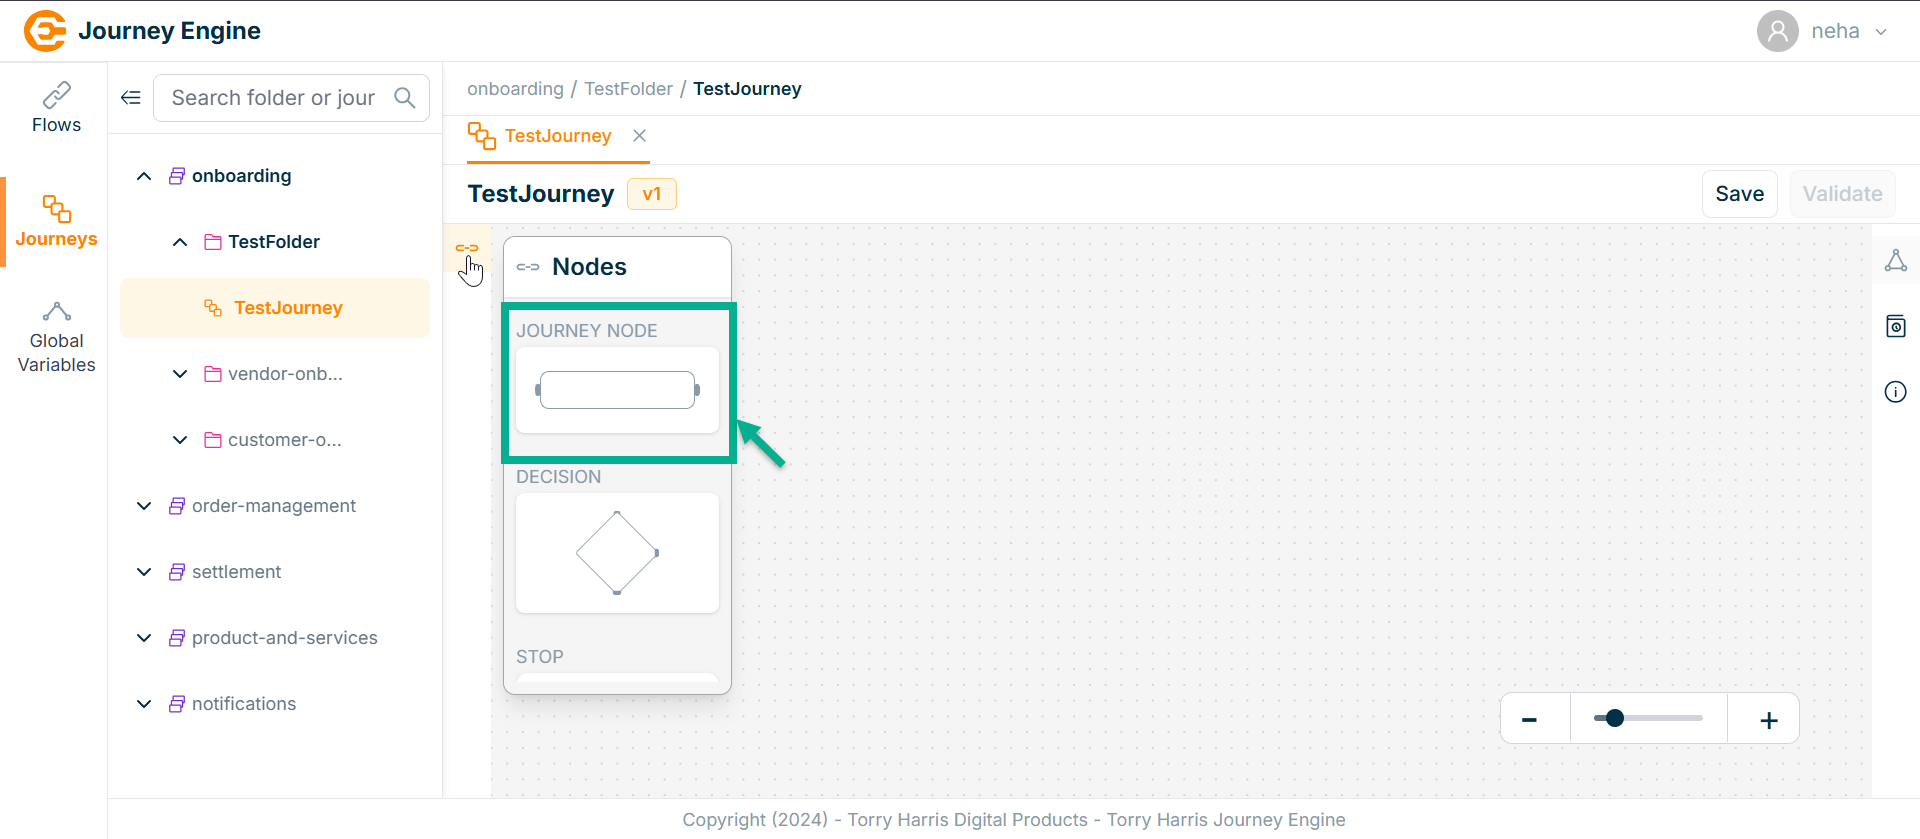
-
Click and drag the Journey Node into the canvas.
-
Click on Select an Internal flow icon.
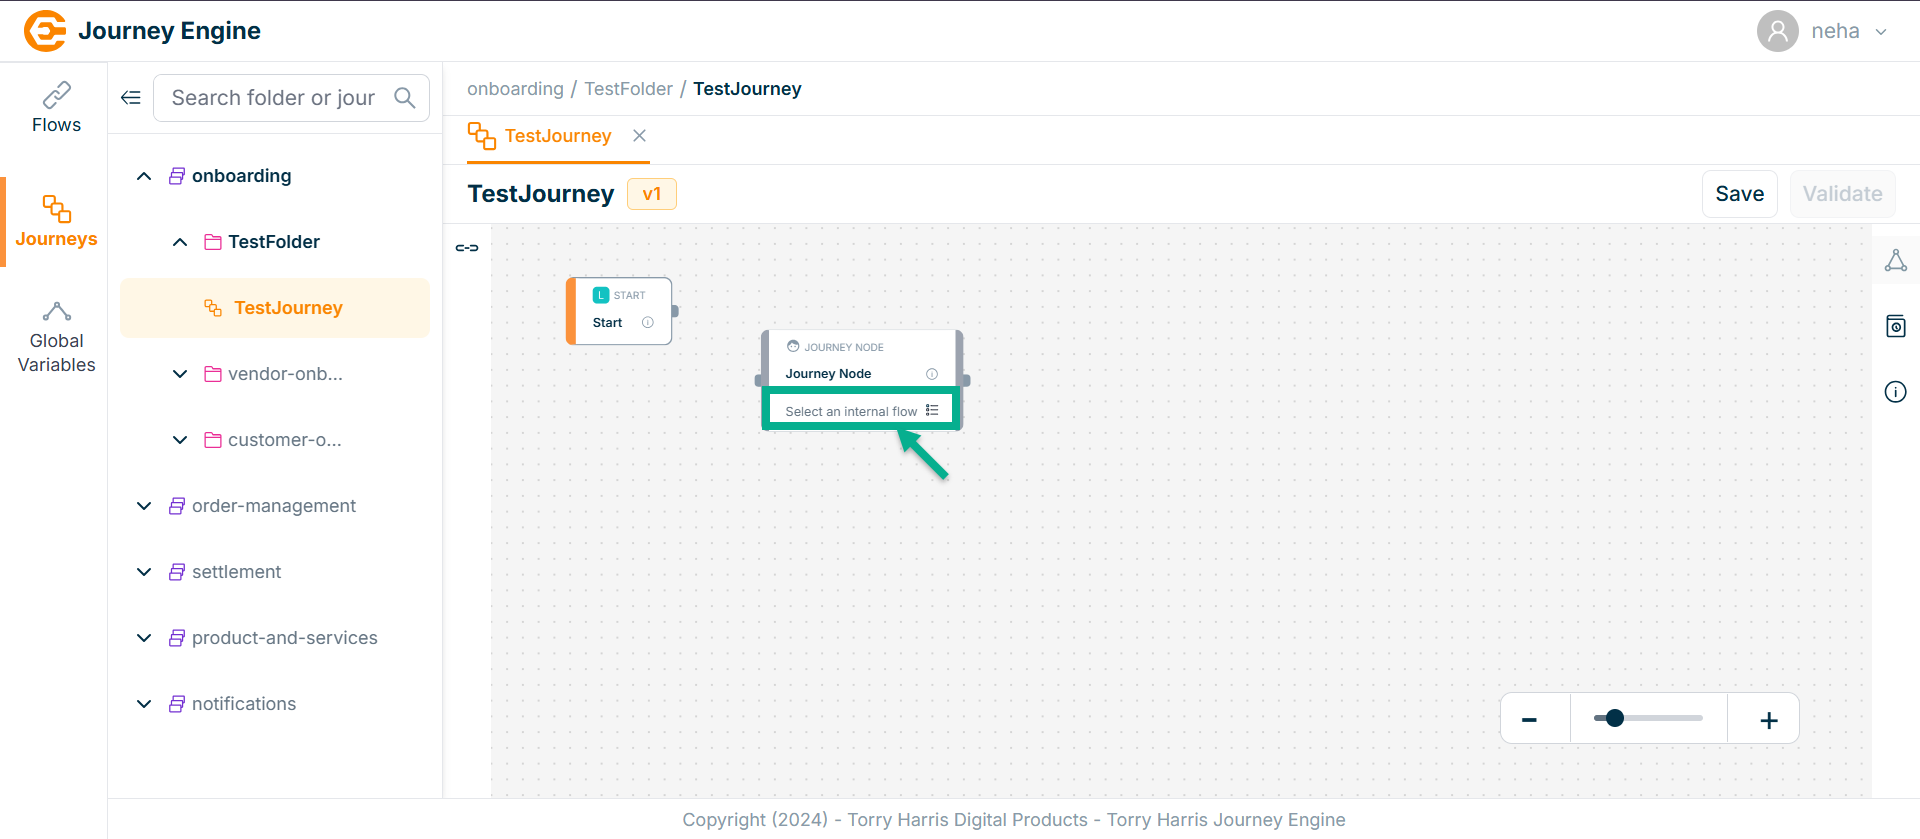
The Journey Node popup screen appears as below
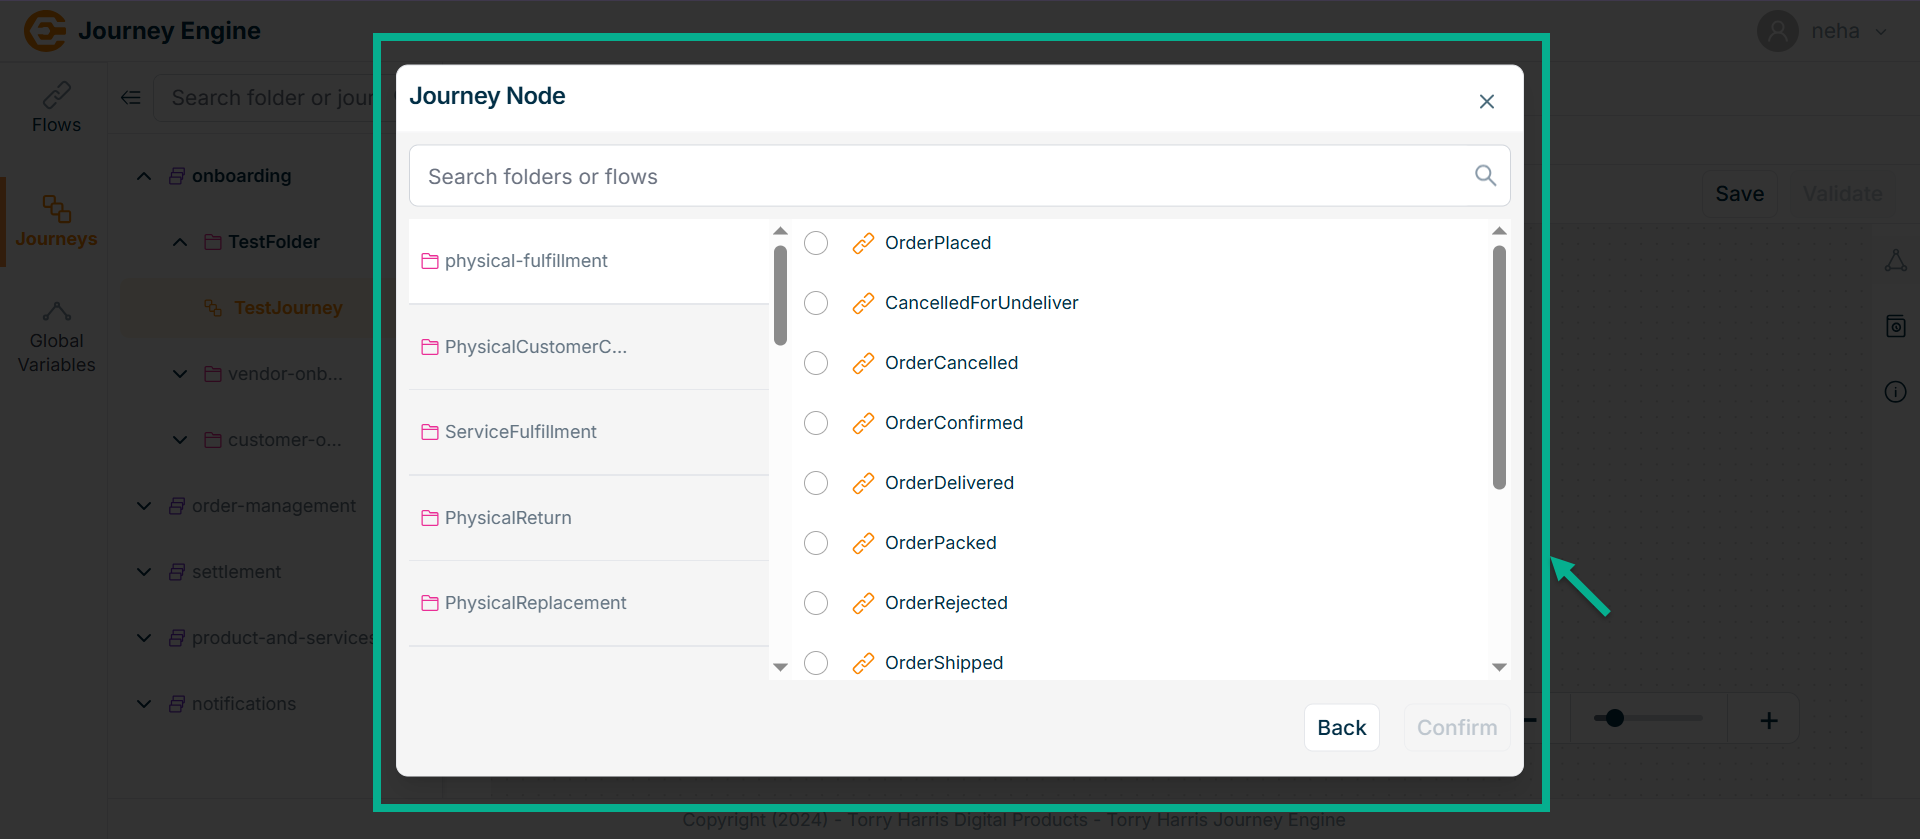
-
Search folders or flow from the search bar.
-
Select the flow you want to link.
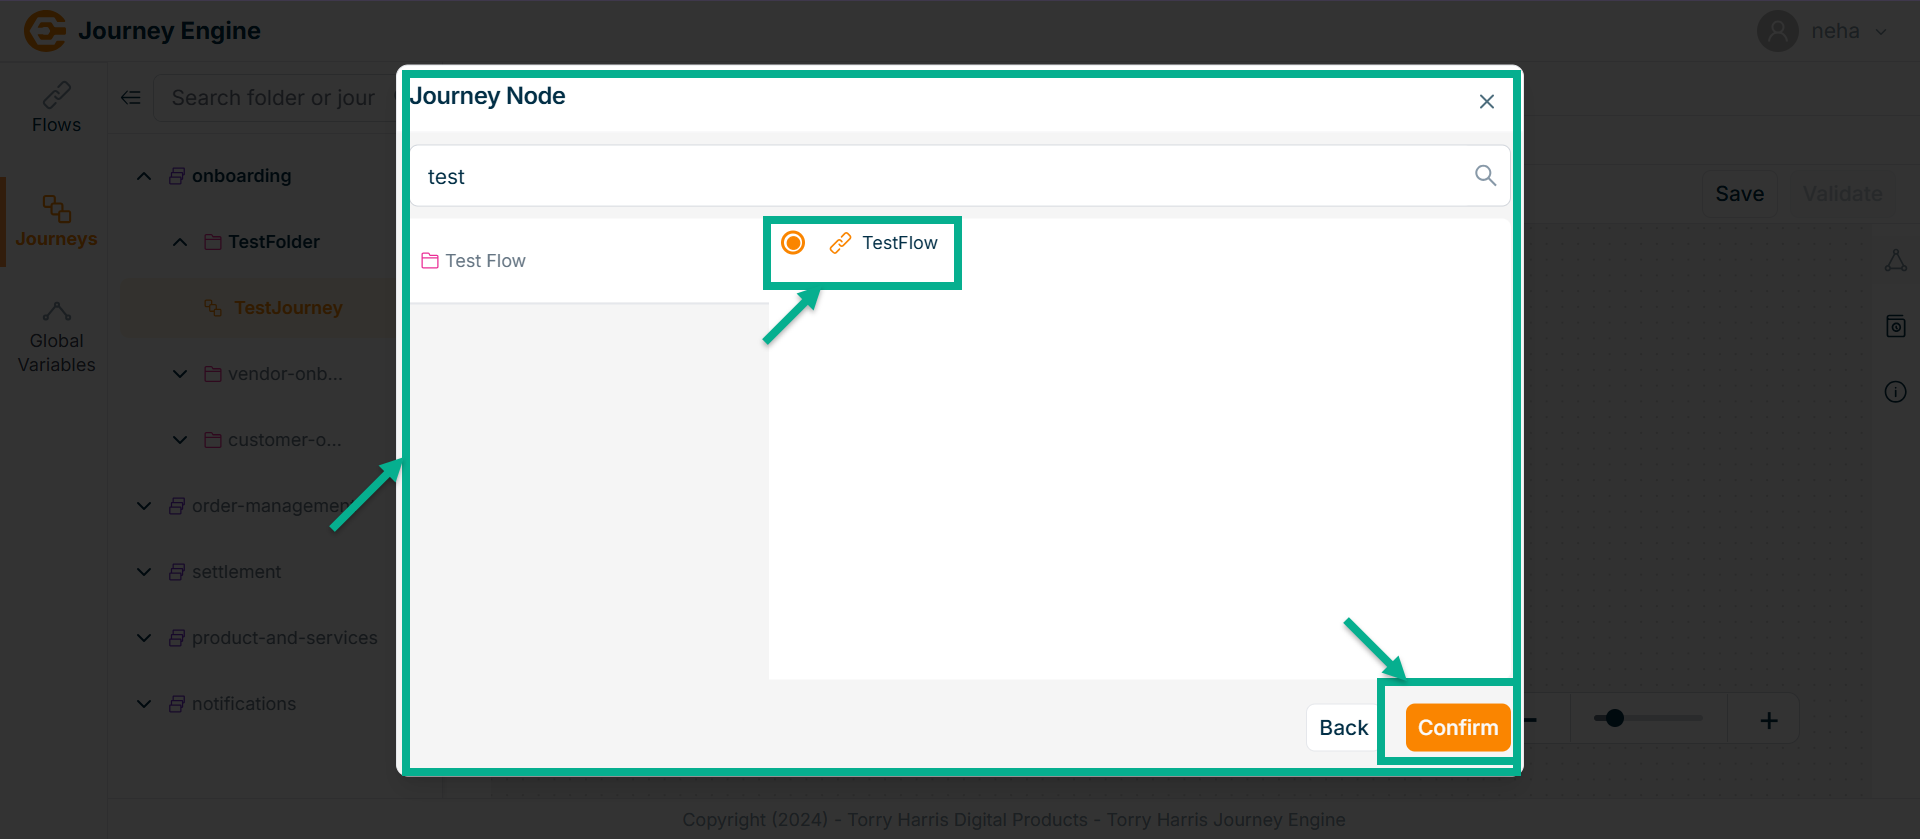
- Click on Confirm.
On selecting, the confirmation message appears as shown below.

- Click on the Edit icon.
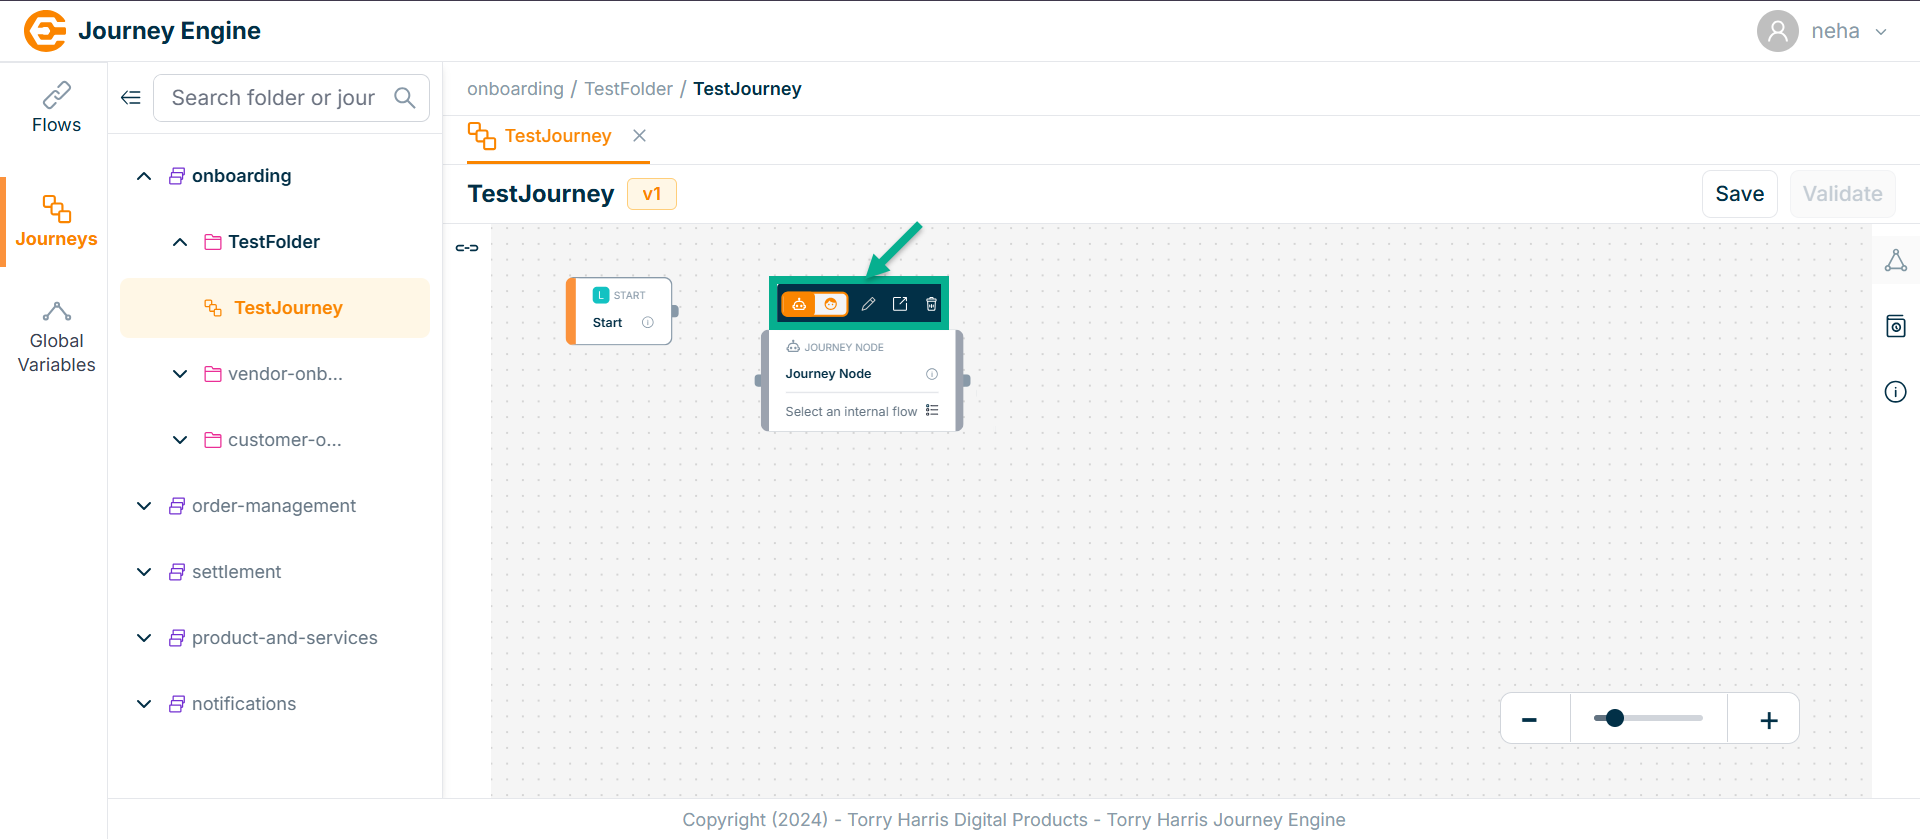
Click the Automate icon to execute the node automatically.
Click the Manual icon to execute the node manually.
Click the External Link icon to view the internally linked flow.
Click the Delete icon to remove the node.
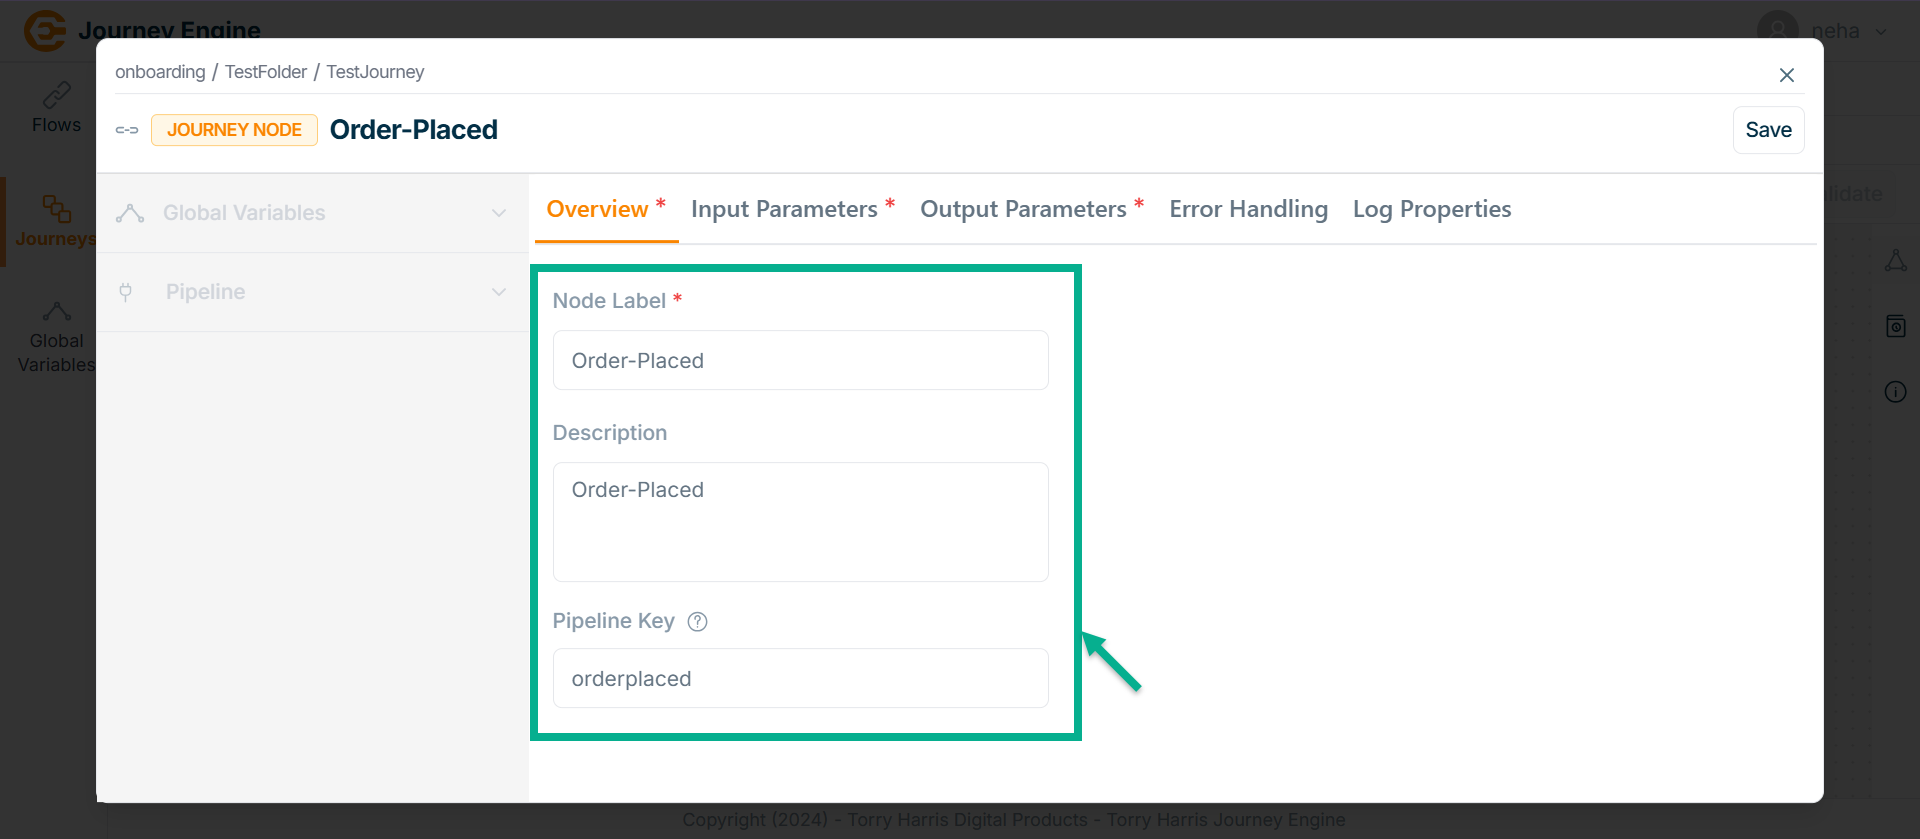
The Journey Node screen apperas as shown below
-
Enter Node Label and Description.
-
Enter Pipeline Key.
-
Click Save.
-
Go to Input Parameter.
The Input Parameter screen apperas as shown below
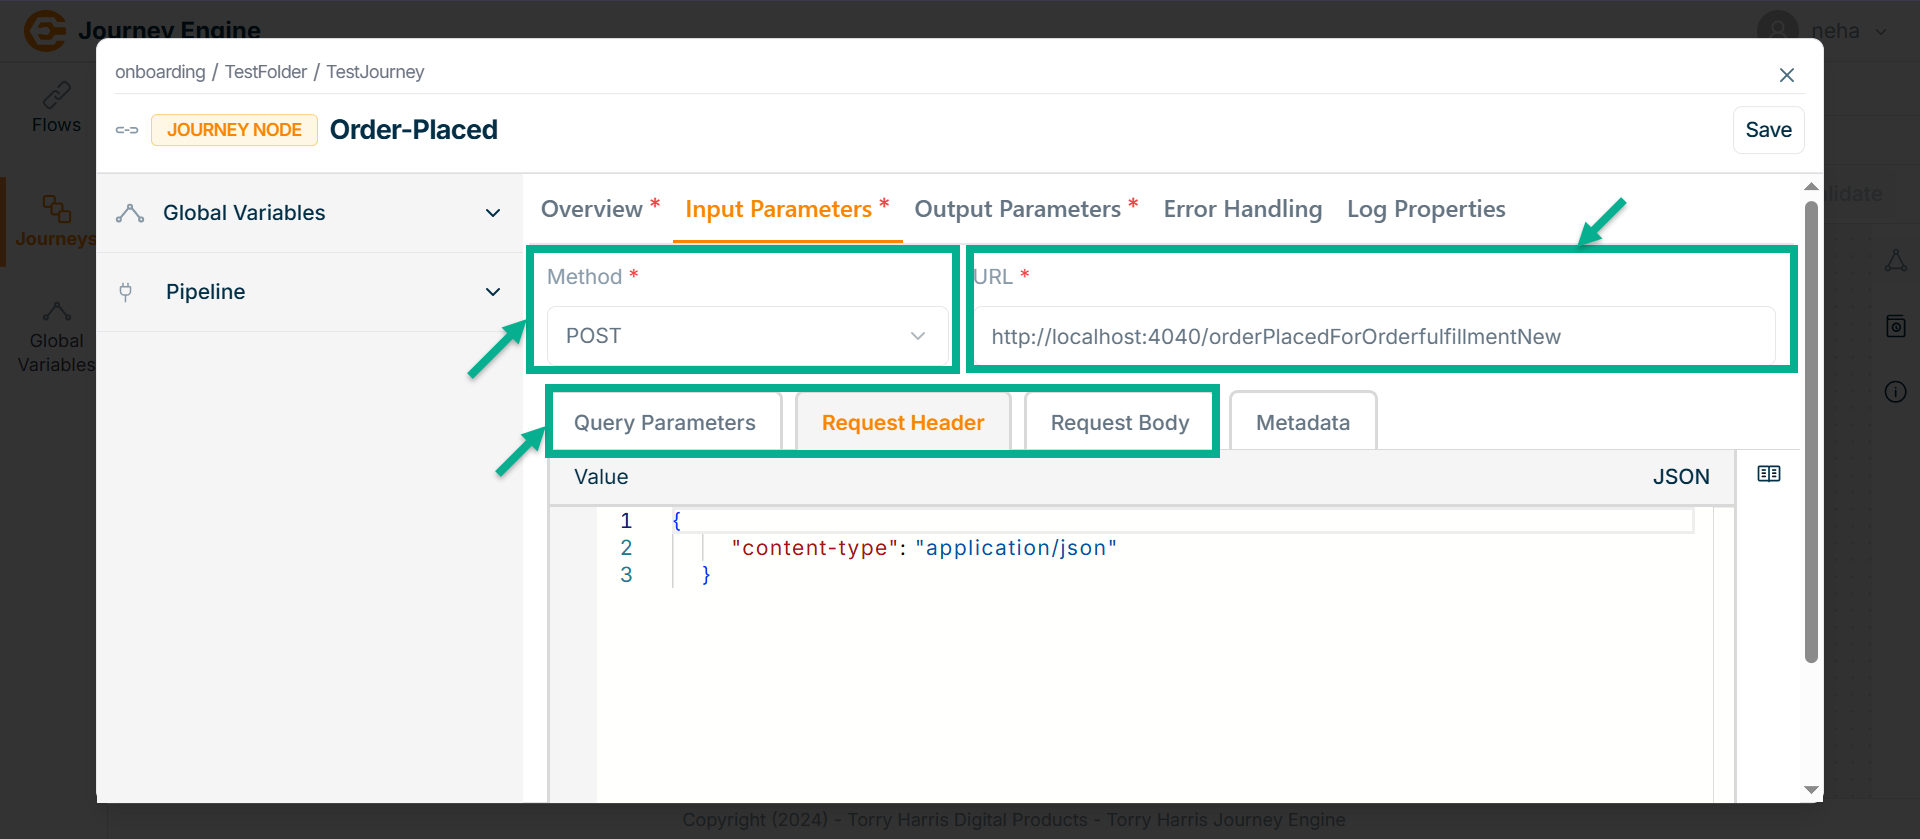
Upon selecting an internal flow, the API details—HTTP Method, URL, Query Parameters, Request Body, and Request Headers—are auto-filled to assist the journey designer in configuring the journey node. The HTTP Method, URL, and Query Parameters are populated with actual data, while the Request Body and Request Headers are filled with sample data for reference. The journey designer should adjust these parameters based on the dynamic nature of the data.
- Go to Metadata tab.
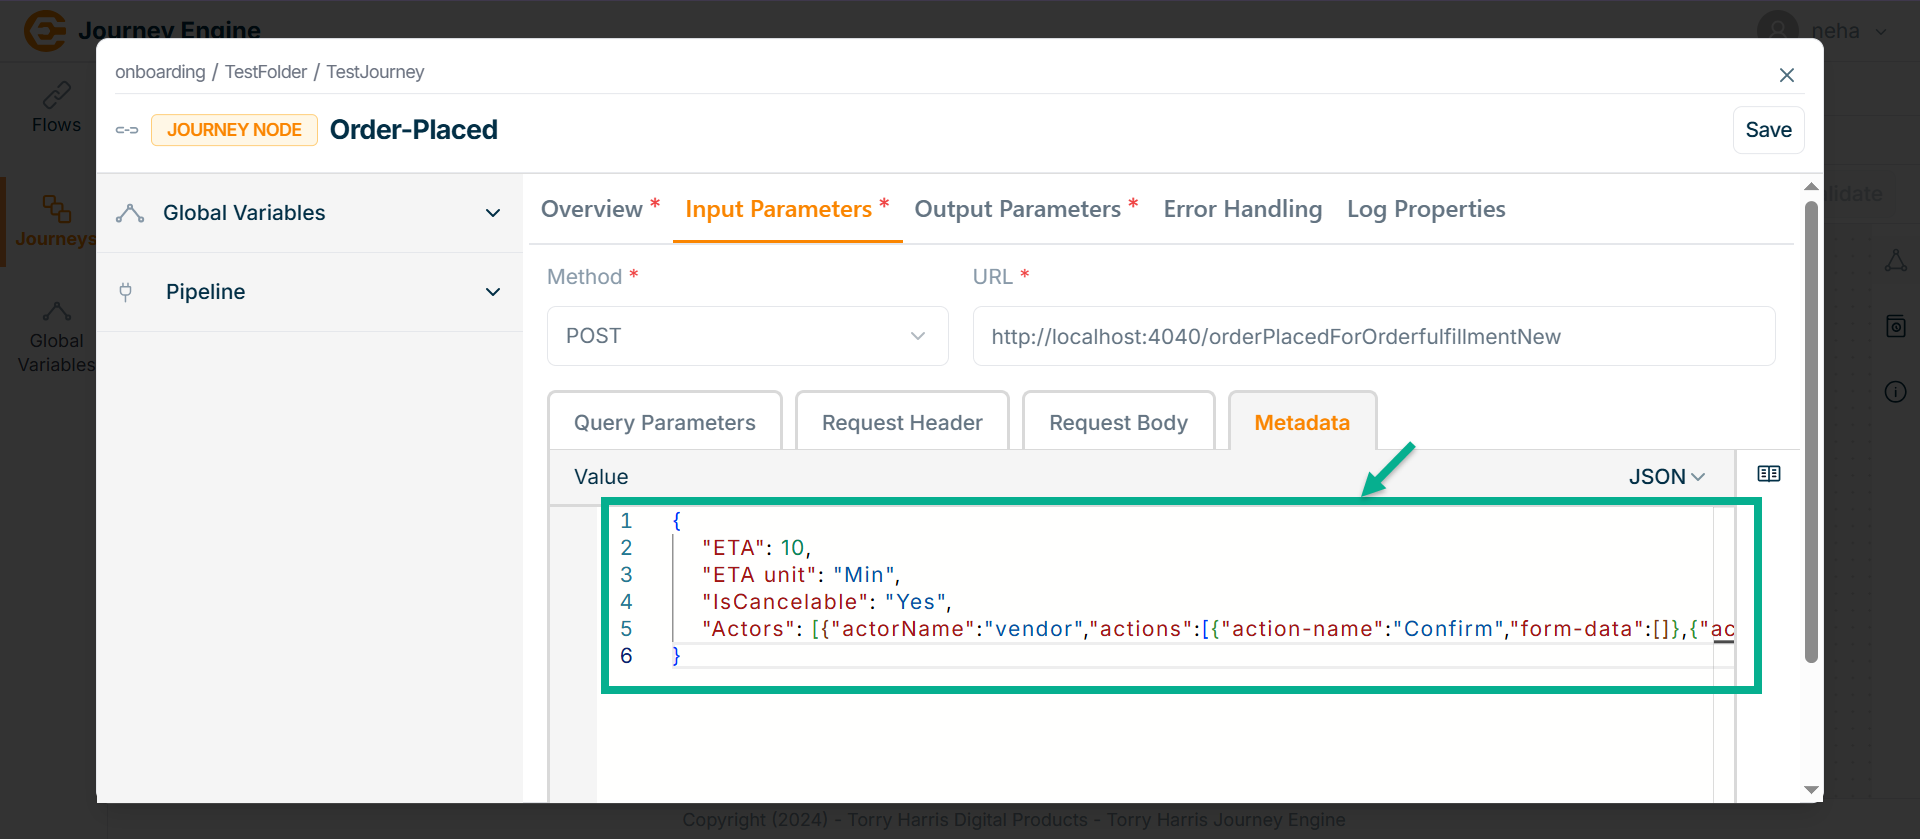
-
Enter the Value in JSON format.
-
Go to Output Parameter.
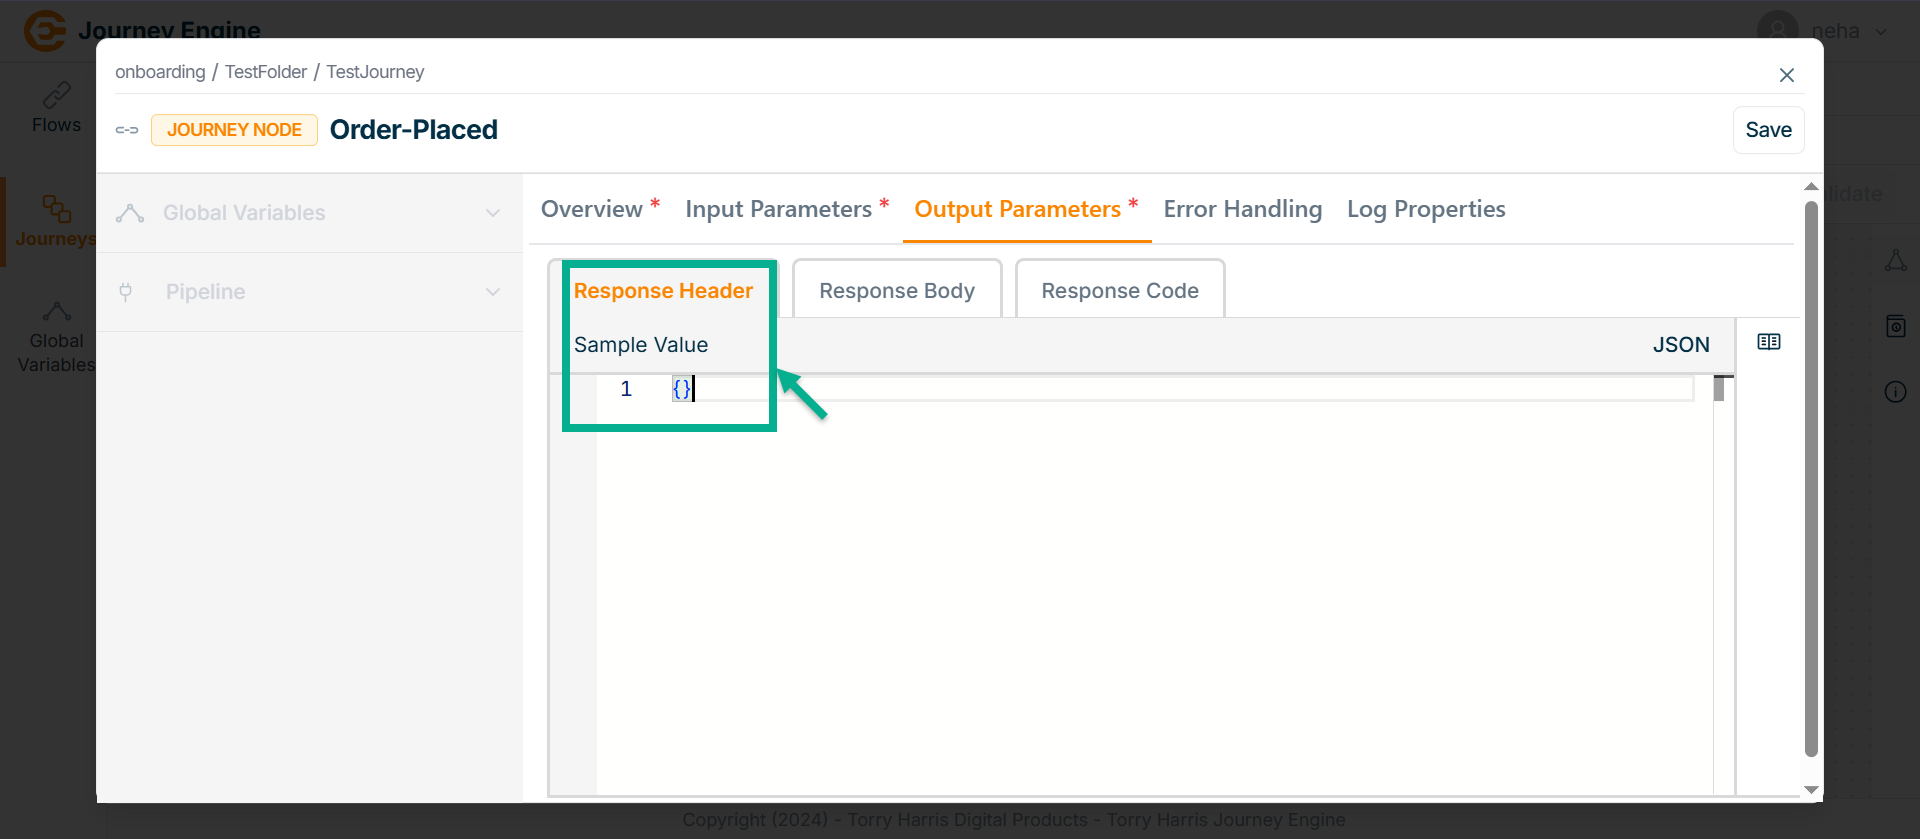
-
Under Response Header enter Sample Value in JSON format.
-
Go to Response Body tab.
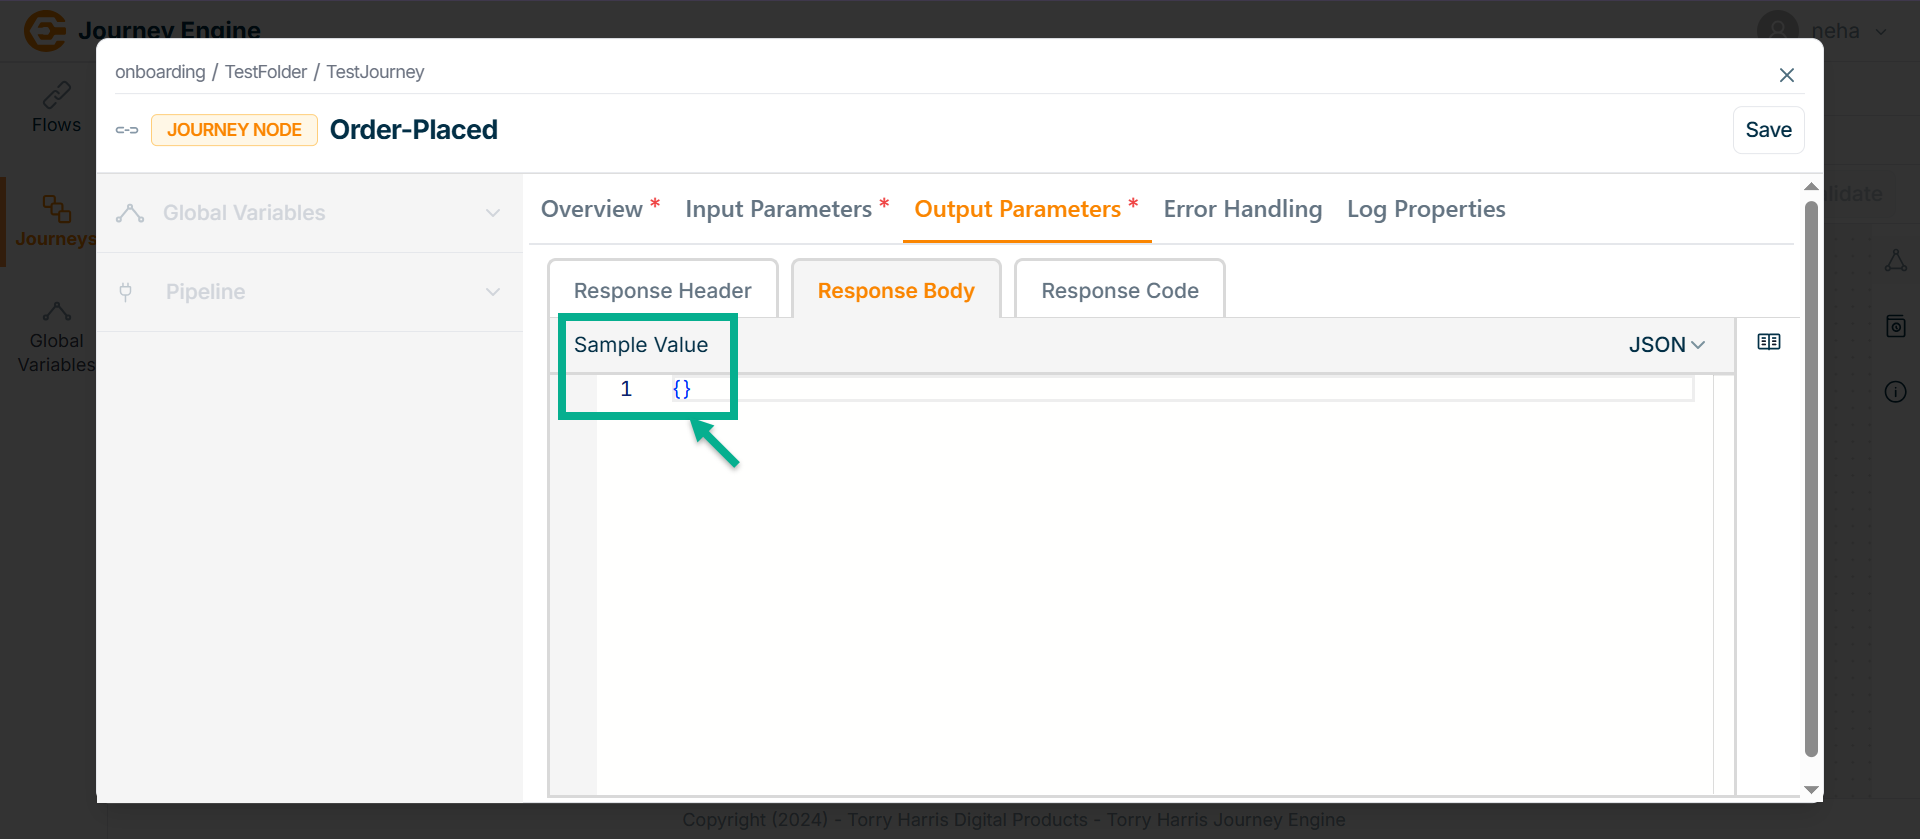
-
Enter Sample Value in JSON format.
-
Go to Response Code tab.
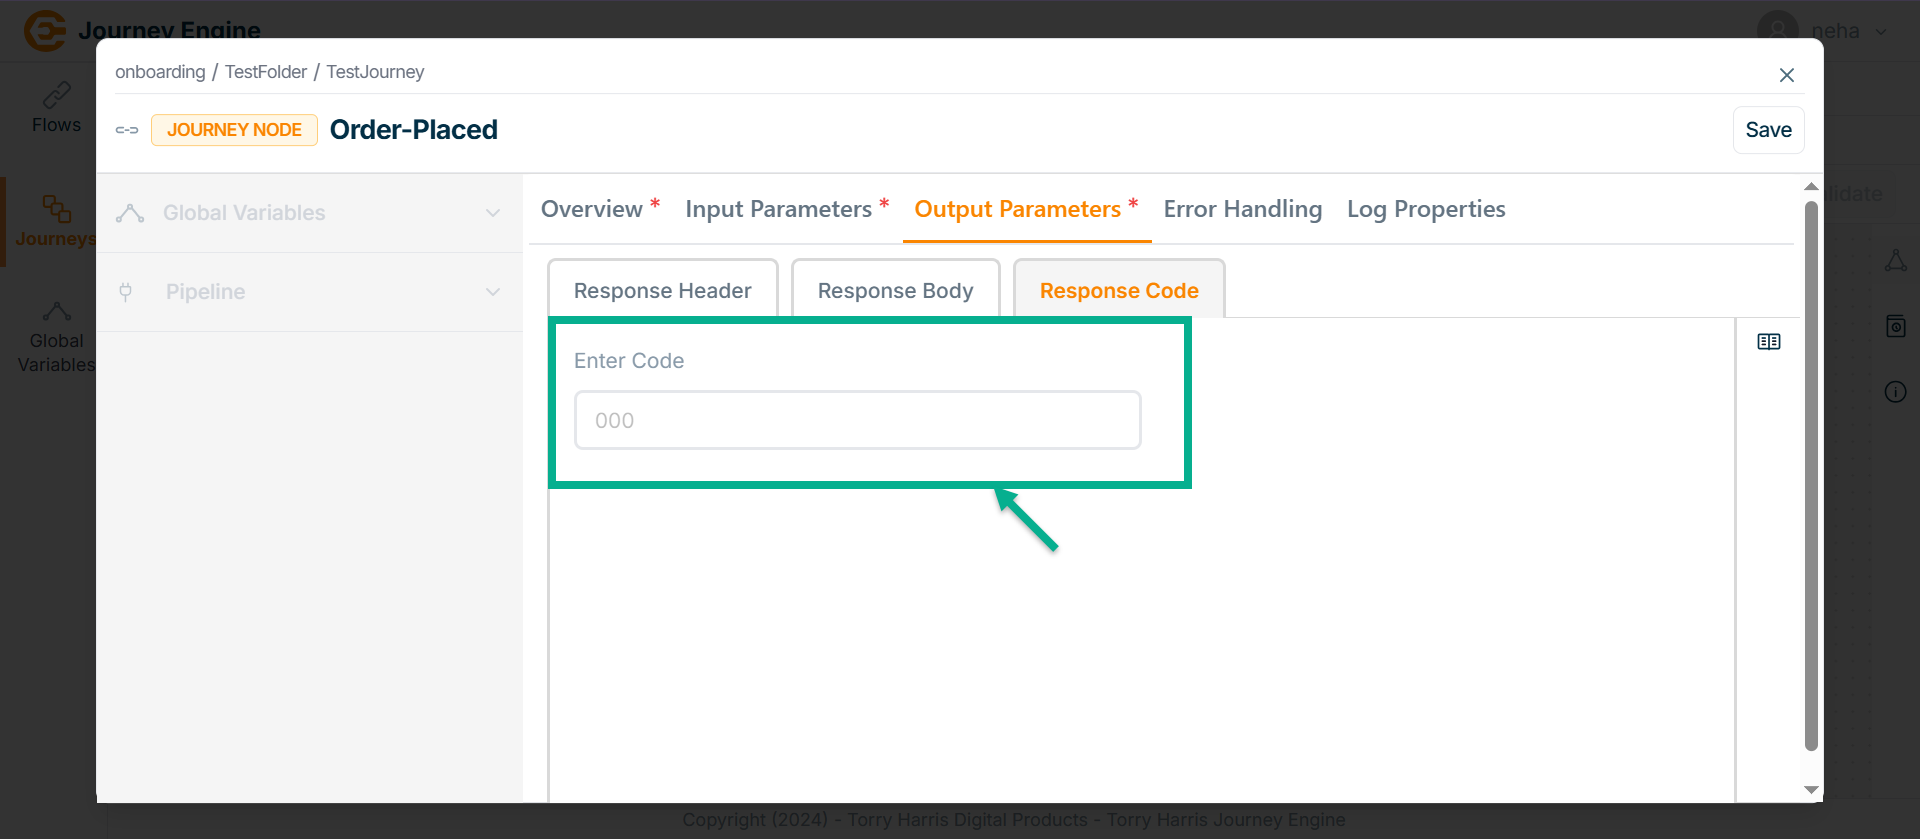
-
Enter Code.
-
Click Save.
-
Go to Log Properties tab.
-
Select the Log level for input parameter from the dropdown.
-
Select Input parameters from the dropdown.
-
Select the Log level for output parameter from the dropdown.
-
Select Output parameters from the dropdown.
-
Click Save.
-
Click on Close button to close the Journey Node.
Decision Node
- Click on Nodes icon.
-
Click and drag the Decision Node into the canvas.
-
Click on the Edit icon.

Click Delete to delete the node.
The Decision screen apperas as shown below
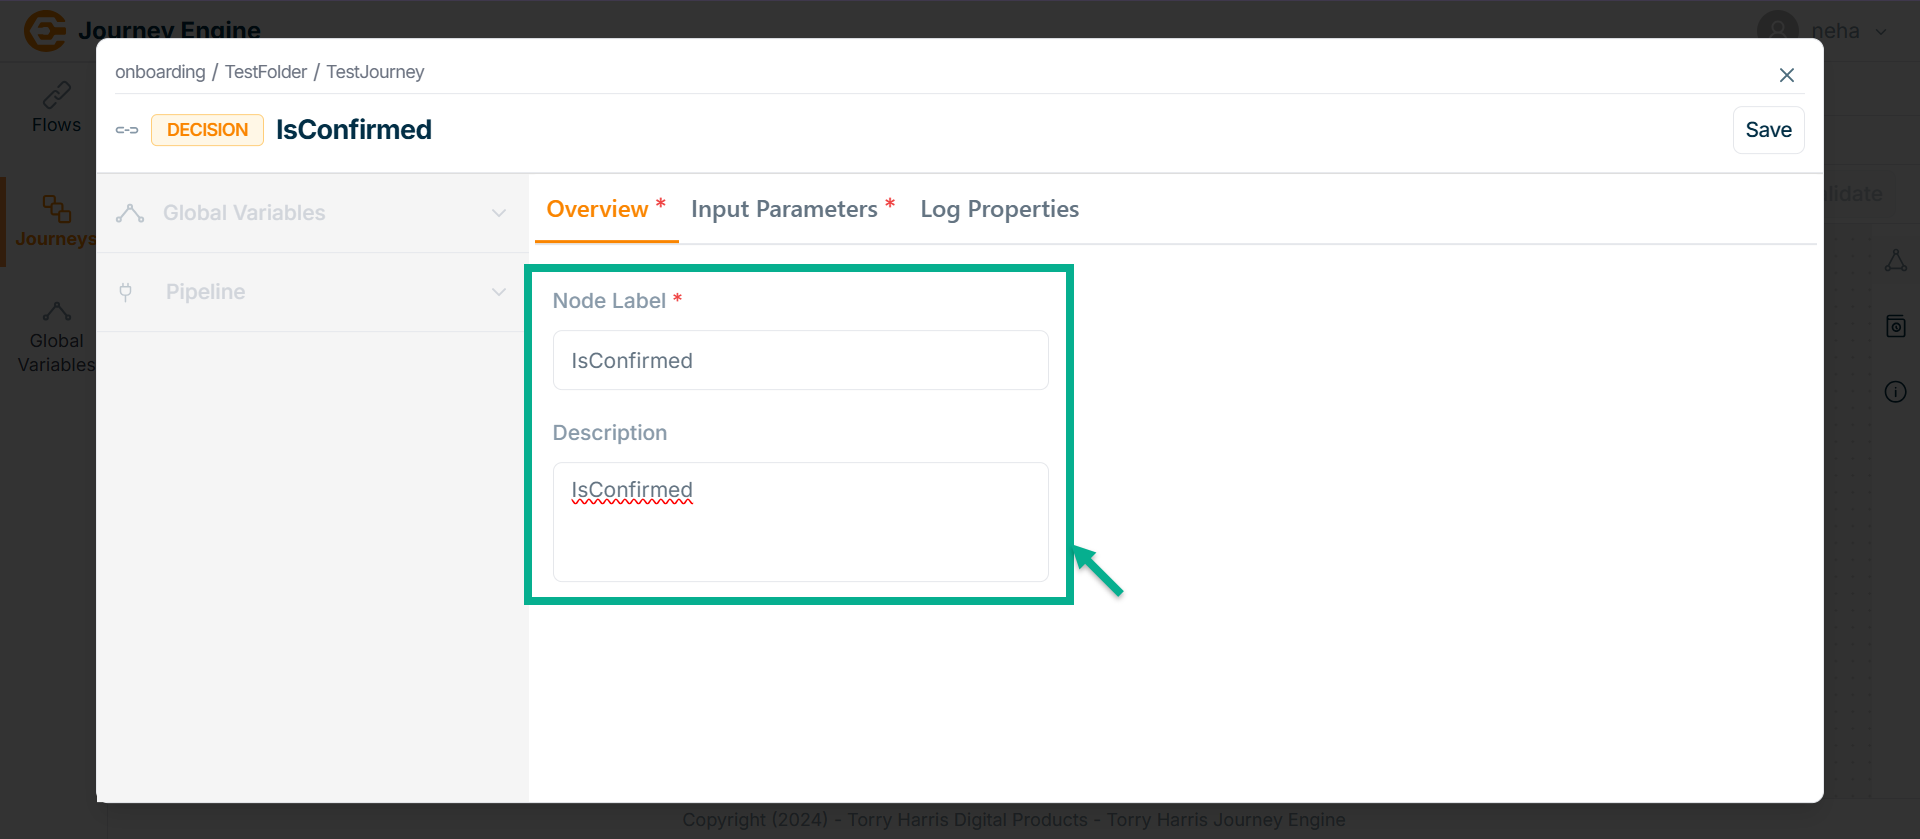
-
Enter Node Label and Description.
-
Click Save.
-
Go to Input Parameters.
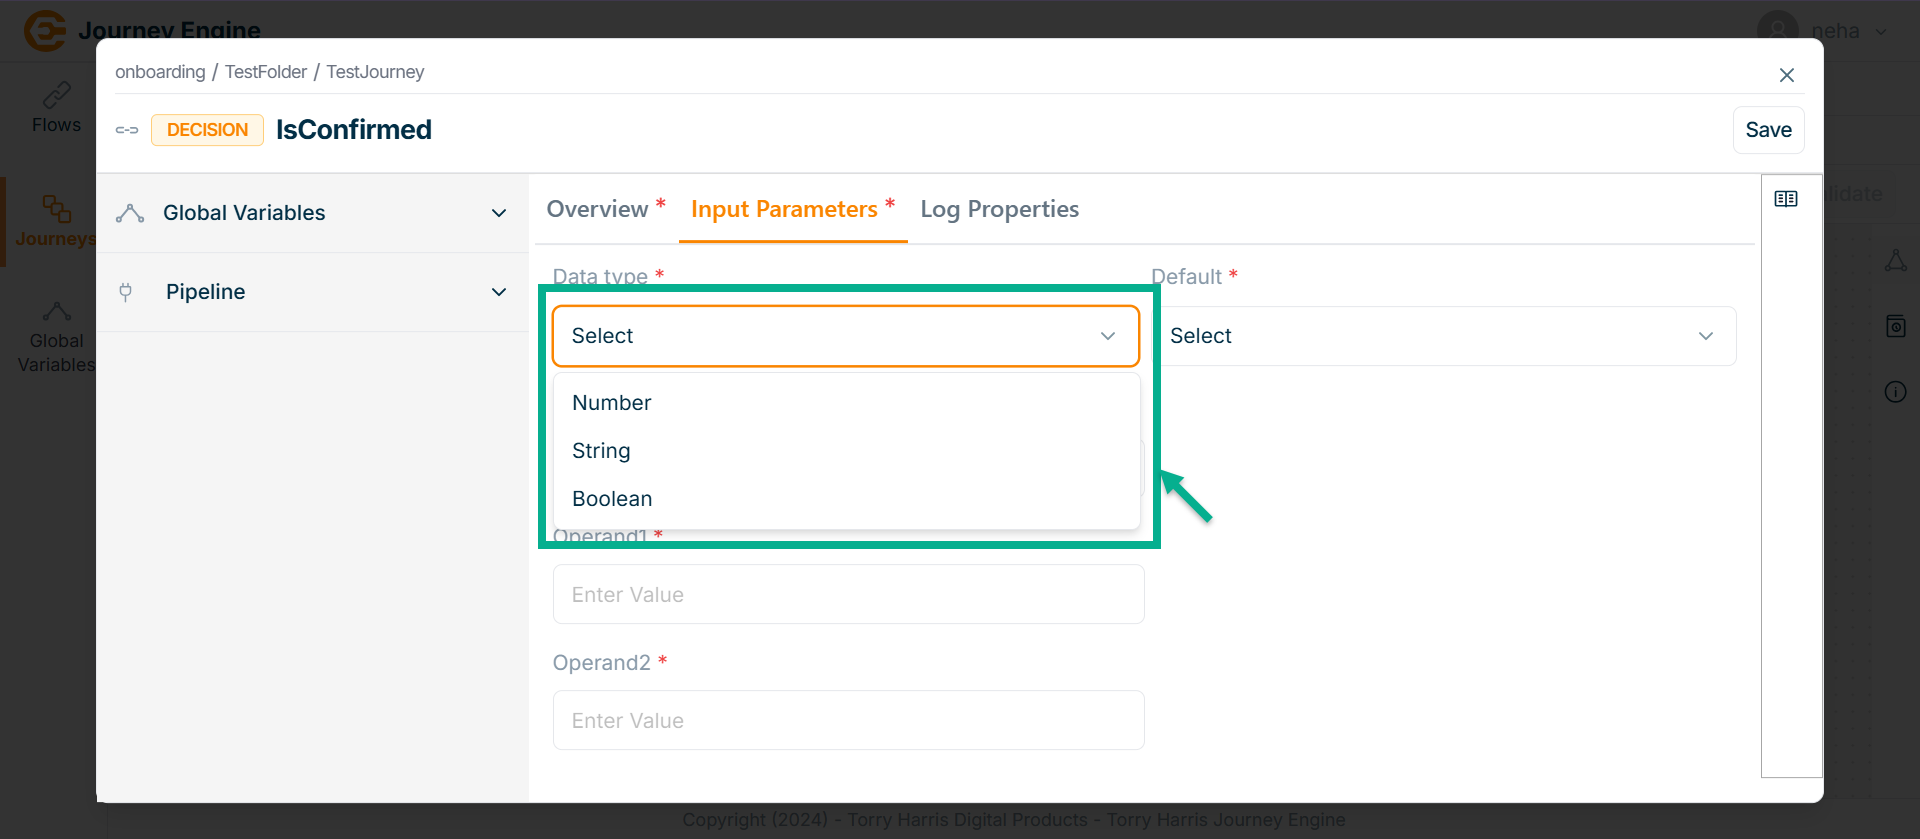
-
Select the Data type from the dropdown.
-
Select the Operator from the dropdown.
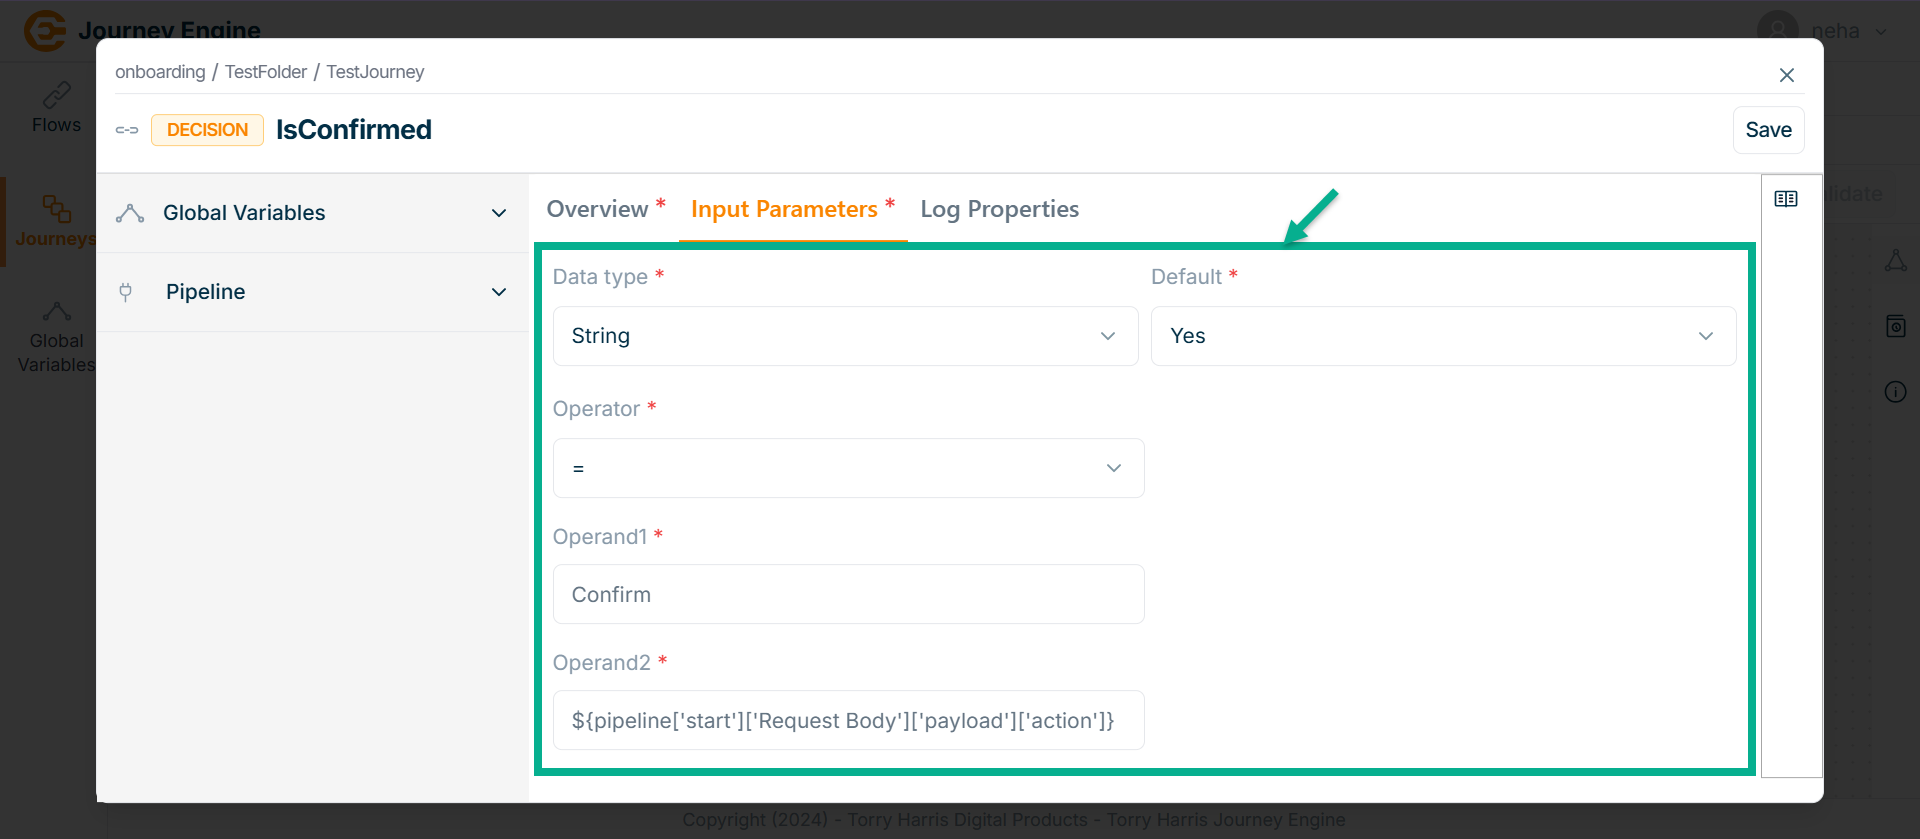
-
Enter Operand1.
-
Enter Operand2 using pipeline.
-
Click Save.
-
Go to Log Properties.
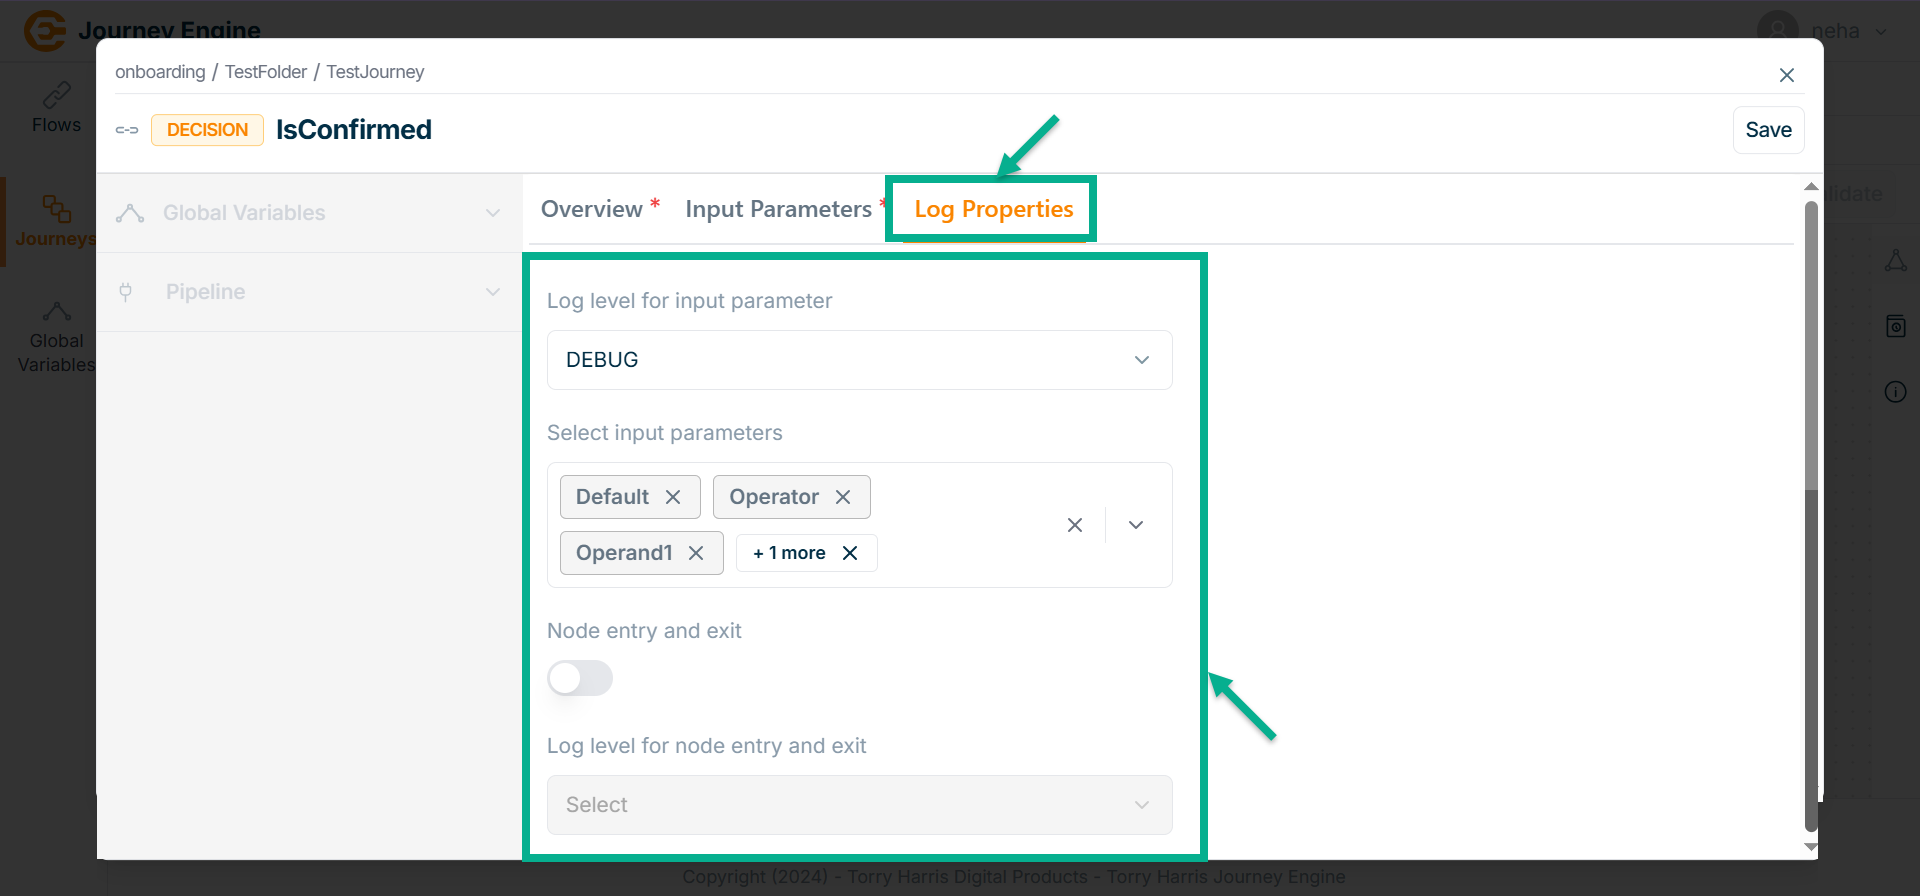
-
Select the Log level for input parameter from the dropdown.
-
Select Input parameters from the dropdown.
-
Click Save.
-
Click on Close button to close the Decision Node.
Stop Node
- Click on Nodes icon.
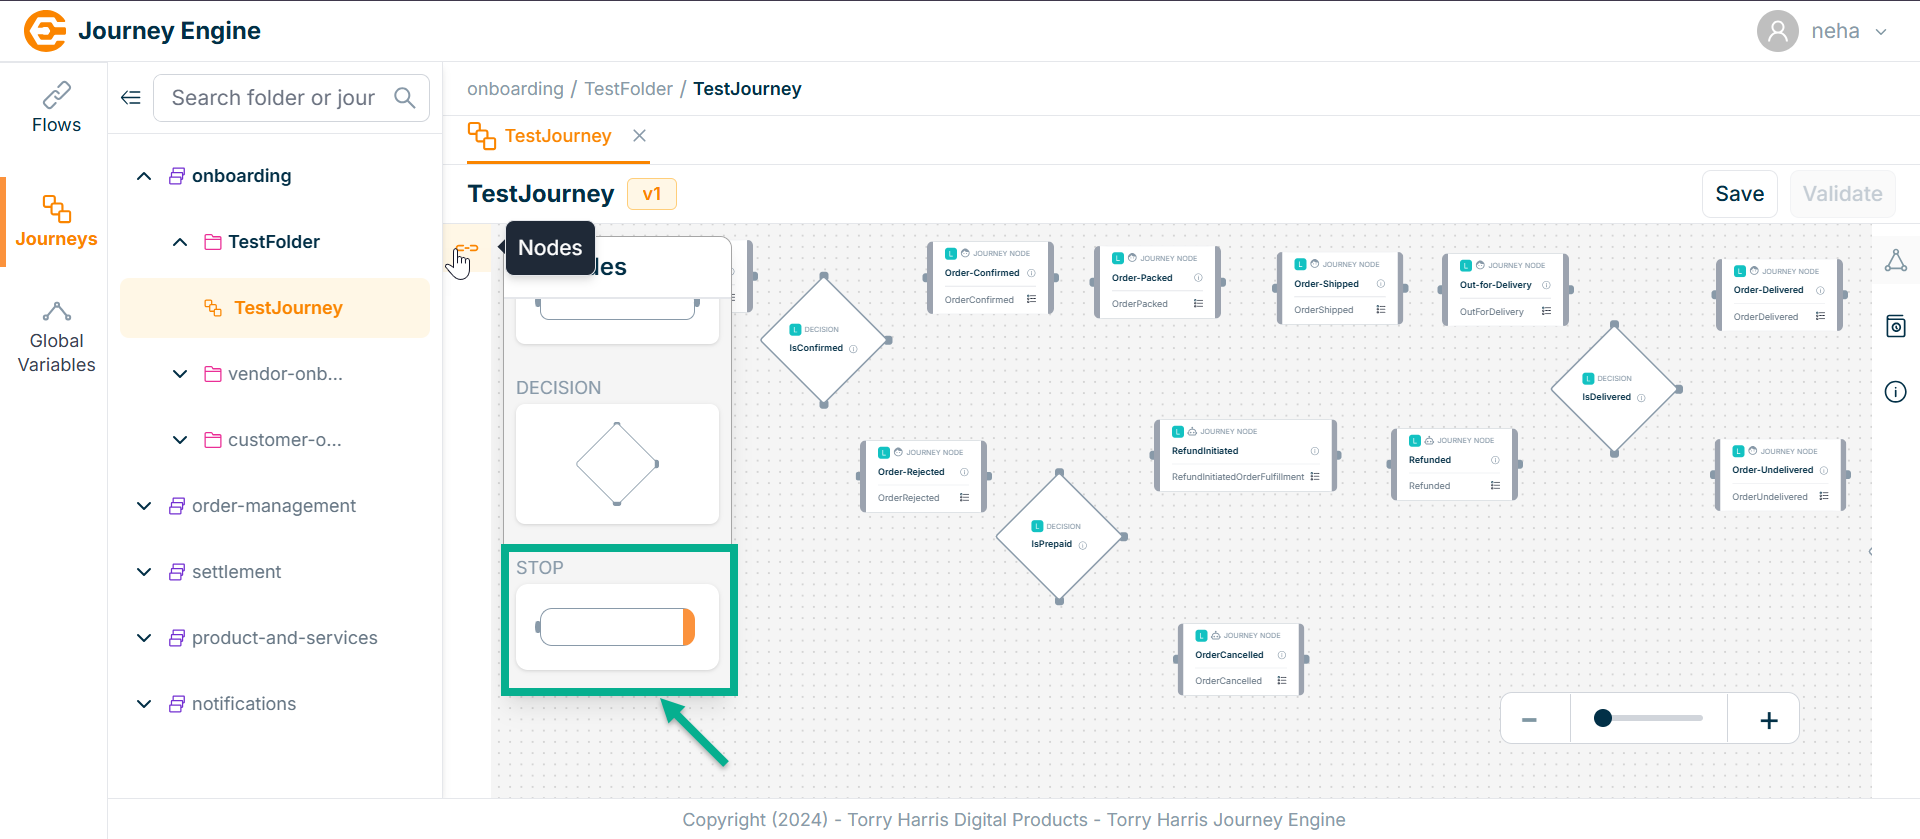
-
Click and drag the HTTP Responder Node into the canvas.
-
Click on the Edit icon.
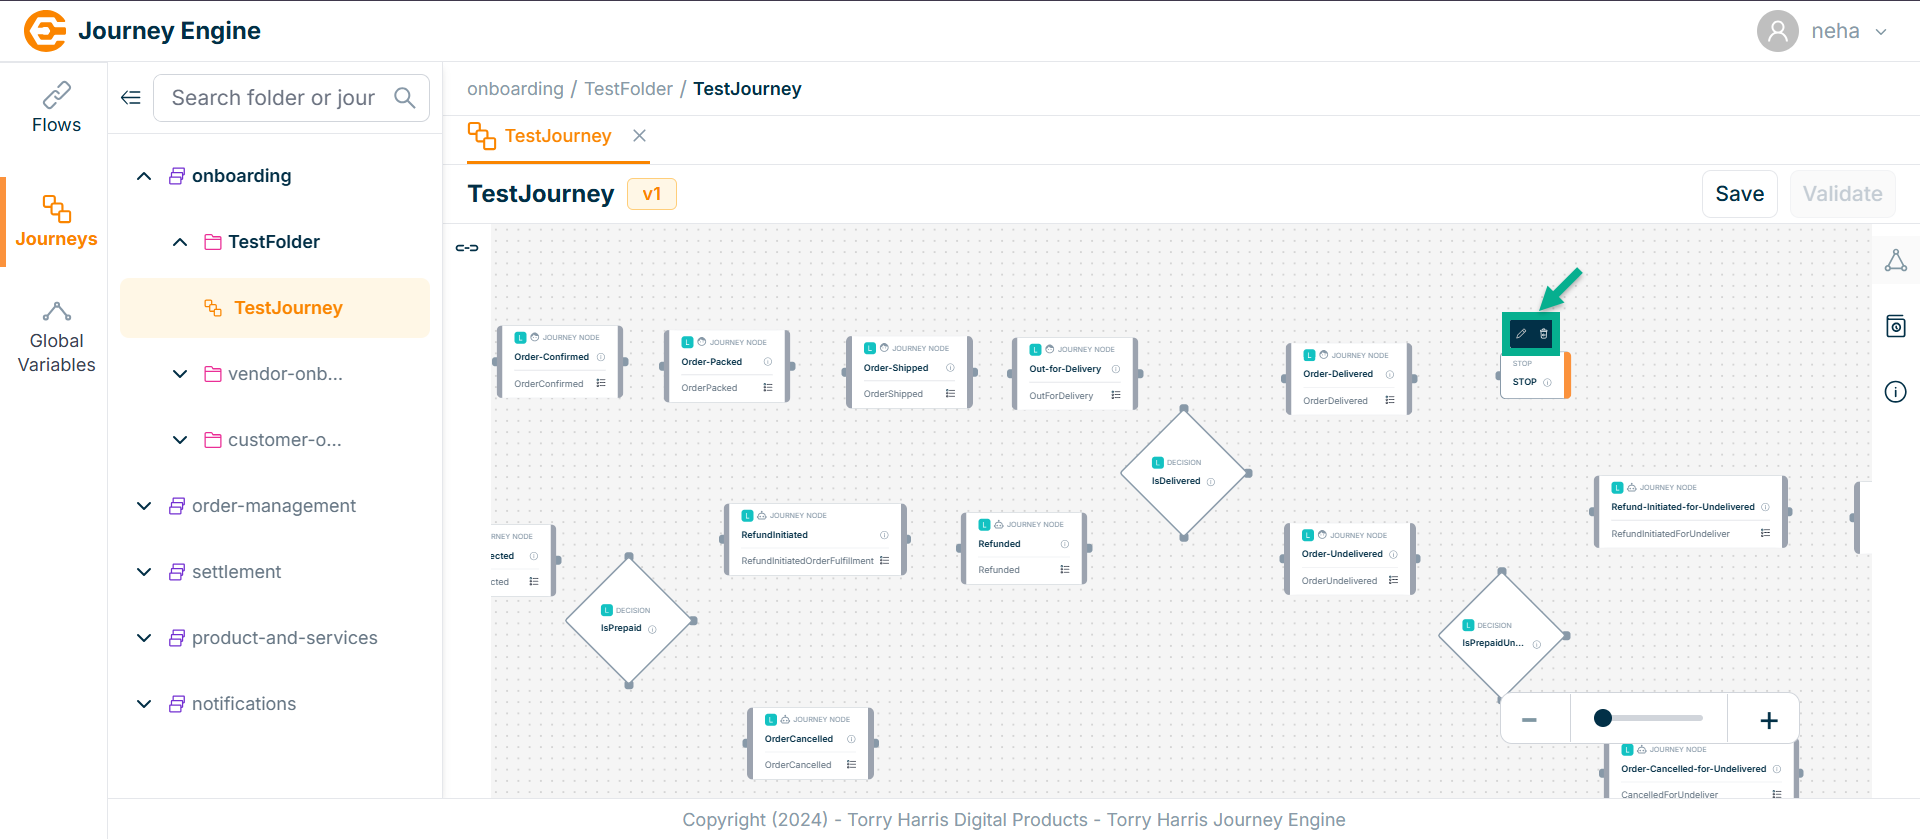
Click Delete to delete the node.
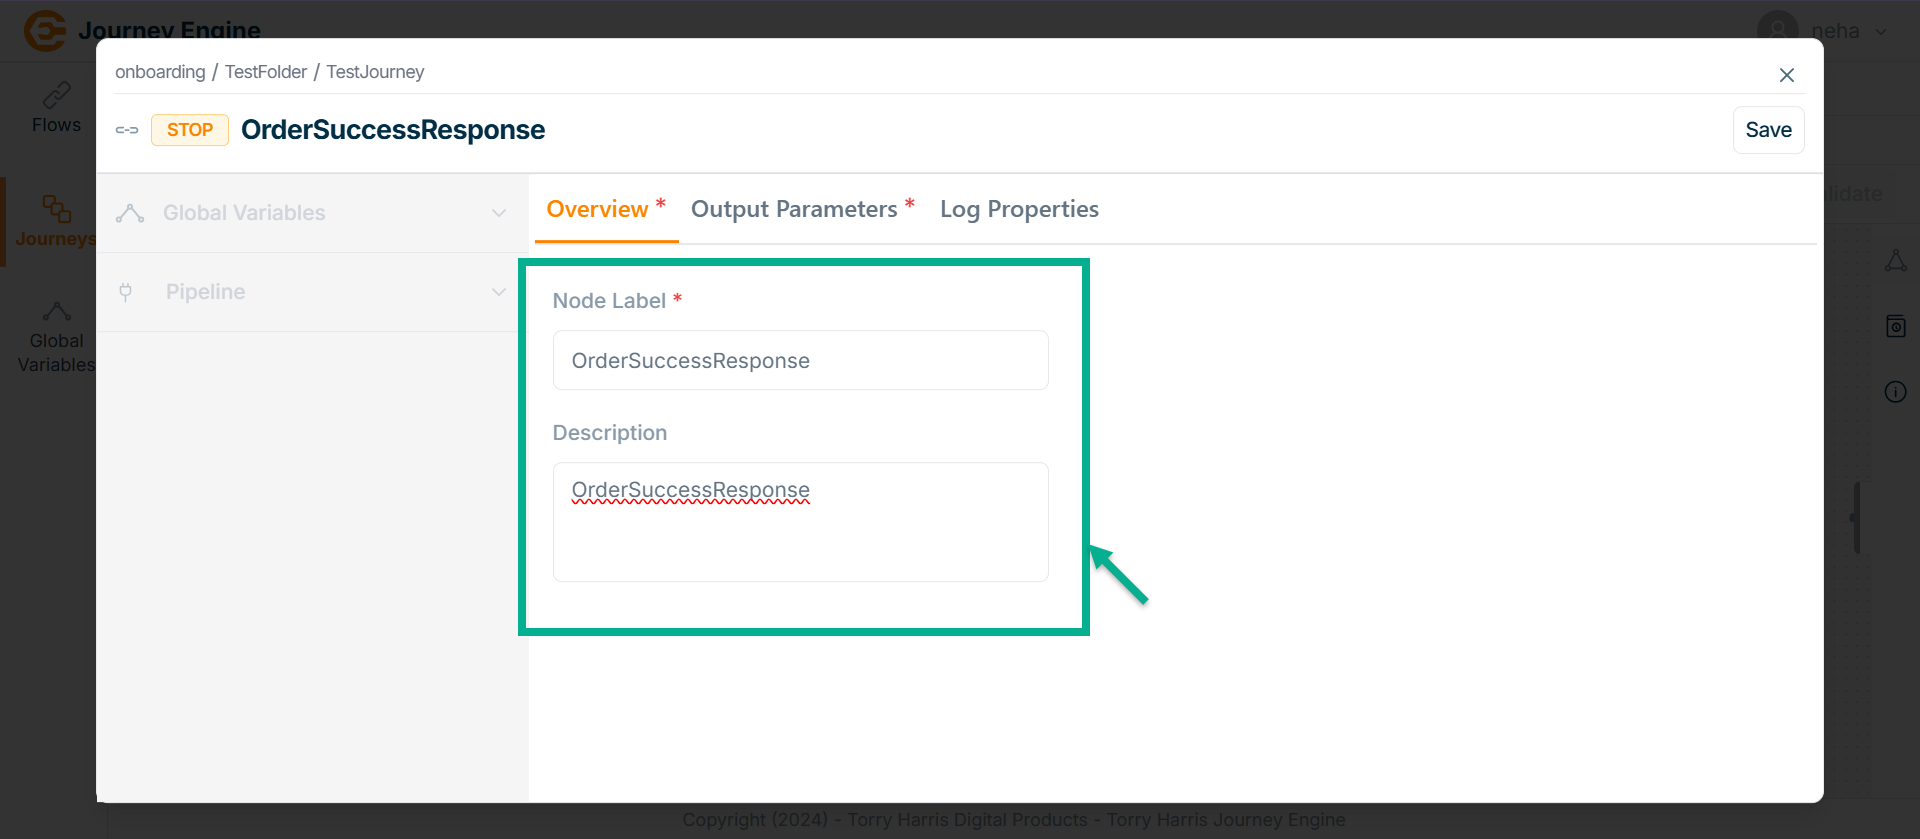
The HTTP Responder screen apperas as shown below
-
Enter Node Label and Description.
-
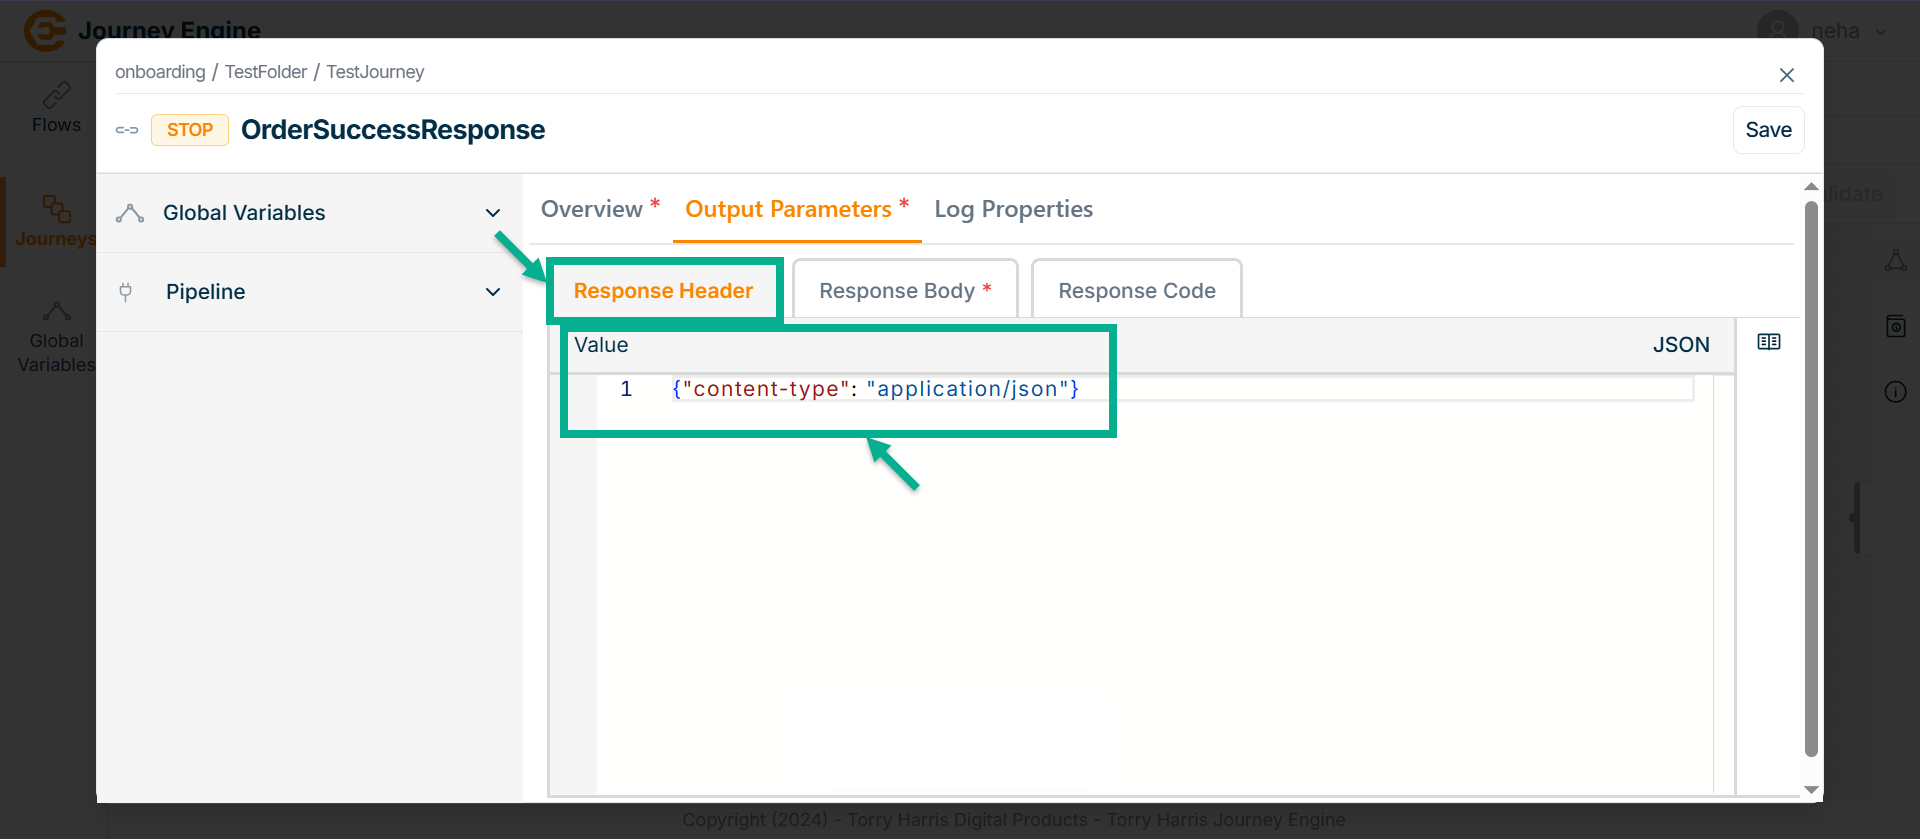
Go to Output Parameters.
-
Under Response Header enter the Value in JSON format.
-
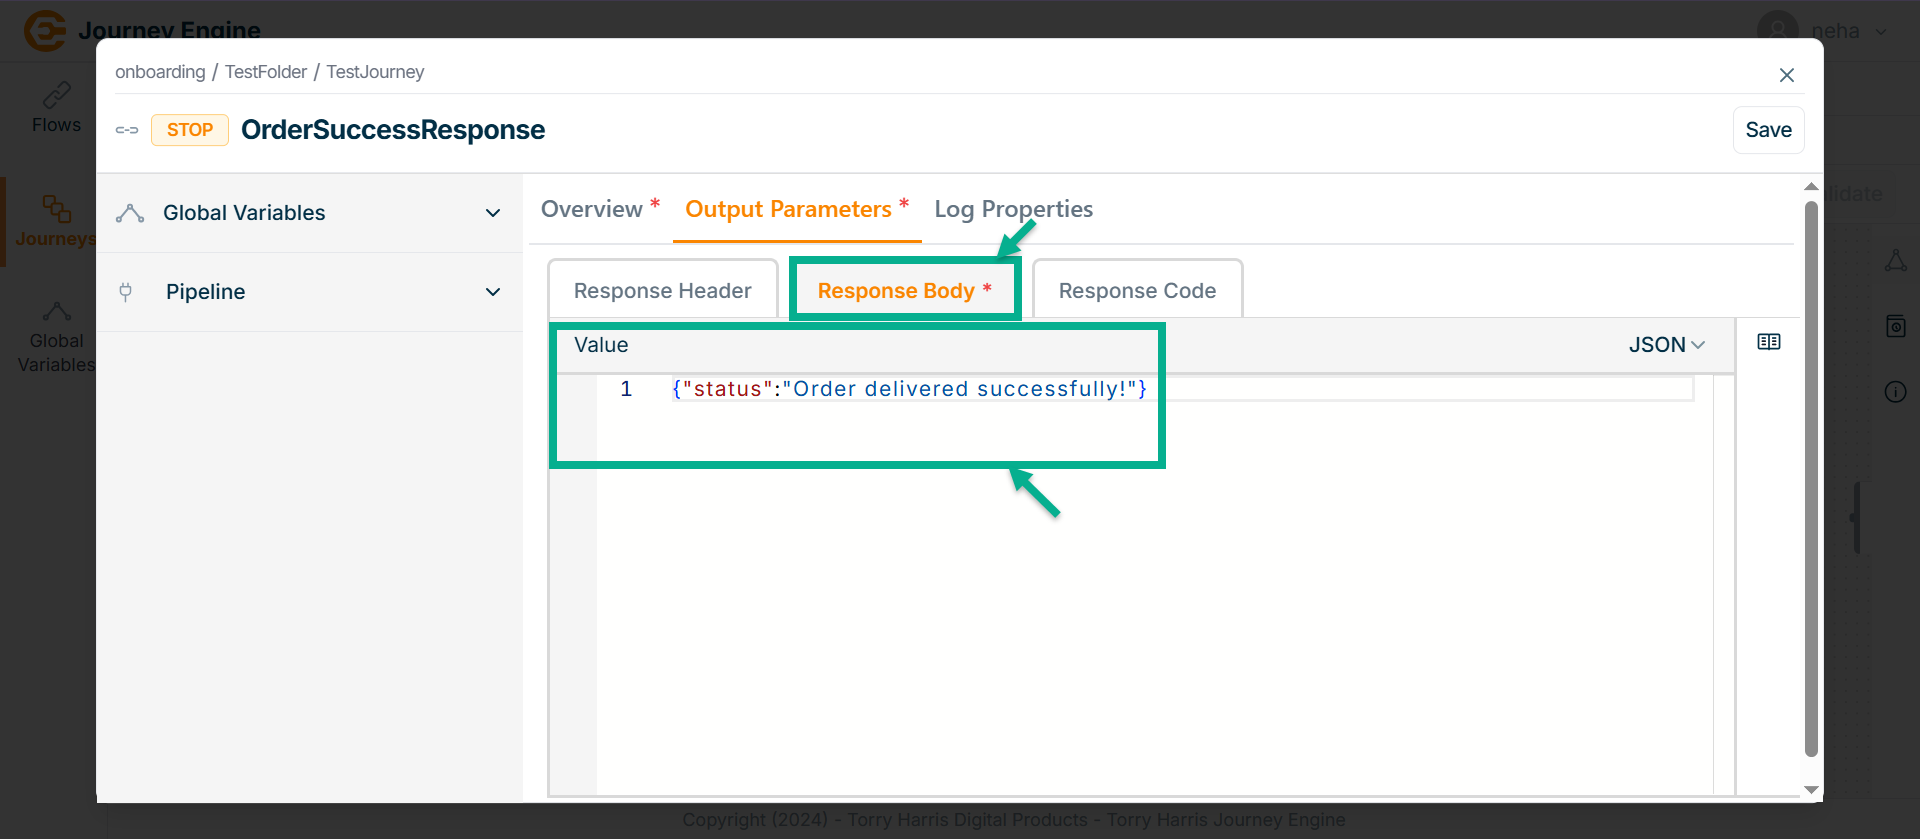
Go to Response Body tab.
-
Enter Value in JSON format.
-
Got to Response Code tab.

-
Enter Code.
-
Click Save.
-
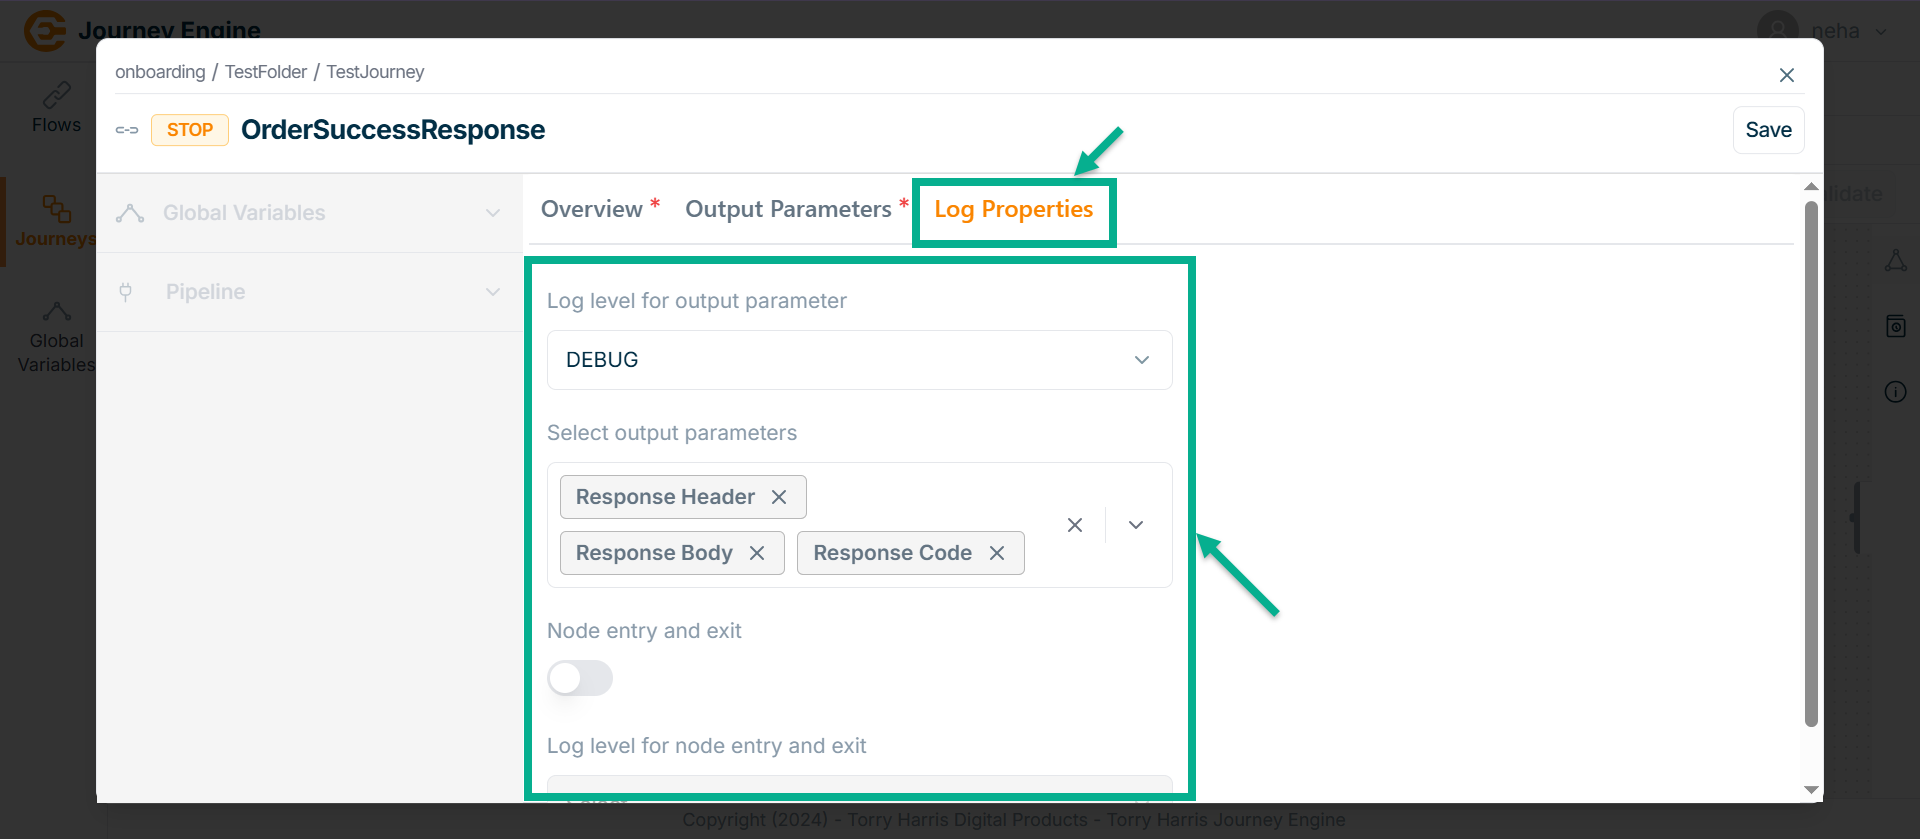
Go to Log Properties tab.
-
Select the Log level for output parameter from the dropdown.
-
Select Output parameters from the dropdown.
-
Click Save.
-
Click on Close button to close the Service Callout Node.
Connecting the Nodes
- Hover over the Node.

-
Click and hold the plus (+) icon.
-
Drag the line to the next node you want to connect.
-
Release the mouse once the line reaches the target node.
-
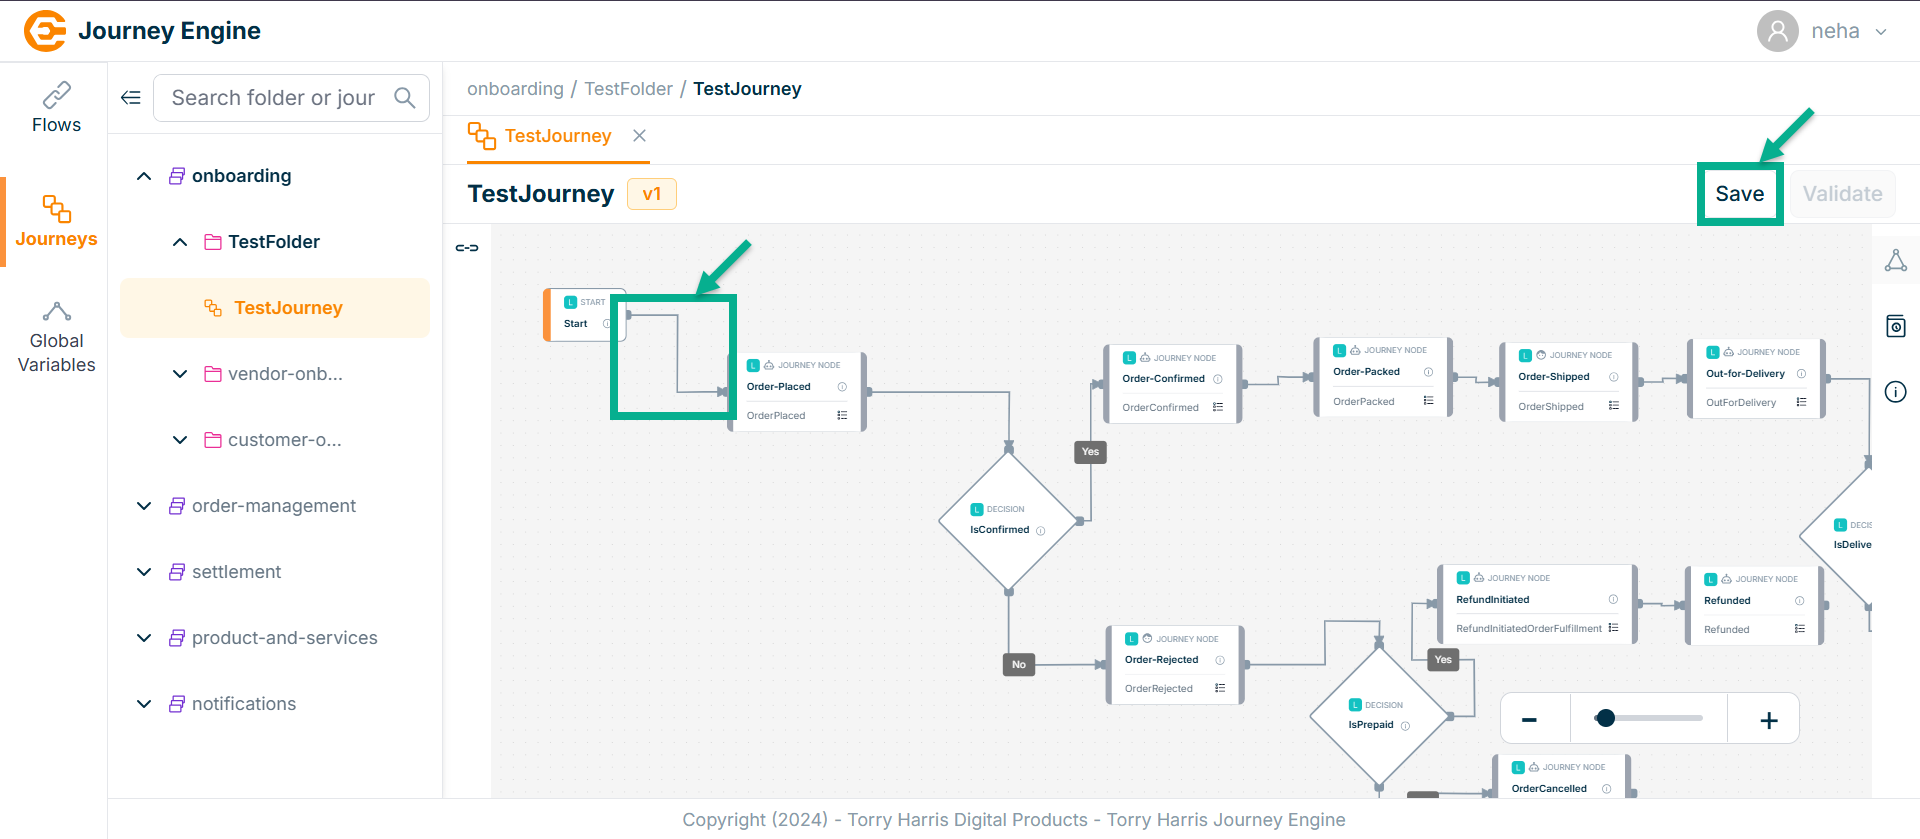
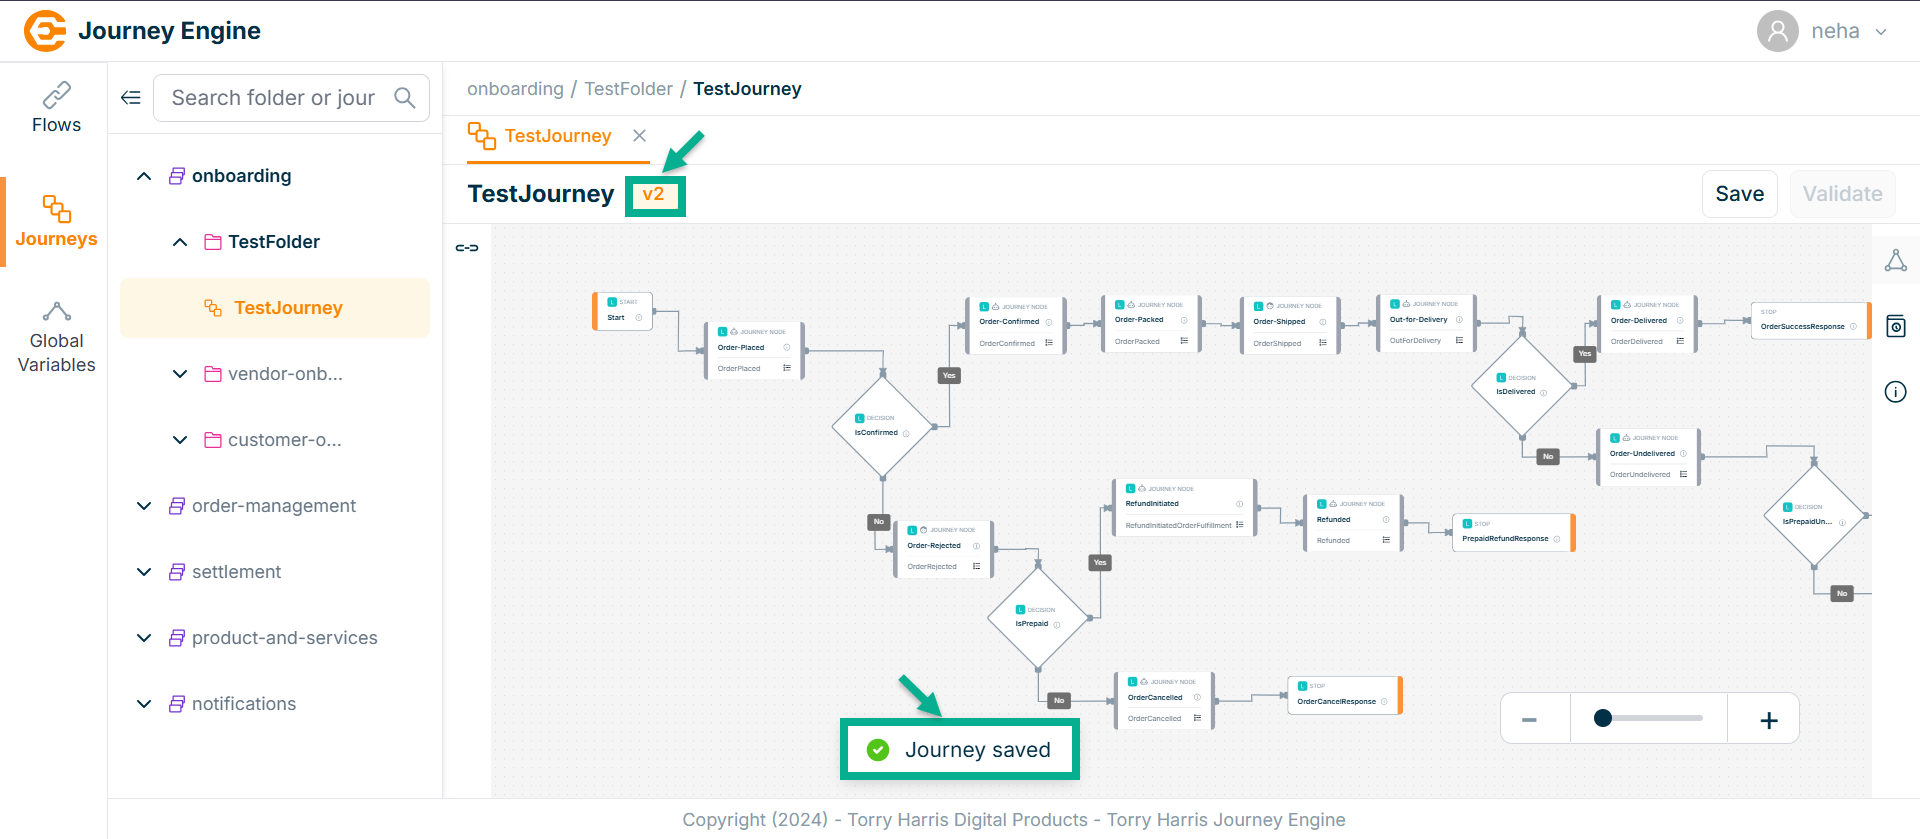
Click on Save.
On saving, the confirmation message appears as shown below.

Validating the Journey
- Click on Validate.
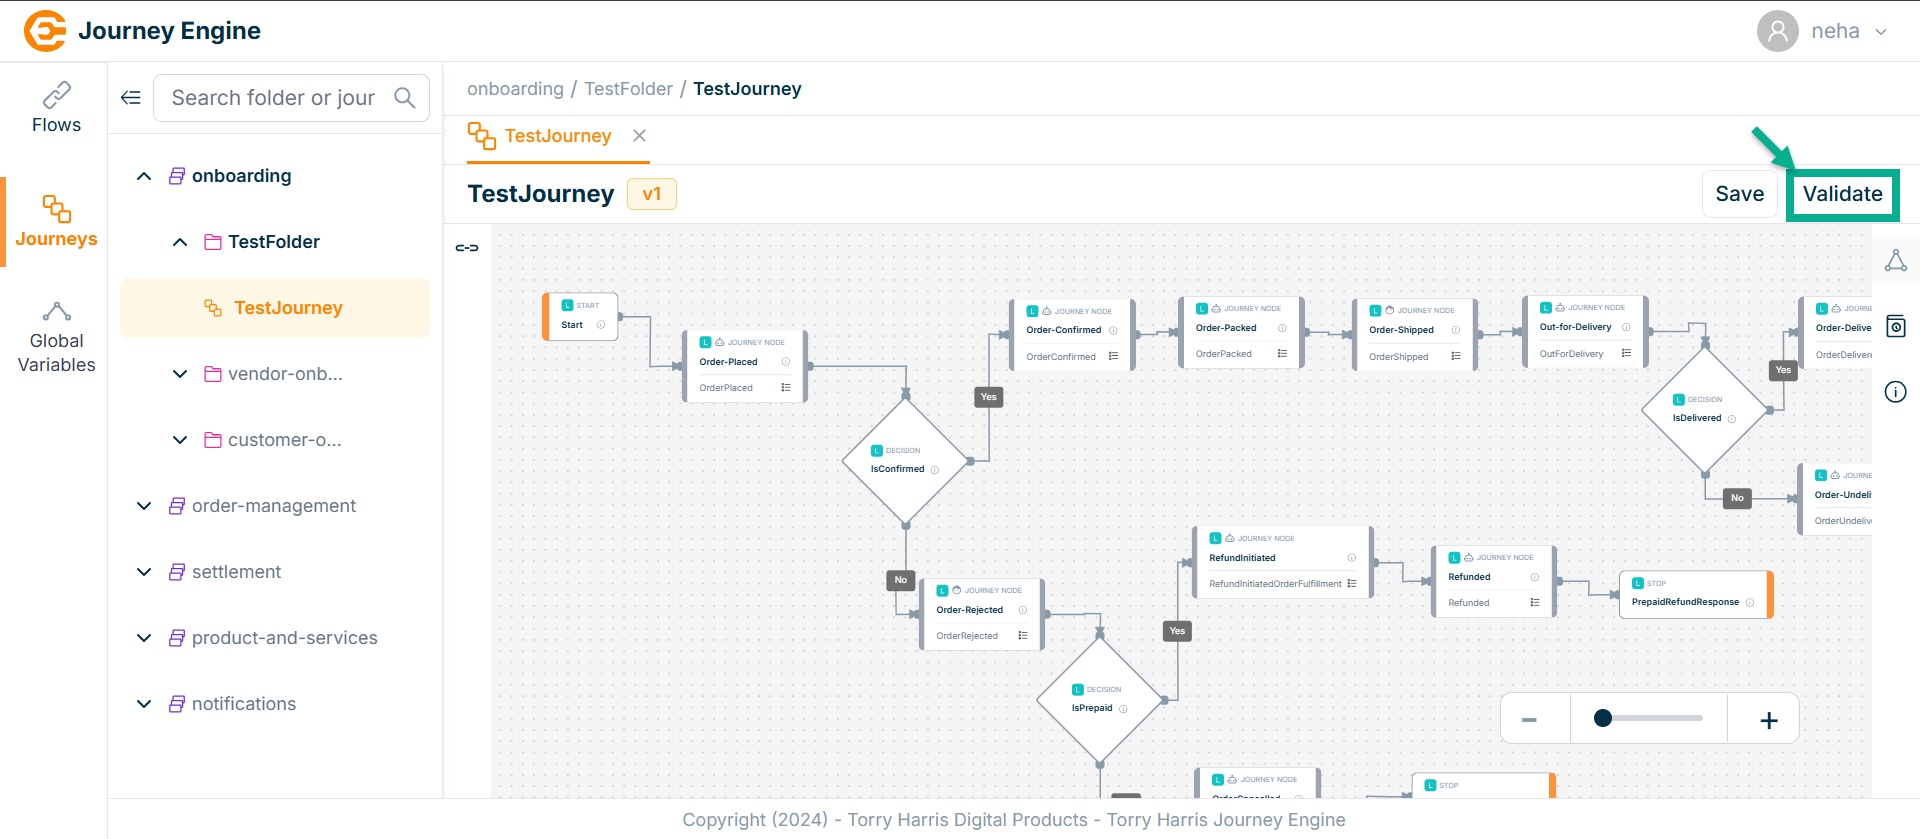
On validating, the confirmation message appears as shown below.

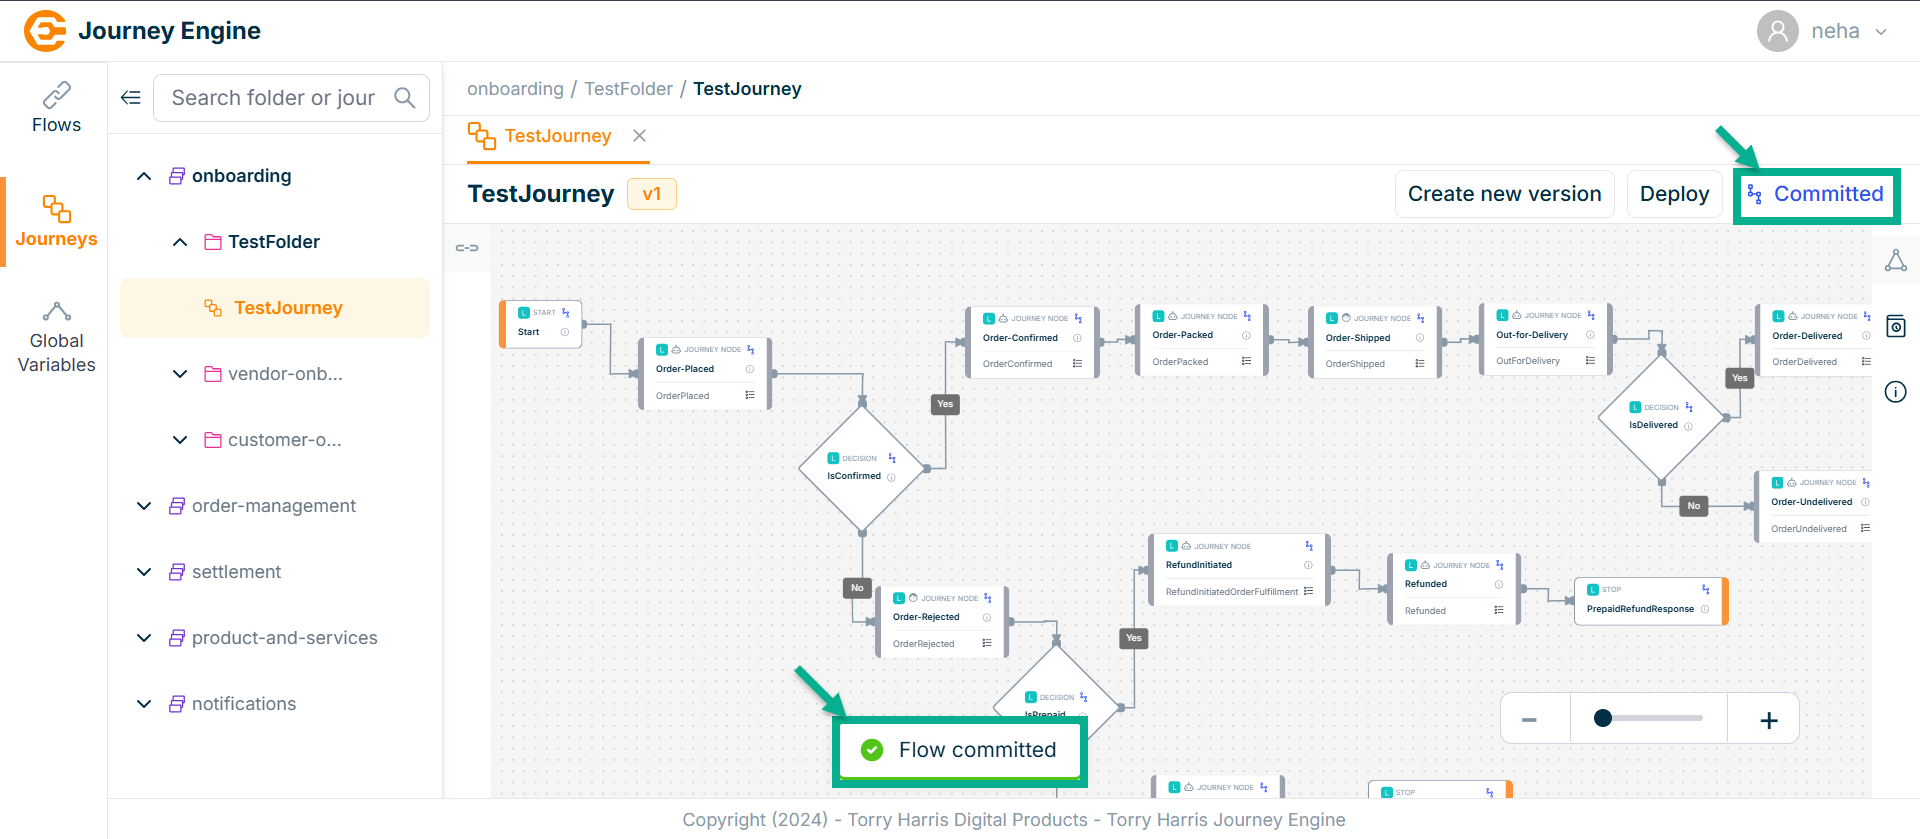
Committing the Journey
Once the journey is committed, the nodes can no longer be edited. To make any changes, a new version must be created on top of the deployed one.
- Click on Commit.
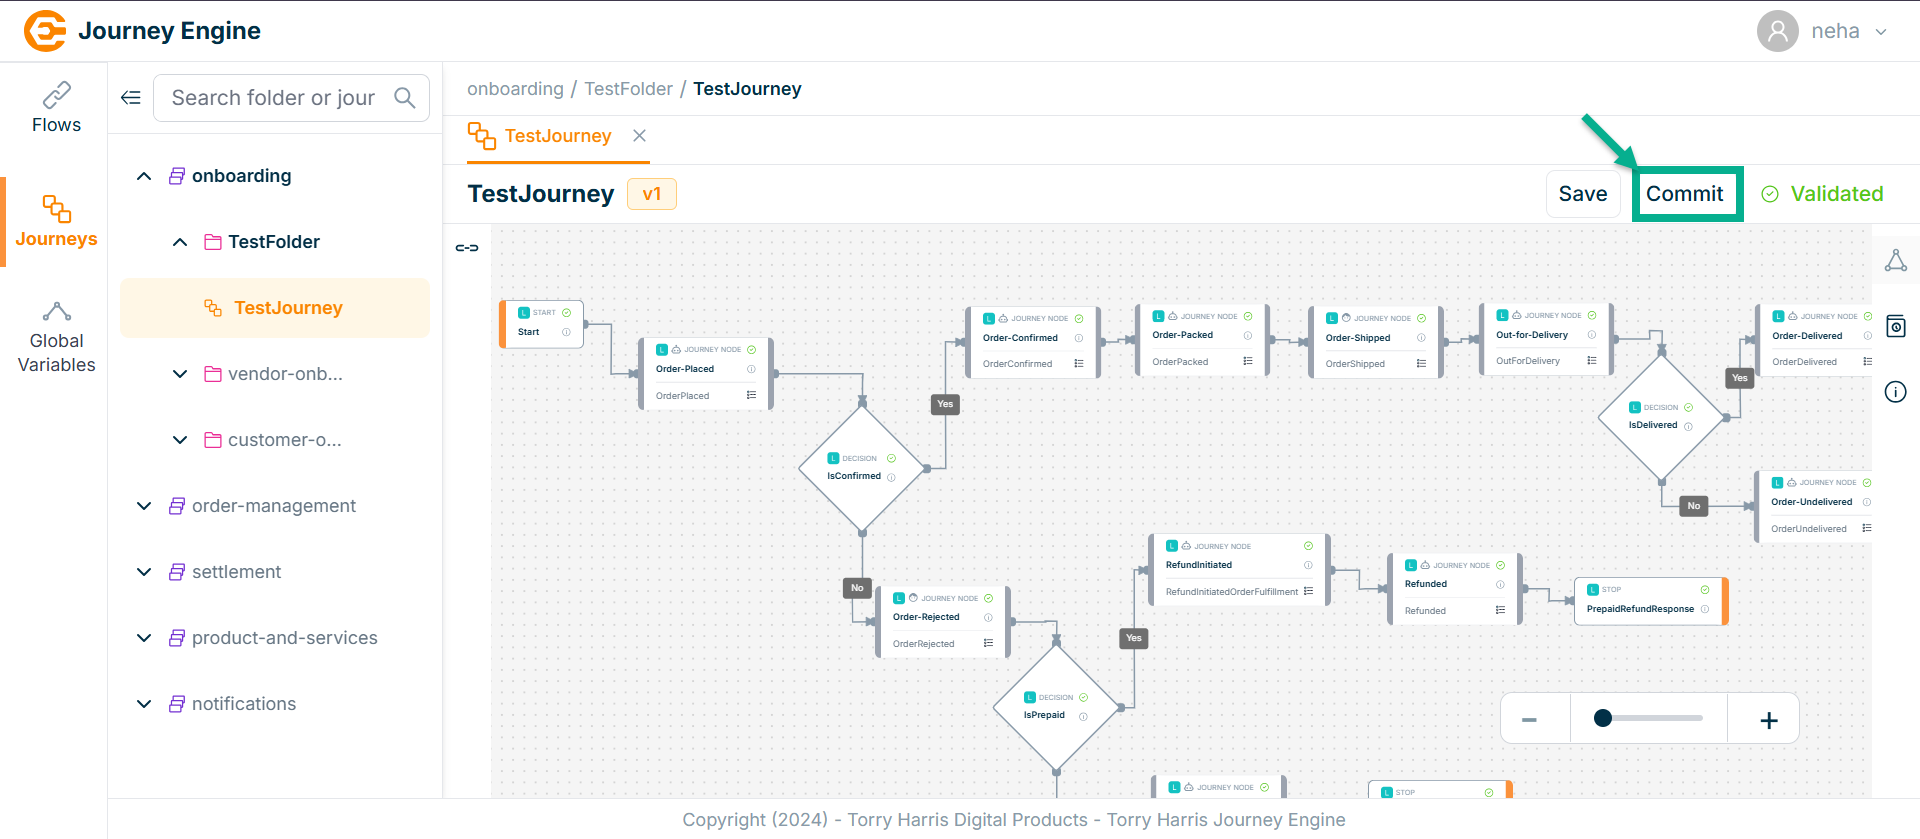
On committing, confirm popup appear as shown below.
- Click on Proceed.
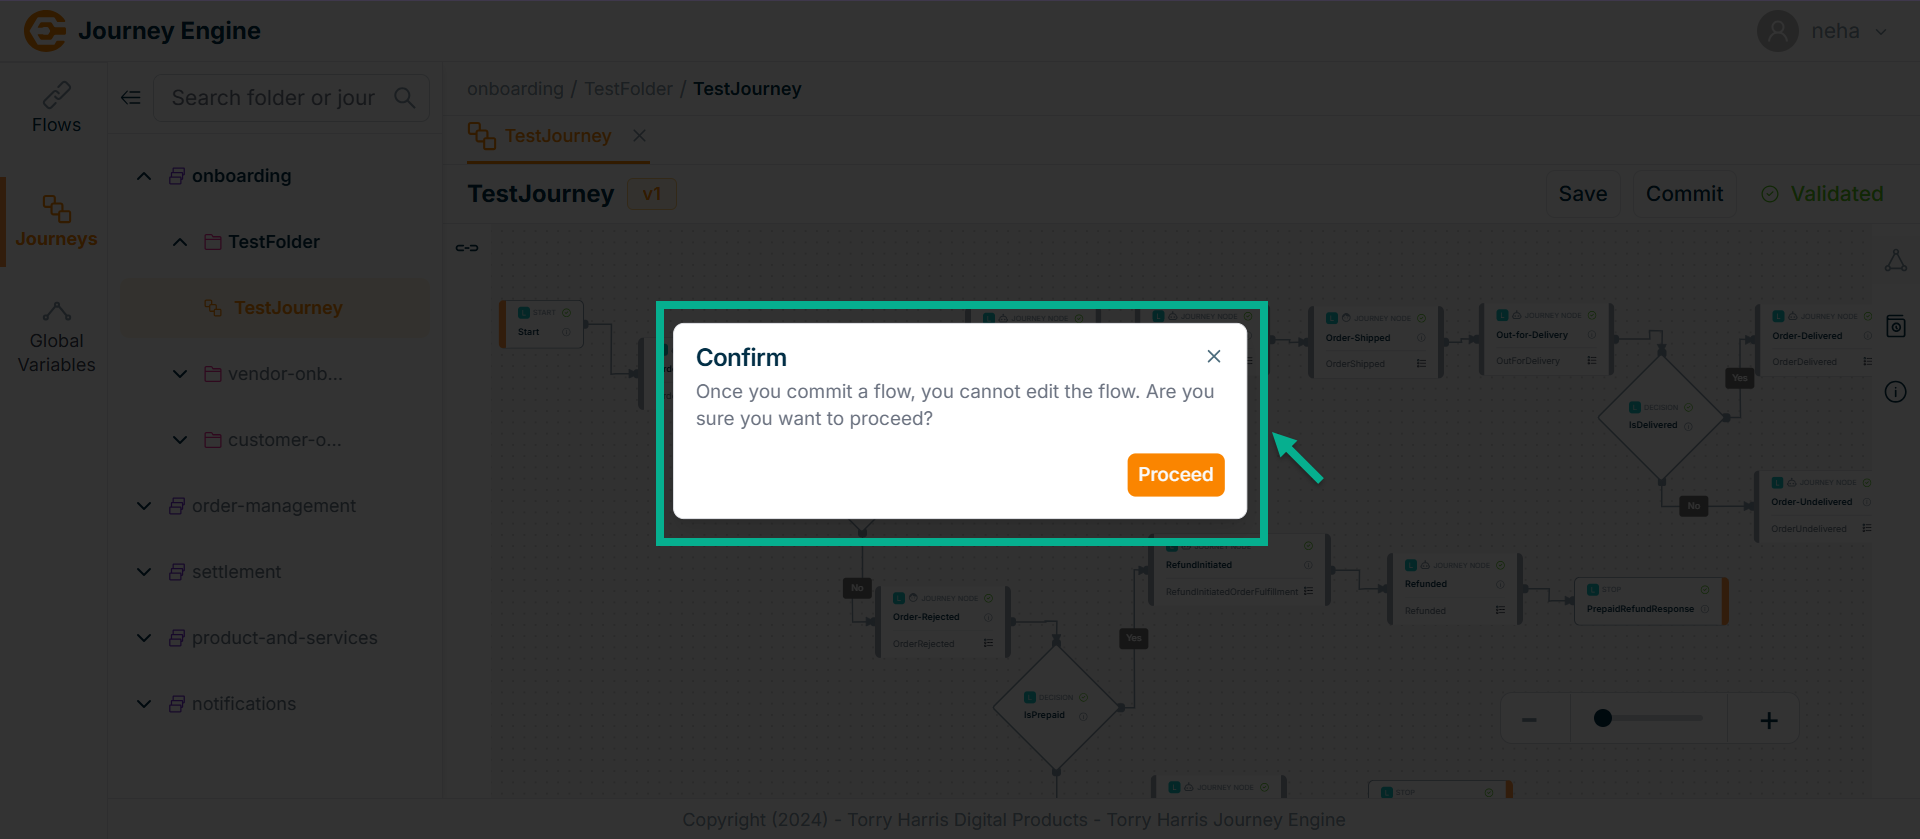
On proceeding, the confirmation message appears as shown below.
Deploy the Journey
- Click on Deploy.
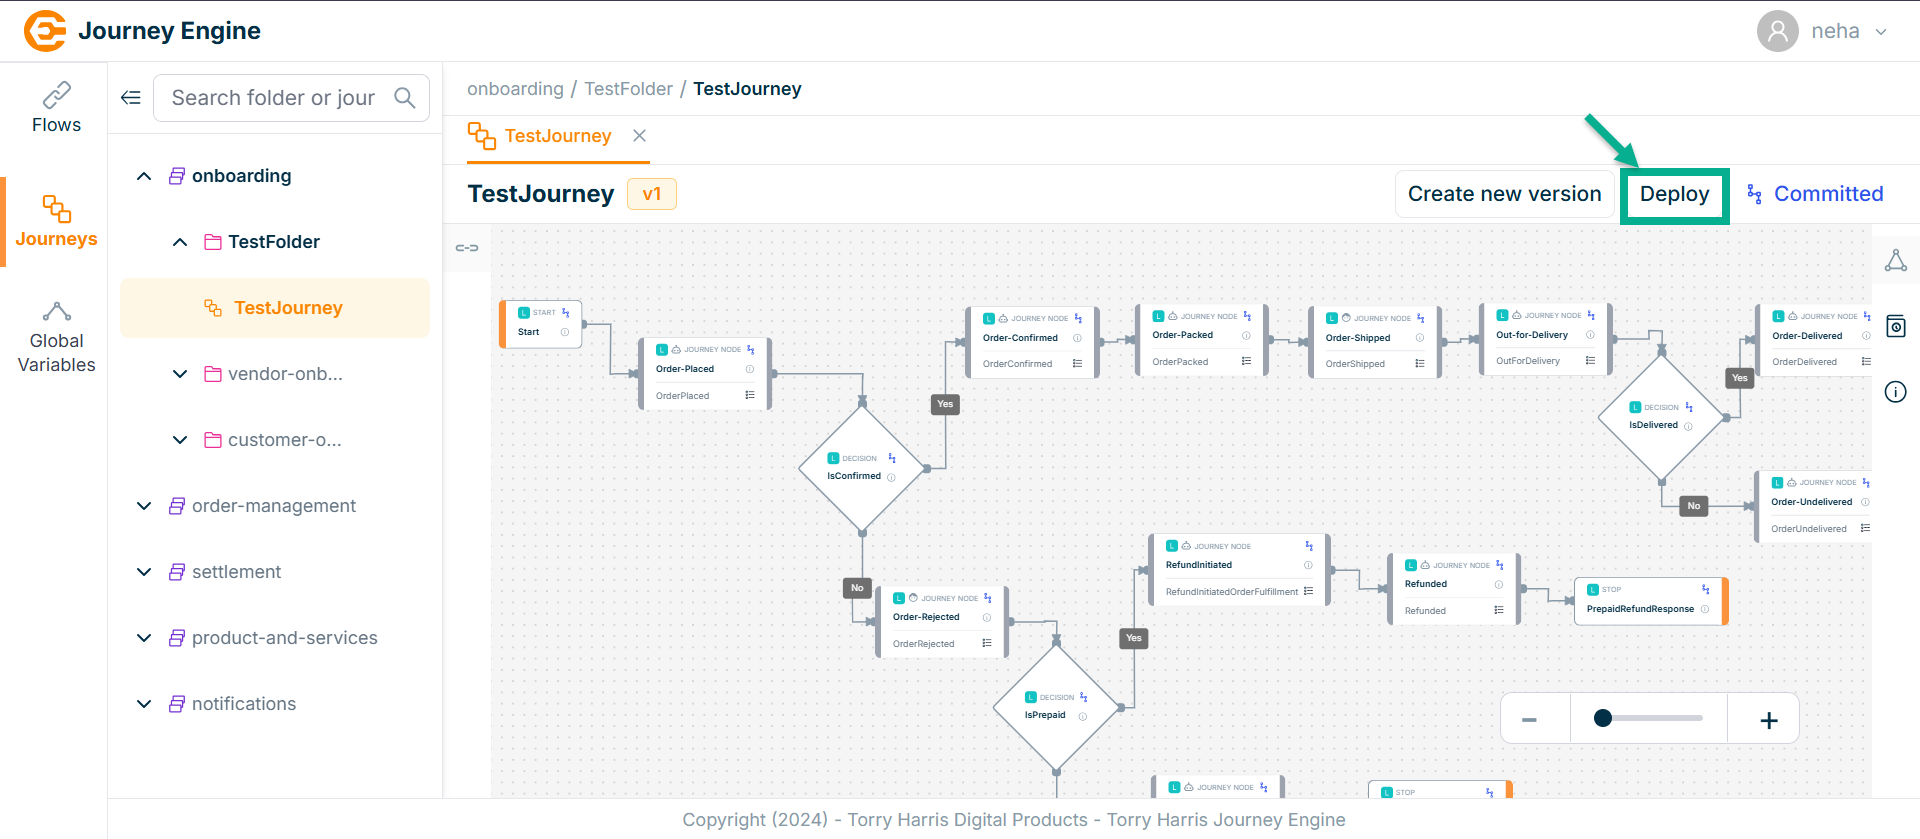
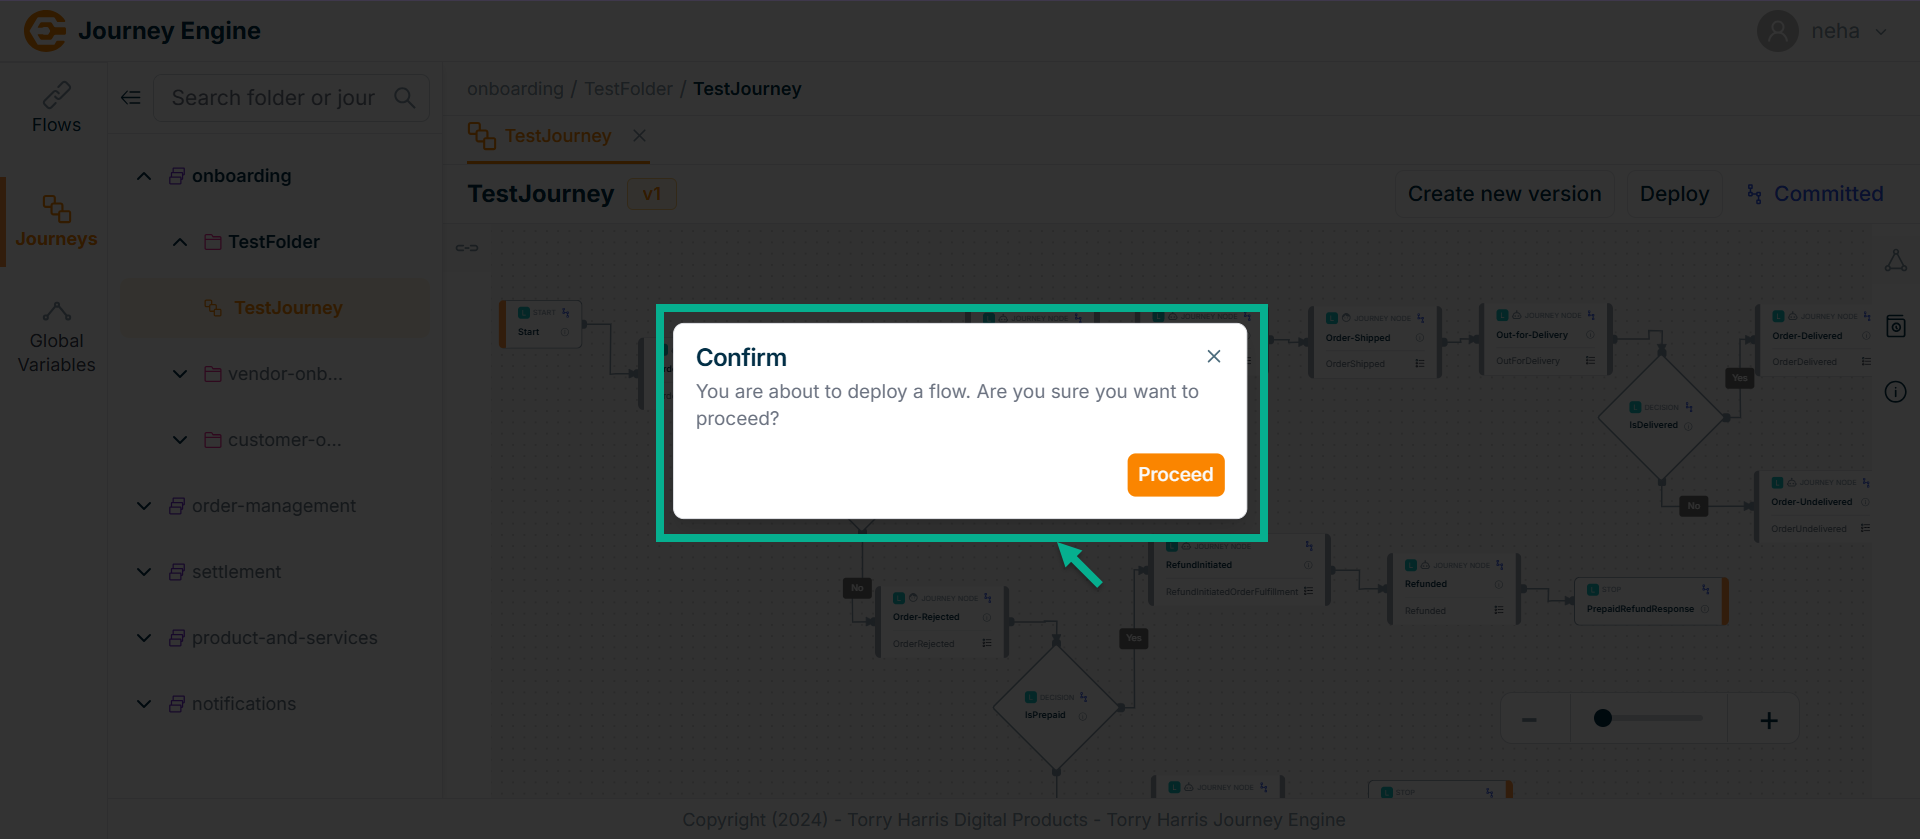
On deploying, confirm popup appear as shown below.
- Click on Proceed.
On proceeding, the confirmation message appears as shown below.
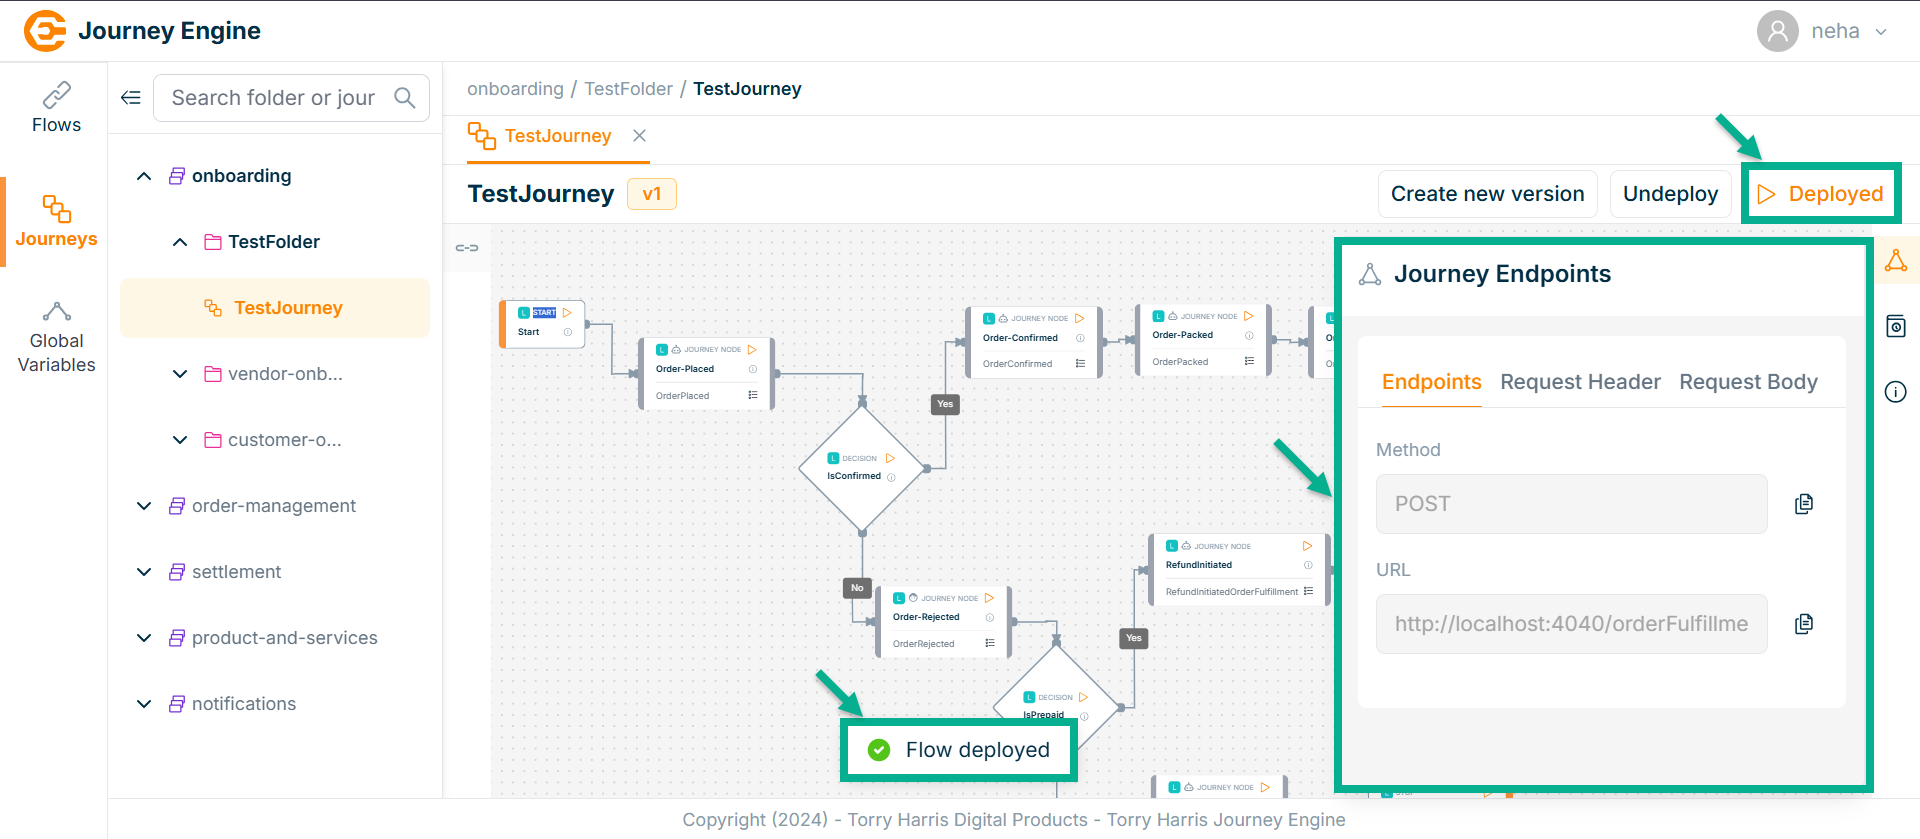
To test the API output, use the Postman tool, and copy the required data from the Flow Endpoints section.
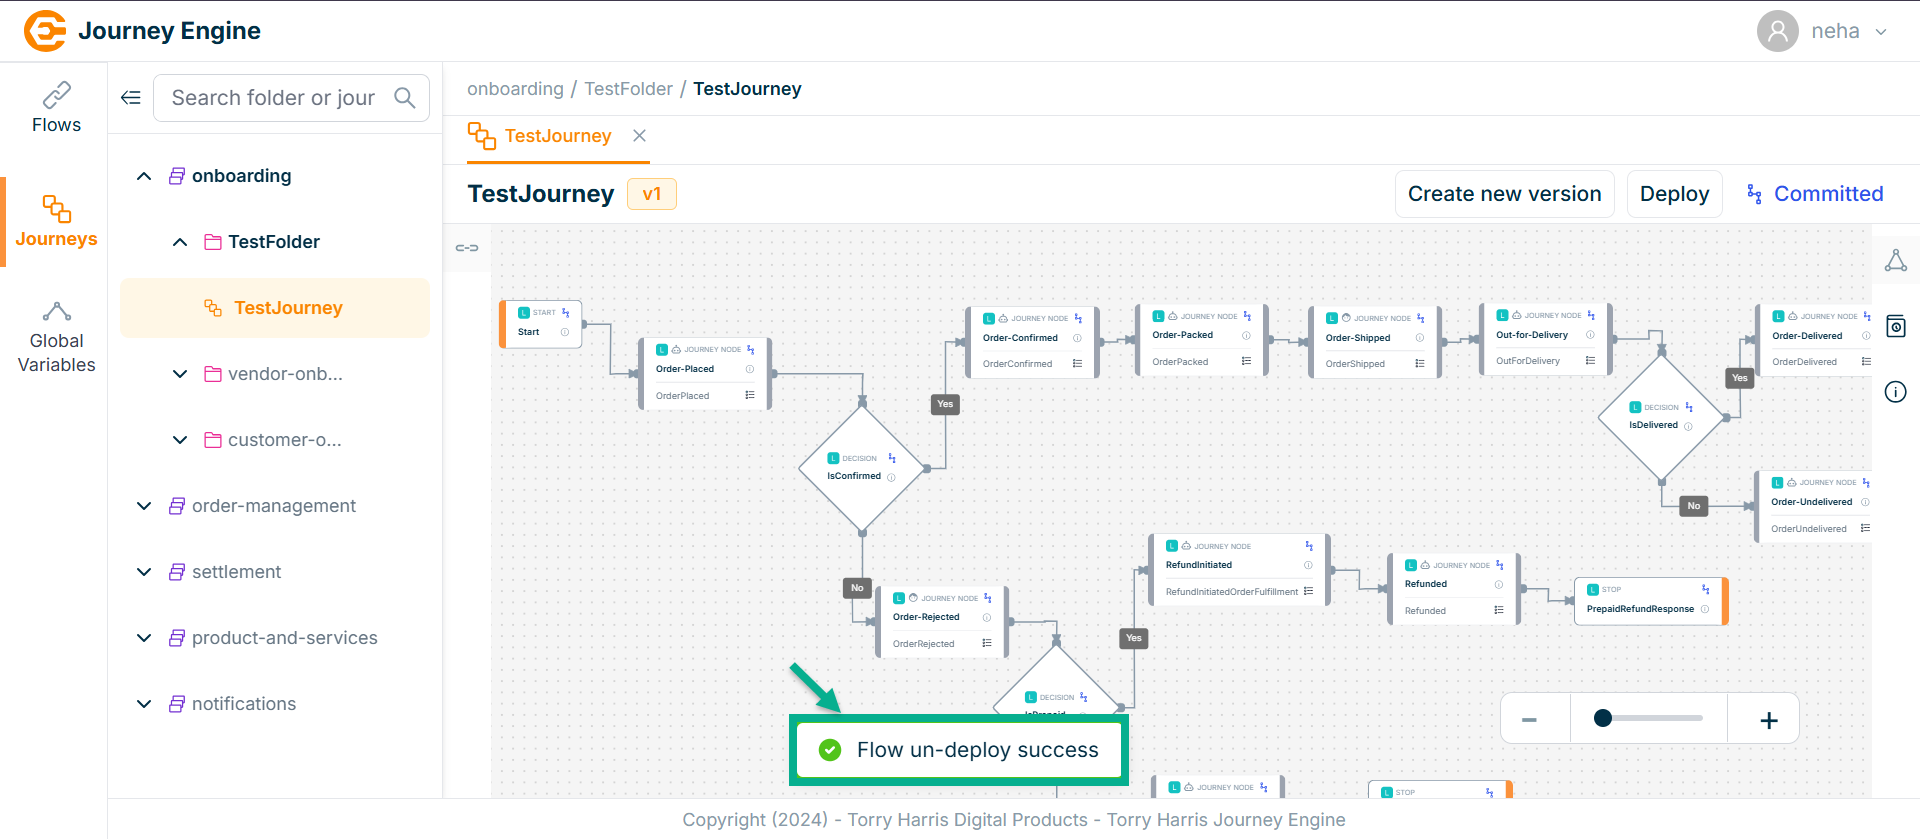
Undeploy the Journey
- Click on Undeploy.
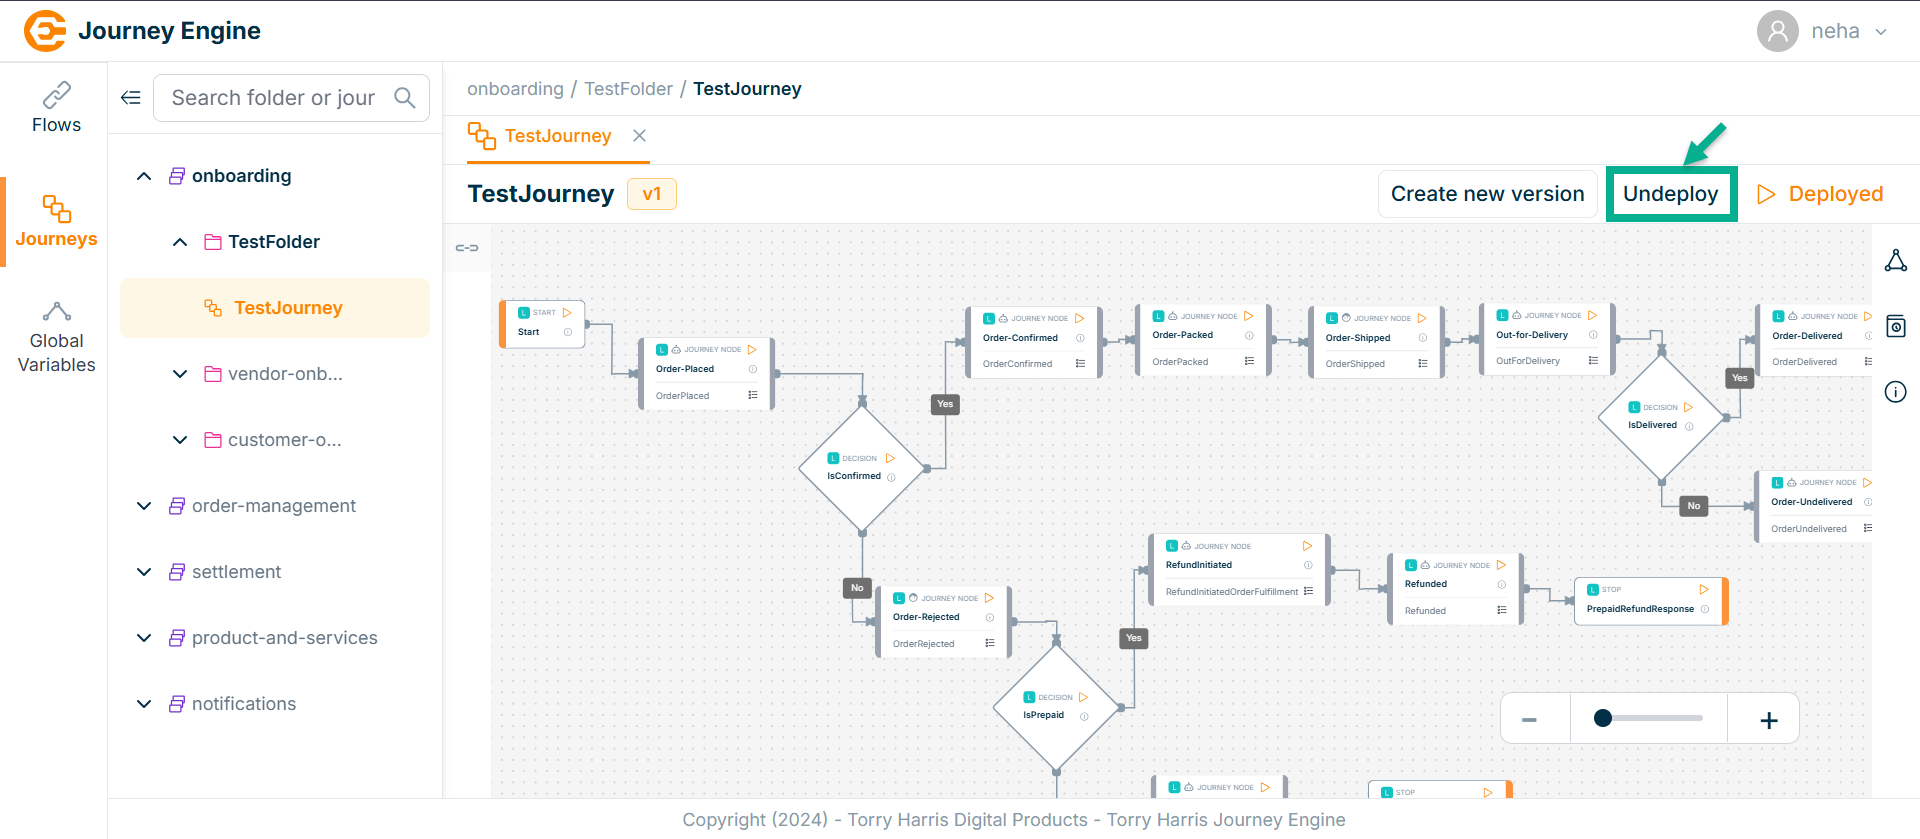
On undeploying, the confirmation message appears as shown below.
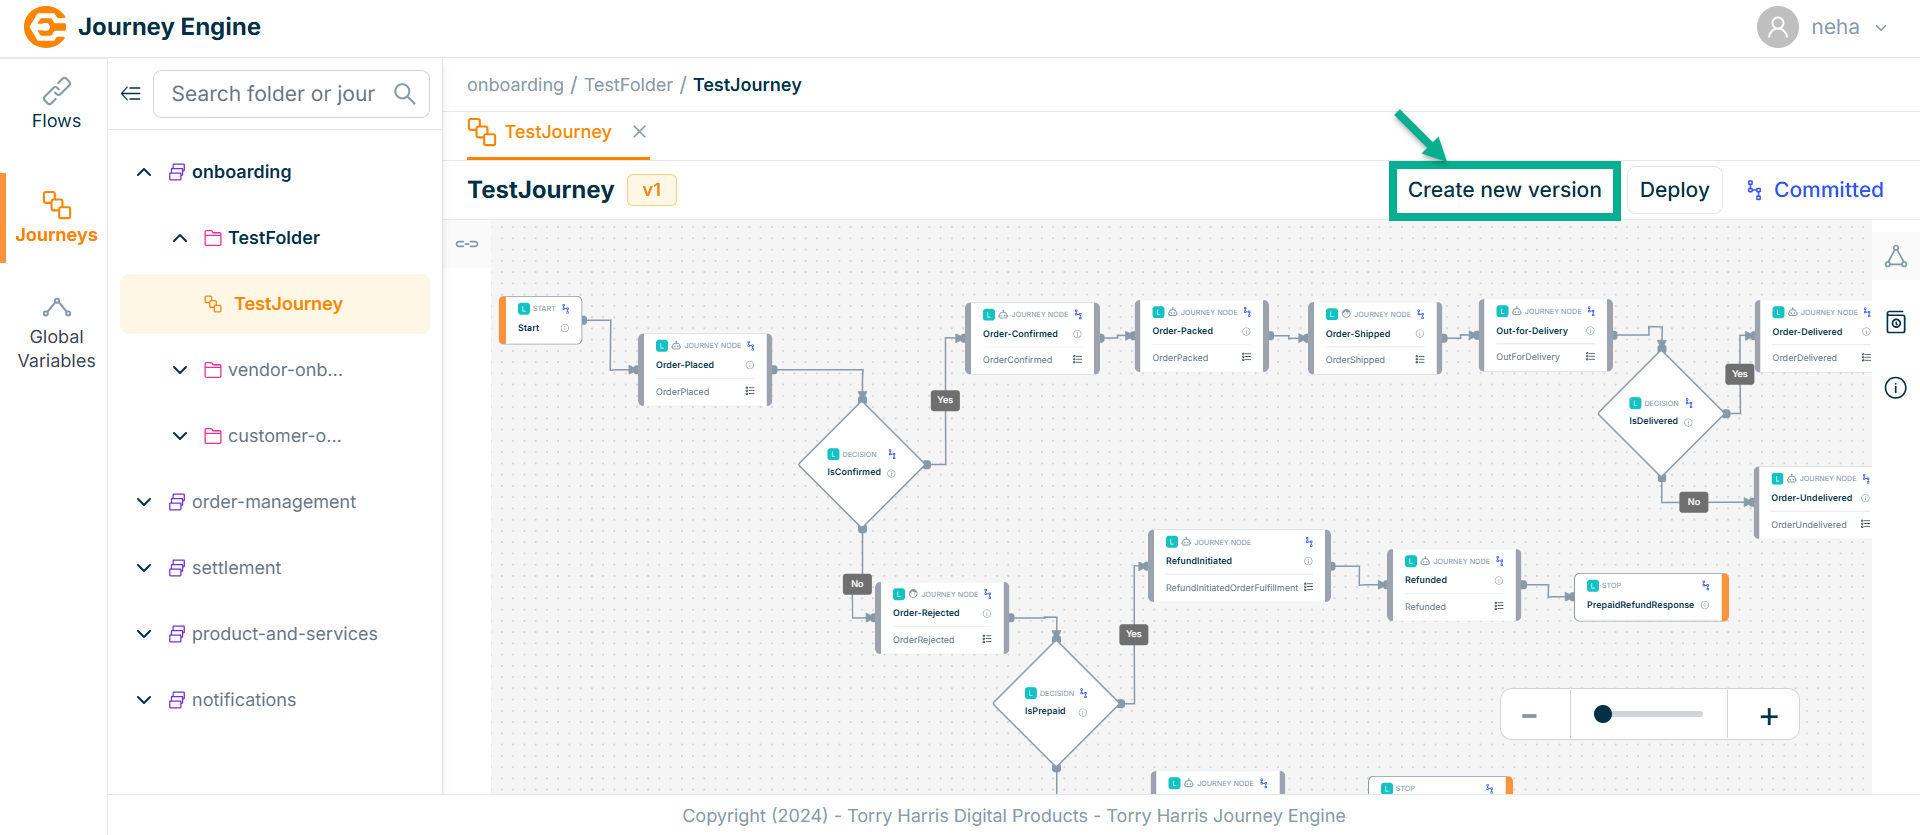
Create New Version for Journey
- Click on Create New Version.
The Add Version popup screen apperas as shown below
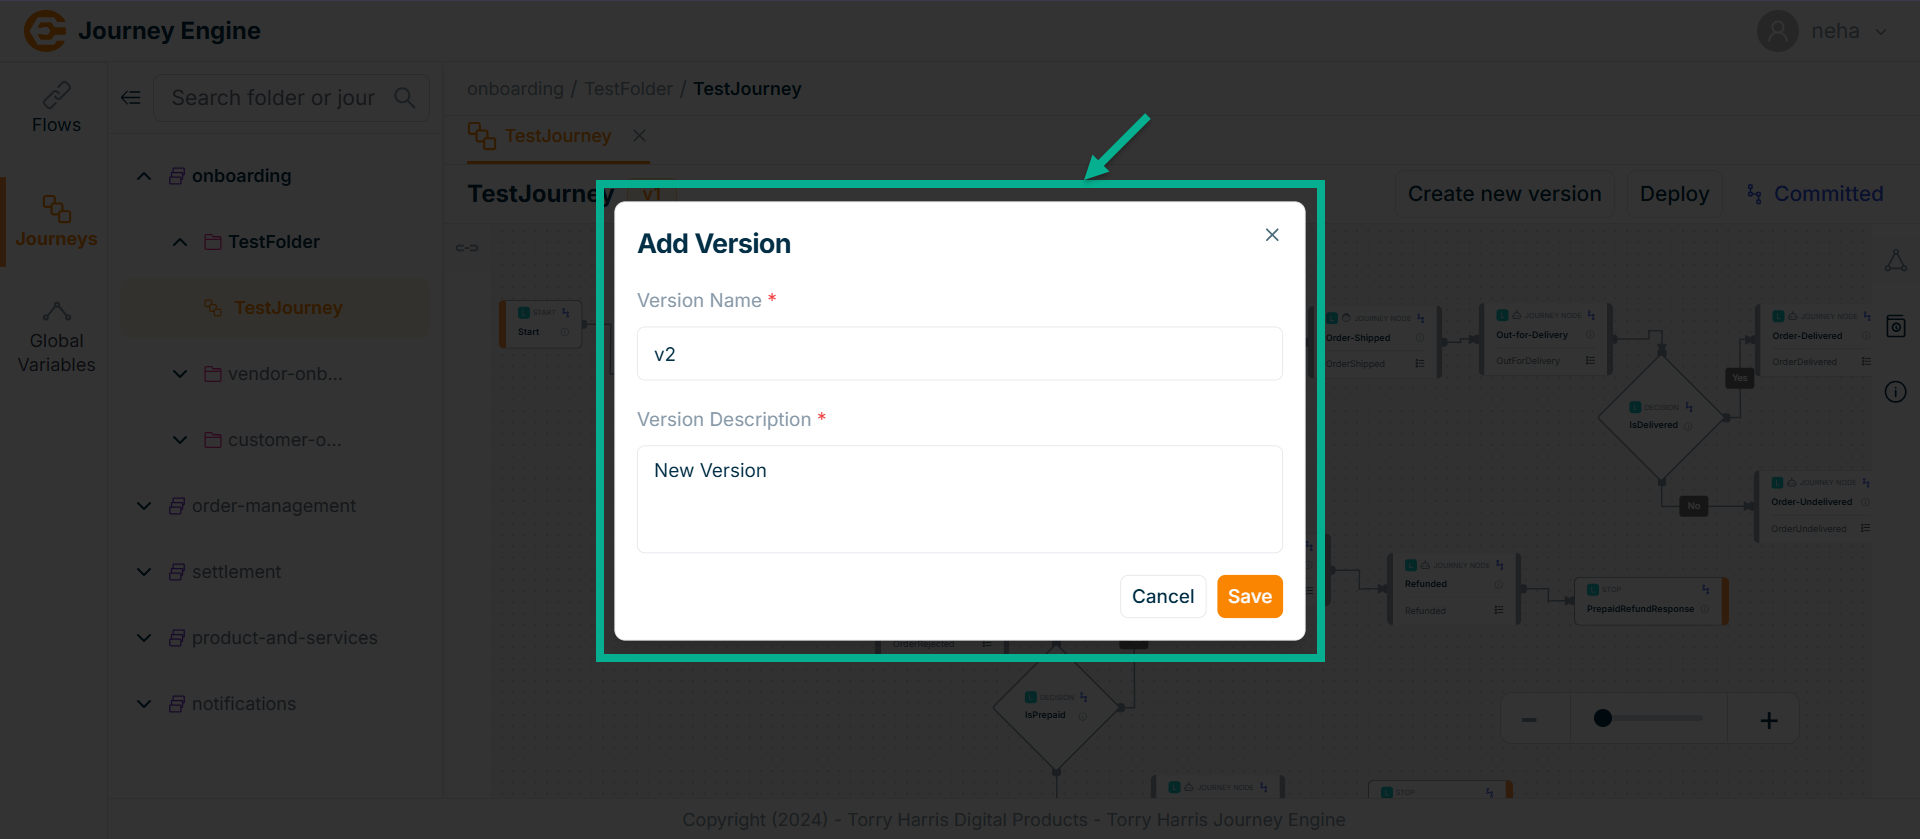
-
Enter Version Name and Version Description.
-
Click Save.
On saving, the confirmation message appears as shown below.
Only one version of a flow can be in the deployed state at a time. To deploy a different version, you must first undeploy the currently deployed one.